Pre-Sanded Inlay
Sanded Inlay
Sanding the Inlay
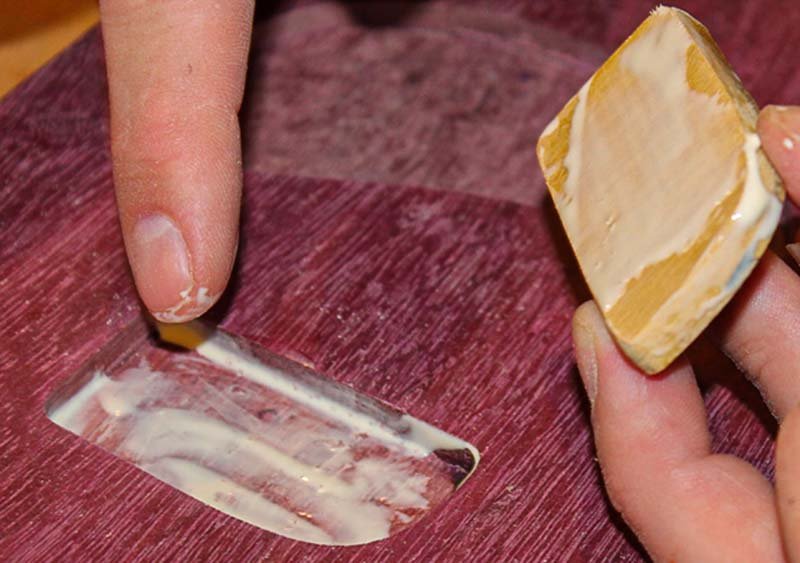
After the inlay piece is cut out do a quick pre-fit into it's void. Be careful and don't push the inlay down into the void! If you push it all the way into the void it's going to be difficult to pull it back out without damaging either the inlay piece or the base material. All you really are trying to do is check to see if the inlay fits or if it needs a little sanding.
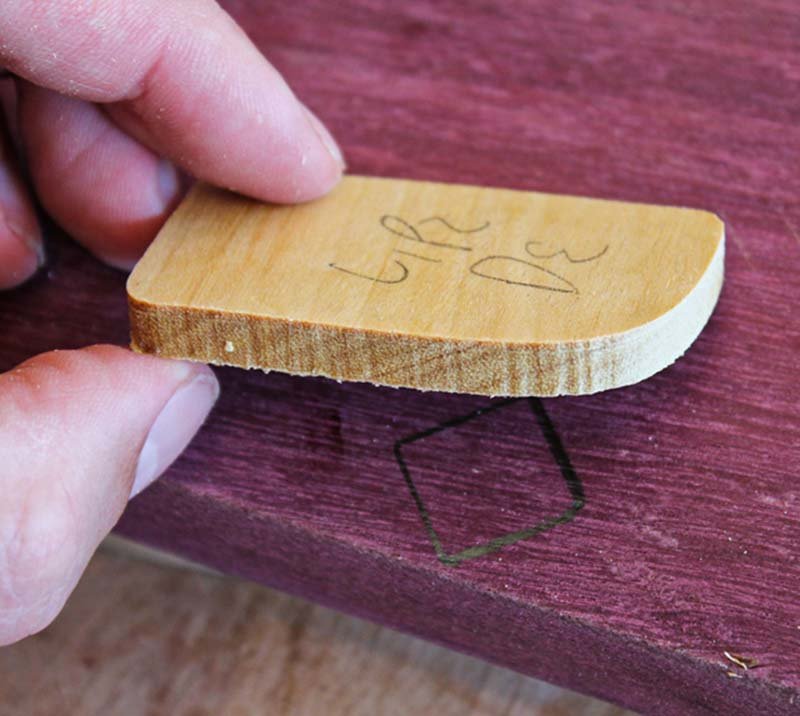
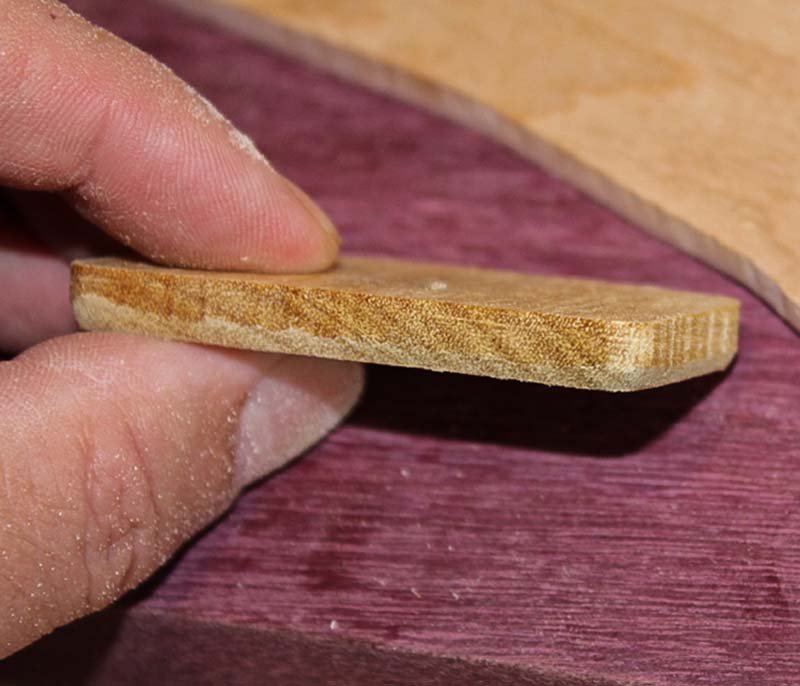
You may need to sand for a variety of reasons. In the picture the inlay was cut out with a dull router bit which is what caused the chattering on the side of the inlay. If you have to sand start with the bottom of the inlay. Sanding the bottom will remove most of the burrs left behind by the routing process. It's also a good idea to sand a small bevel, as shown in the second picture, on the bottom of the inlay piece. This will help you seat the inlay into it's void and point out those areas that need additional sanding.
Try not to sand the upper portion of the inlay! If you do there's good chance you will create a void in your final product.
If, when pre-fitting the inlay into it's void, you press it to far in use the paint scraper to help pry the piece out. If you're careful you should be able to get the piece out without causing any damage.