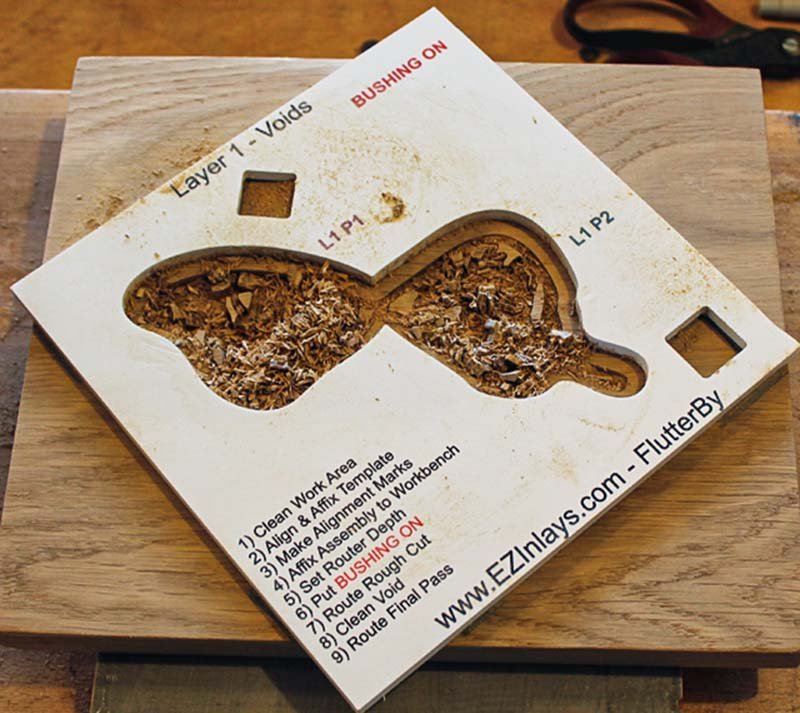
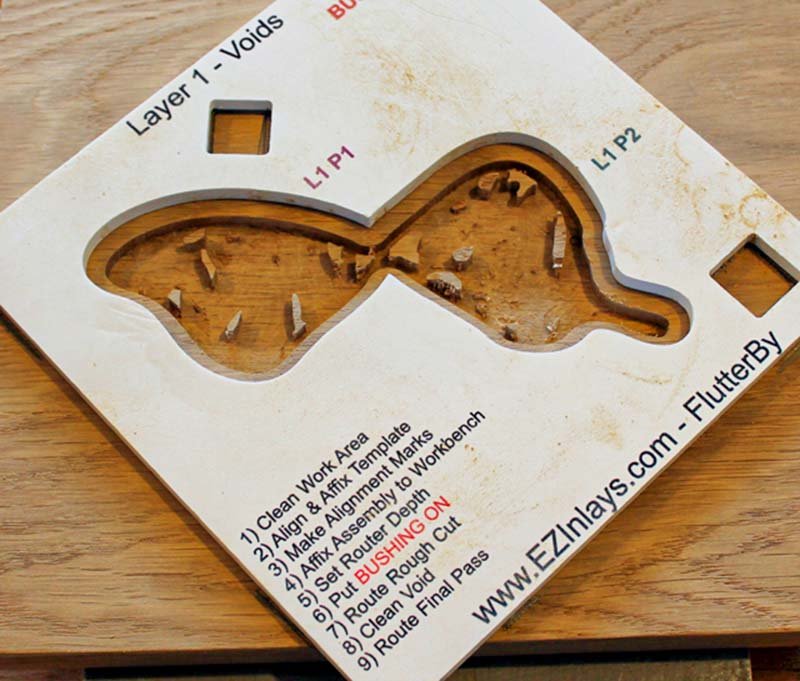
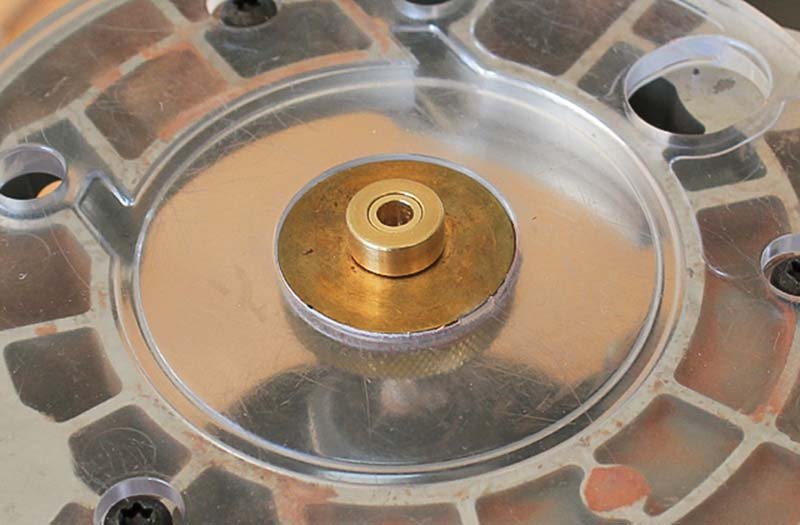
Click twice to play
Building an inlay requires you to cut out a void, or negative space, for the inlay to fit into. Cutting a void is really pretty simple if you follow these simple steps. First you set up the router, align and affix the inlay template, and then cut the void using two passes.
You cut voids using two passes to ensure a more accurate fit for your inlay. The first pass removes the majority of the material from the void, then you clean out the debris, and then make a final pass to ensure you get nice clean edges for the inlay to fit into.
Any time you're cutting a void put the BUSHING ON the brass inlay kit. When putting on the bushing make sure you hear or feel it click into place.
Follow your routers procedures for setting the depth of plunge. Basically you want to create a pocket that is just about as deep as the thickness of the inlay material WITHOUT cutting all the way through the base material.
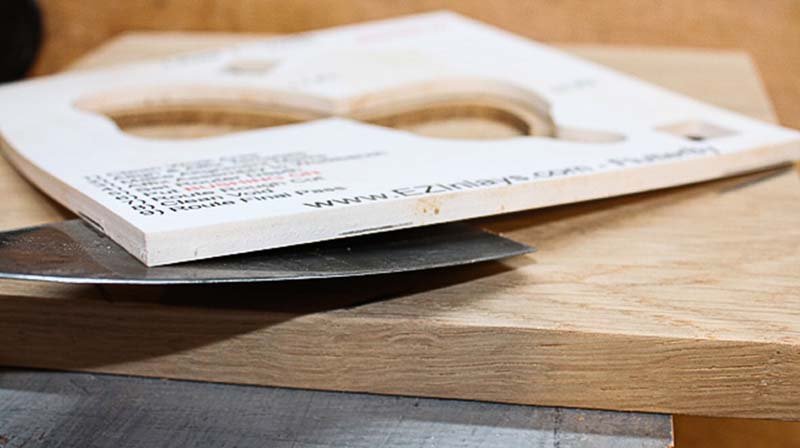
Turn the plunge router upside down, place a template on the base of the router, and then put a piece of wood that is as thick as the inlay material on the template. If you run your finger across of the inlay material you should not feel the router bit. If you can feel it decrease the depth of plunge.
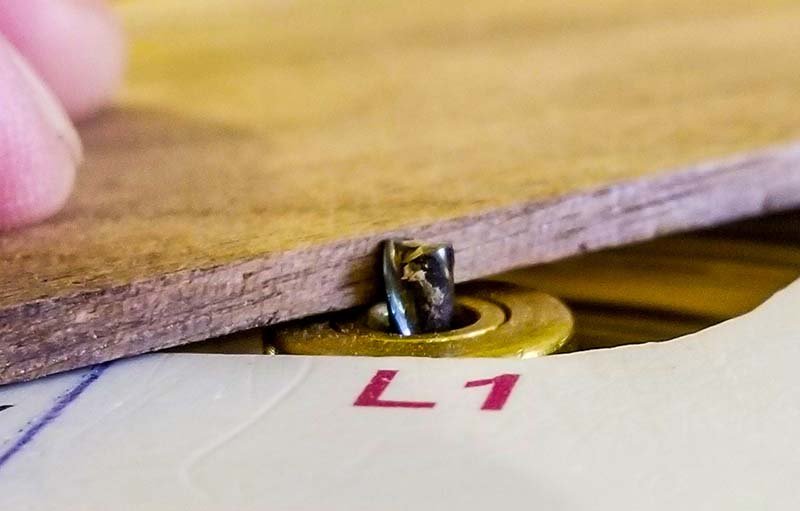
You want your pocket to be slightly shallower that the inlay piece being put into it. If the void is deeper than the inlay piece then you'll end up with a recess in your base material. When this happens the only fix is to sand the entire base material surface area until it's flat again. If the pocket isn't as deep as the inlay material is thick as the inlay piece then you have to sand the inlay piece down to the base material level. It's always better to sand the inlay piece down to the base material than the other way around!
To route the void place the router over the area you are cutting the void. Move the router around to ensure the router base doesn't interfere with the clamps. Turn the router on and plunge it into the material. Make one pass around the perimeter of the shape and then move the router back and forth over the entire shape to remove as much material as you can.
After the first pass has been cut turn the router off, un-plunge it, and set it aside. Use a shop vac to suck out all the debris from the void. Make sure there isn't any debris left behind on the inlay material next to the template wall. If there is then on the final pass the router won't be able to follow the shape making your void a little off. There may be more or less spots that still need to be routed away than the picture depicts.
To cut the final pass, position the router in the void and move the bushing to the side of the template wall. Turn on the router and plunge it into the material. Make one pass around the entire shape keeping the bushing in constant contact with the template wall. This will ensure you have nice clean edges for the inlay to fit into. After the initial pass around the shape is complete move the router back and forth to remove any remaining knobbies in the void.
If, after making the final pass, there are still a few bumps in the void you can always use a small chisel to scrape away the knobs. You want the void to be somewhat flat so the inlay seats cleanly into it's pocket.
After the void is cut you'll need to remove the template. Work a paint scraper between the inlay material and the template. Gently lift on the pain scraper to pry the template away from the inlay material. It helps to move the paint scraper around to different areas prying at each point. Remember the template can break if you bend it to much and also be careful to not mark up the base material with the scraper too.