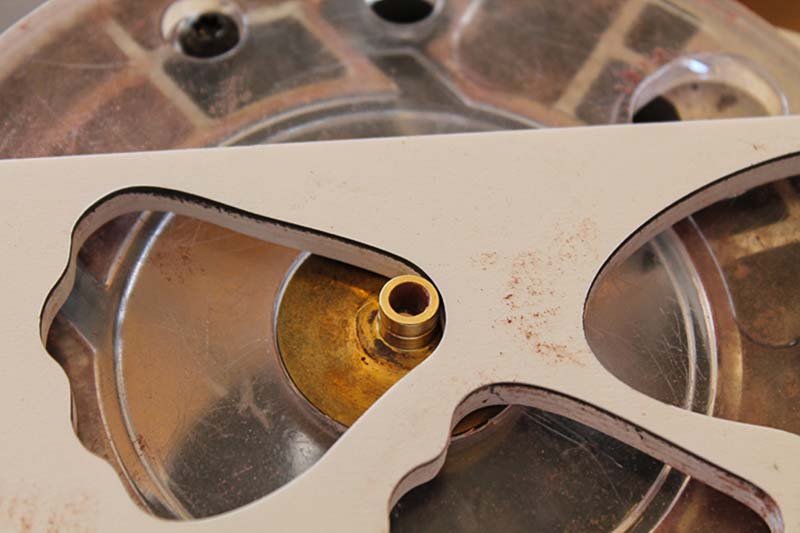
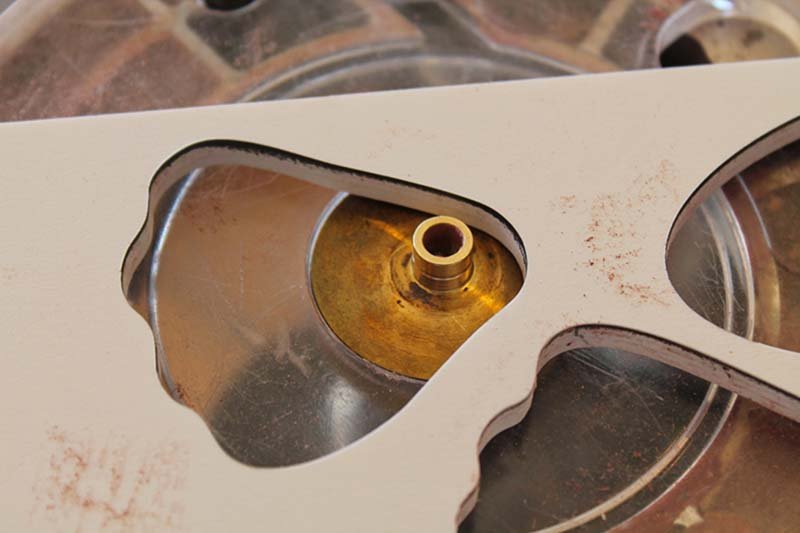
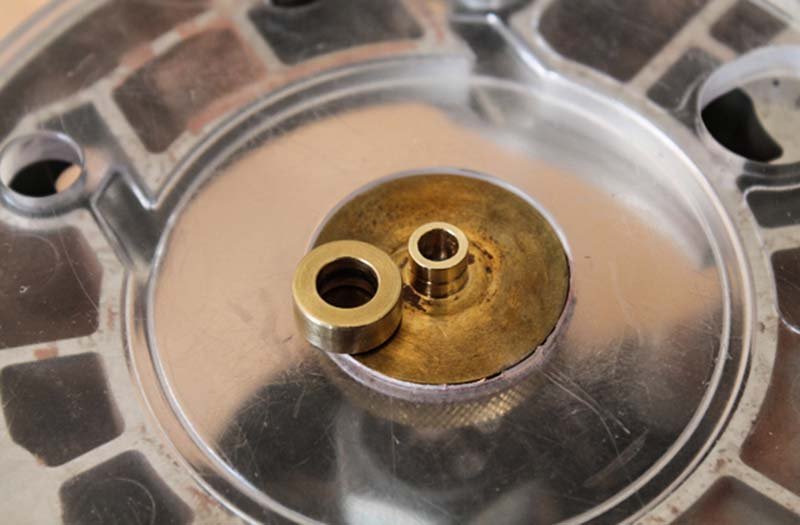
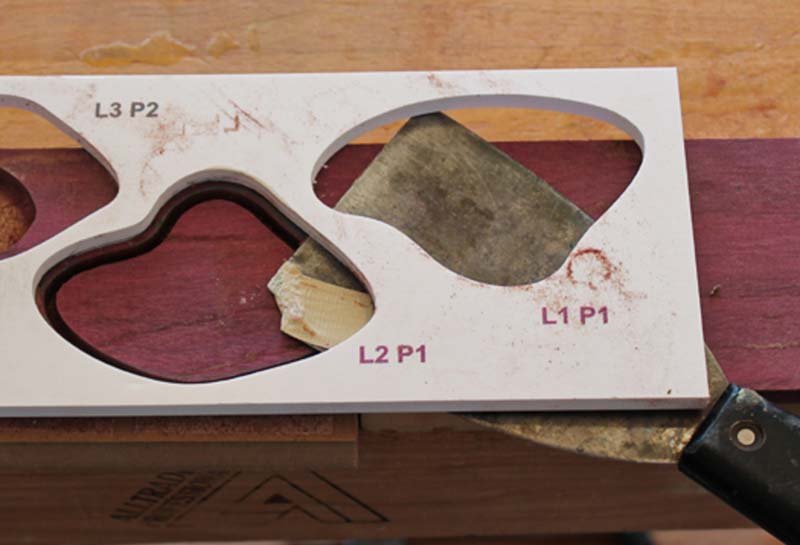
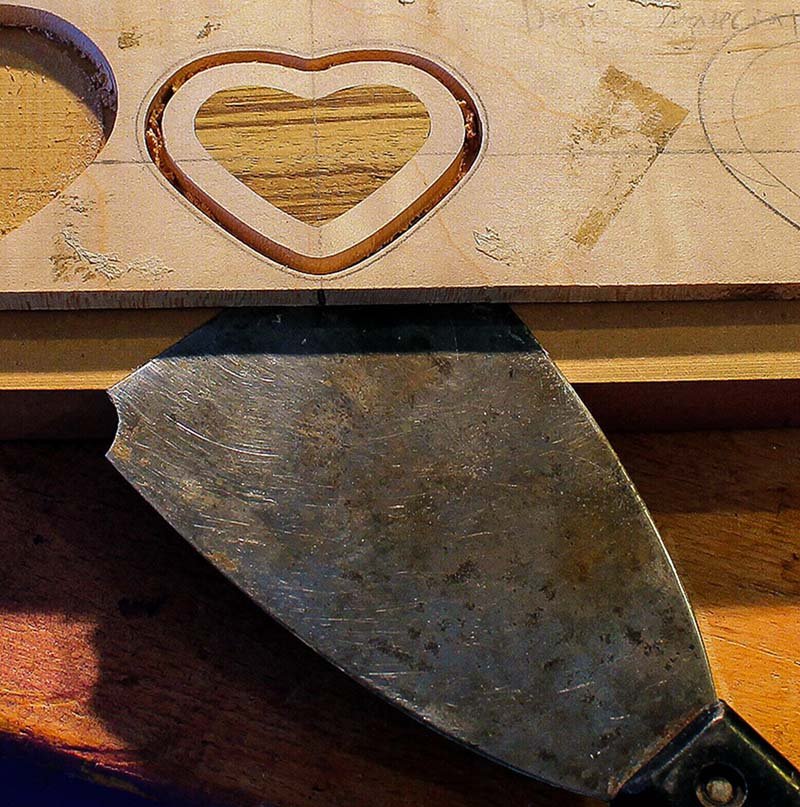
Click twice to play
The first step in cutting out an inlay is selecting where to cut the inlay from. Each design is different so select your inlay with the finished product in mind. After the material is selected align and affix the inlay template to the material, then clamp the entire assembly to the workbench.
Set up your router to cut an inlay by removing the bushing and adjusting the depth of plunge. Then you can cut out the inlay using this procedure. Take your time when cutting out the inlay, you only get one shot at this and if you mess it up you'll have to cut out another inlay piece.
Any time you're cutting an inlay take the BUSHING OFF the brass inlay kit. Set the bushing aside in a place where it won't get lost!
Follow your routers procedures for setting the depth of plunge. Basically you want to cut all the way through the inlay material but not to deep into the backing material. Keep in mind the deeper the cut the more difficult it will be to make.
Turn the plunge router upside down, place a template on the base of the router, and then put a piece of wood that is as thick as the inlay material on the template. If you run your finger across of the inlay material you should barely be able to feel the router bit. If you can't feel the router bit increase the depth of plunge.
To route out an inlay place the router over the shape being cut. Slide the bearing against the template wall. With the router still OFF take a practice run around the shape to be cut out. You do this for two reasons. The first is to familiarize yourself with all the corners and curves of the shape being cut out. It will also ensure the router base will not hit a clamp during the routing process.
When you're ready to cut out the inlay position the bearing against the template wall, turn the router on, and plunge it into the inlay material. Gently guide the router around the shape, in a clockwise direction, keeping the bearing in constant contact with the template wall. If the bearing comes off the wall your inlay will have a gap in it that may or may not be fixable.
If the inlay material is over 1/4" thick it's recommended that you only plunge the router halfway through the inlay material, make the cut, clean out the debris, and then make the final cut this time with the router full plunged into the material.
First use a paint scraper and gently pry the template away from the inlay material. Use a little care doing this because if you bend the template to much it can snap in half.
After the template is removed gently pry the inlay away from the backing material. Remember there is double sided tape on the back of the inlay material so use care removing the inlay. It's best to pry against the grain direction of the inlay piece. After you cut the inlay out it will be somewhat fragile because of it's size. If you pry with the grain direction there is a chance the inlay will snap in half. Prying against the grain reduces this risk.