Router Based Wood Inlays

Attach Inlay Template and Secure Assembly to the Workbench

Click twice to play

Attach the Template to the Inlay Material

  Just like preparing the Inlay material all you're really doing is using double sided tape to affix the template to the inlay material. Remember, nothing but the router moves during the cutting process and the tape helps prevent the template from moving.

  There are three things to keep in mind when applying the tape. First is Alignment of the Template, applying tape where it will hold the template, and not to put tape in the area where you'll be cutting.

  You can review the Template Alignment Procedures here.

Tape Applied
Outlines showing where to place tape

>
Template Affixed
Template Affixed
Bad Tape Job
Wasted Tape

Apply Tape to Hold the Template

  The pictures used in this example are for cutting out inlays but the steps are the same if affixing the template for cutting voids.

  Using a pencil, mark the openings in the template on the inlay material and possibly the outline of the template itself. You do this for two reasons. First is there is no reason to put tape where it won't affix to the template. The other reason is if you put tape in the void where you're going to be cutting the tape will gunk up the router bit making the cut more difficult.

  The third picture shows where NOT to put tape. If you look at the Alignment Mark opening there is tape there that really isn't doing anything useful.

Clamped with Template
Inlay assembly and template clamped to workbench

Clamped to Workbench
Inlay assembly clamped to workbench

Clamp the Assembly to the Workbench

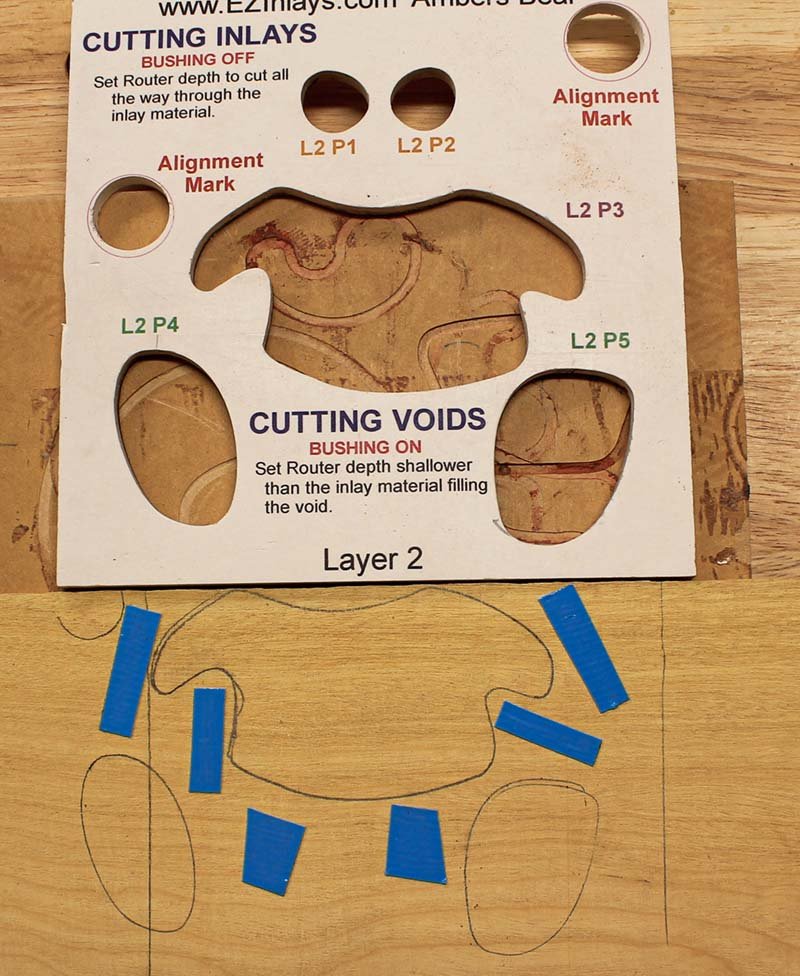
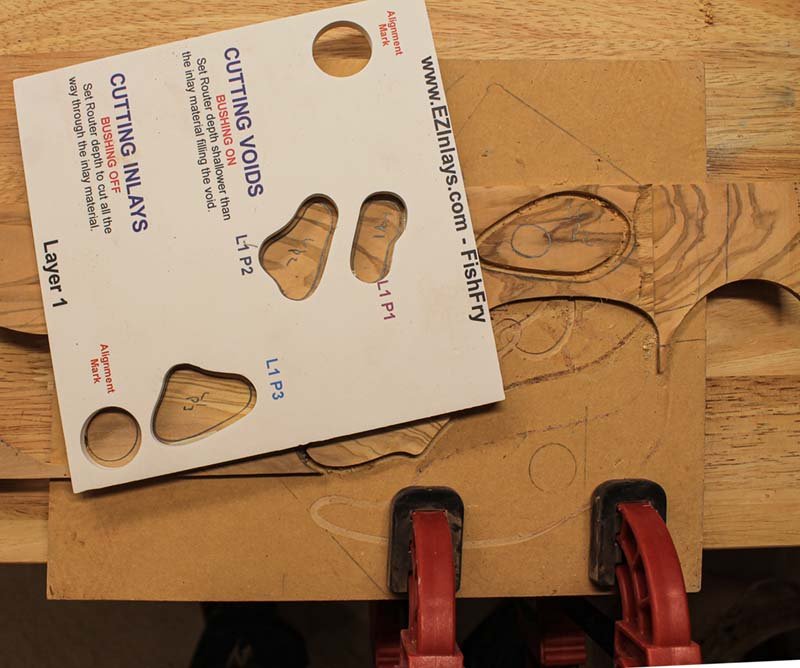
  Now that the inlay material is affixed to backing material and the template is taped to the inlay material it's time to clamp the entire assembly to the workbench. There are two goals you want to achieve when clamping the assembly down. First is so nothing moves but the router during the cutting process (probably have heard that before!), the other is to ensure the clamps do not interfere with the router base.

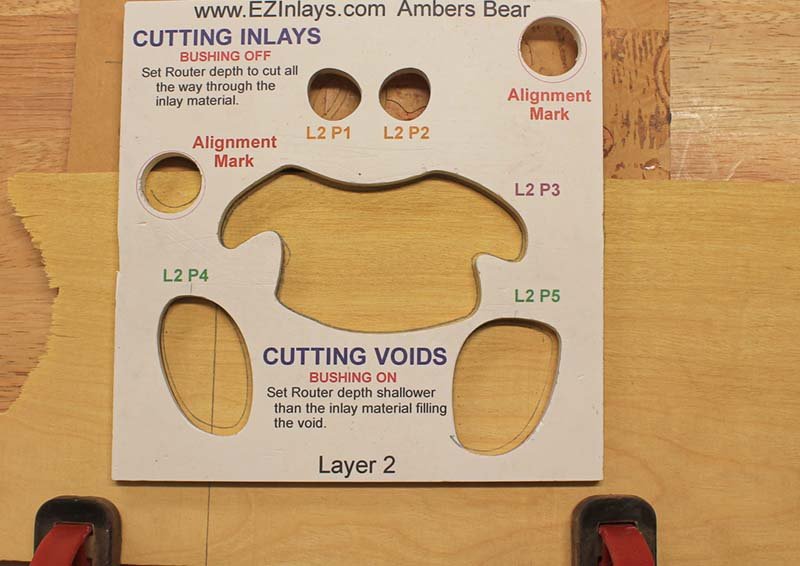
  In the first picture you'll notice the clamp is positioned over the template itself. This is always preferable if possible. In the picture, but you can't see it, there is a small piece of wood under the template that is the same thickness as the inlay material being cut. This is needed so the template doesn't flex and get pulled away from the inlay material.

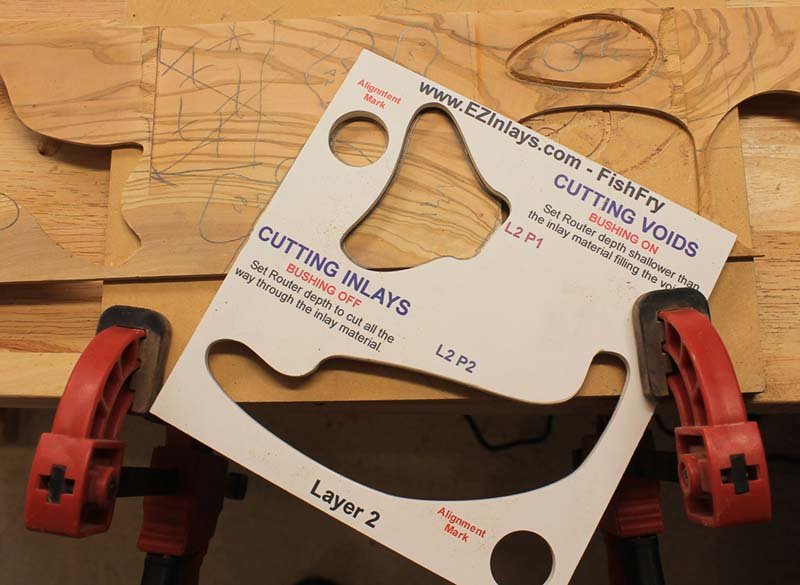
  The second thing you need to be aware of is if the clamps will interfere with the router base when making the cuts. This is far more important when cutting inlays rather than voids. If you're cutting a void and the router base bumps a clamp you can always reposition the clamp and continue cutting the void. If you're cutting an inlay, however, and the router base bumps the clamp you just ruined your inlay piece and will need to cut out another one.

  It's always a good idea to take your router and guide it around the shape you're cutting out prior to turning on the router. That way if the clamp interferes with the cutting process you can fix it before any dame is done. After you're sure the clamps are out of the way, turn the router on, plunge it into the material, and make your cut.

Facebook link   Pinterest link   etsy link