Click twice to play
The purpose of creating alignment marks is so you can accurately position the inlay template while you're building your wood inlay. All inlays, that use two or more steps, require you to place a template, cut a void, and then place another template to either cut another void or to cut out the shape.
For example, when building a coaster with a single heart inlay you use the alignment marks to place the template when cutting out the void for the heart and when cutting out the coaster as an inlay.
If you're building a decorative design then you will need to place a sequence of templates on your design to cut out the voids. The registration marks are used by all layers of the build to create the design.
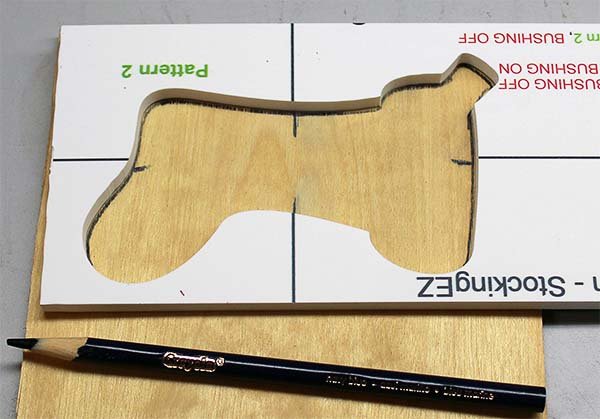
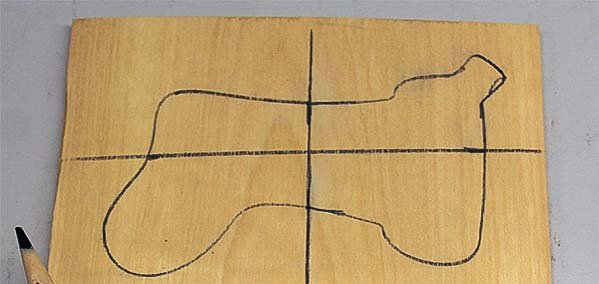
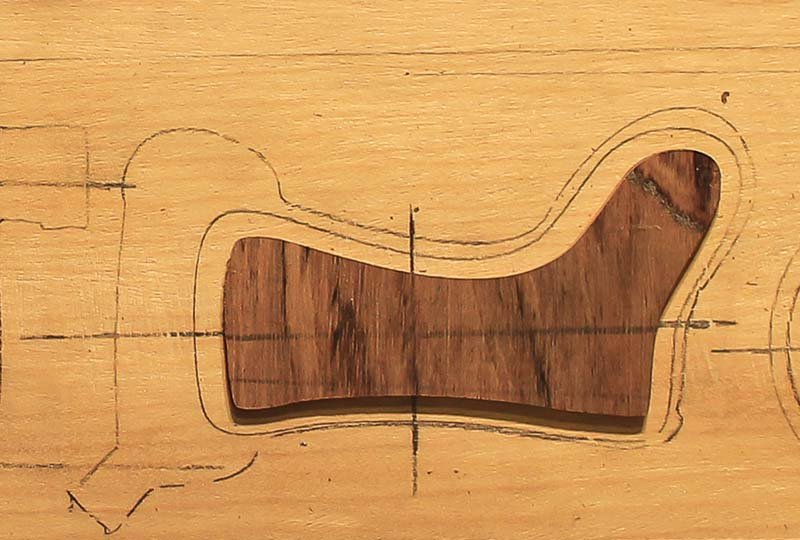
The create the PLUS alignment marks place the template, with the shape of the item to be cut out (i.e. coaster, or in this case a Christmas Ornament) on the base material. Trace the outline of the shape for a visual reference of where the item will be cut from. Notch where the alignment marks go.
Using the edge of the template extend the alignment marks well past the shape of the item to be cut out.
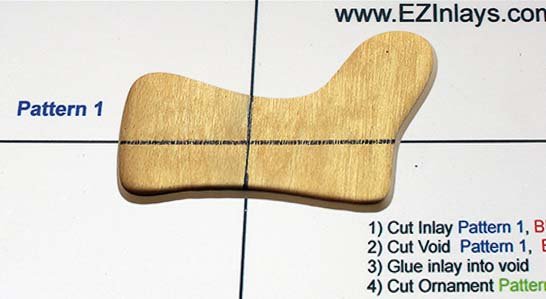
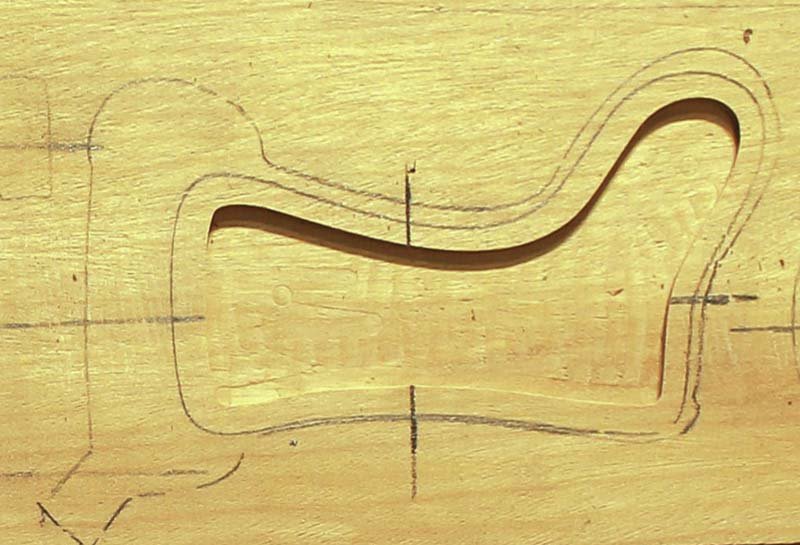
Now you use the alignment marks to position the template so you can cut the void in the proper place.
After routing the void remove the template. The next step is to assemble the inlay (see Inlay Assembly for details).
After assembling the inlay use the alignment marks to position the next shape on the base material to cut either another void, as is the case if building an Ice Cream Cone coaster, or to cut out the shape as an inlay as is the case with this example.
After the last layer is cut remove the template, sand, and finish your inlaid creation!
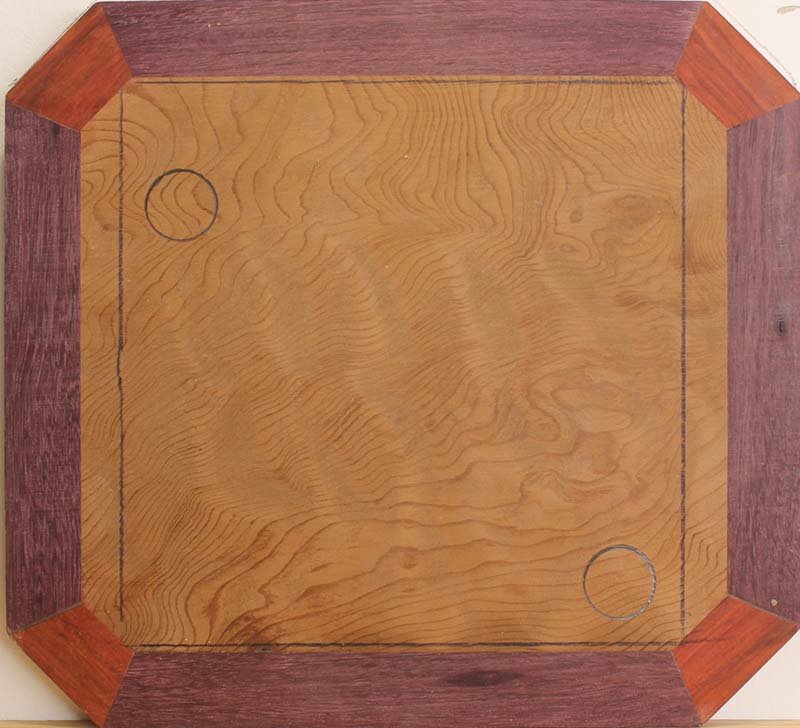
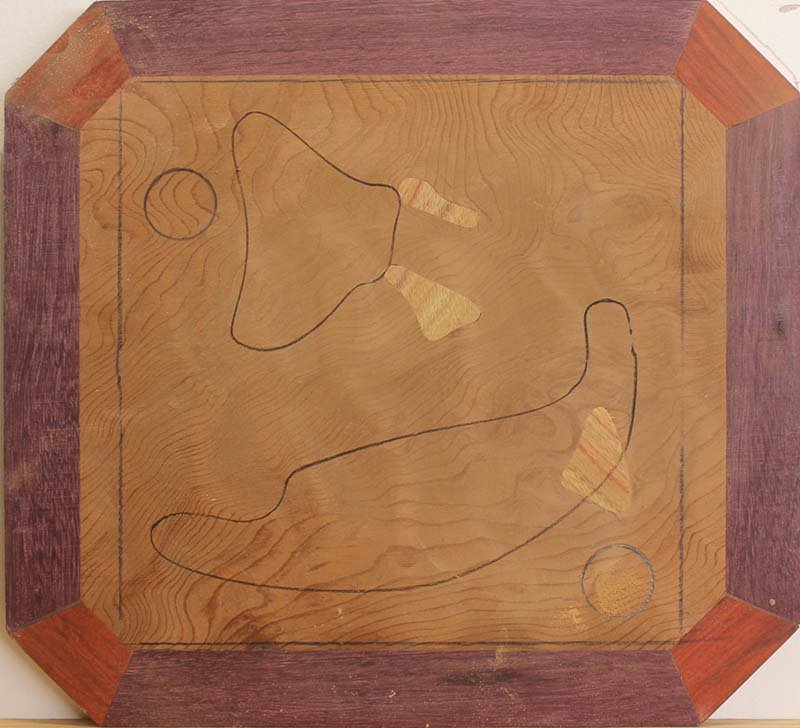
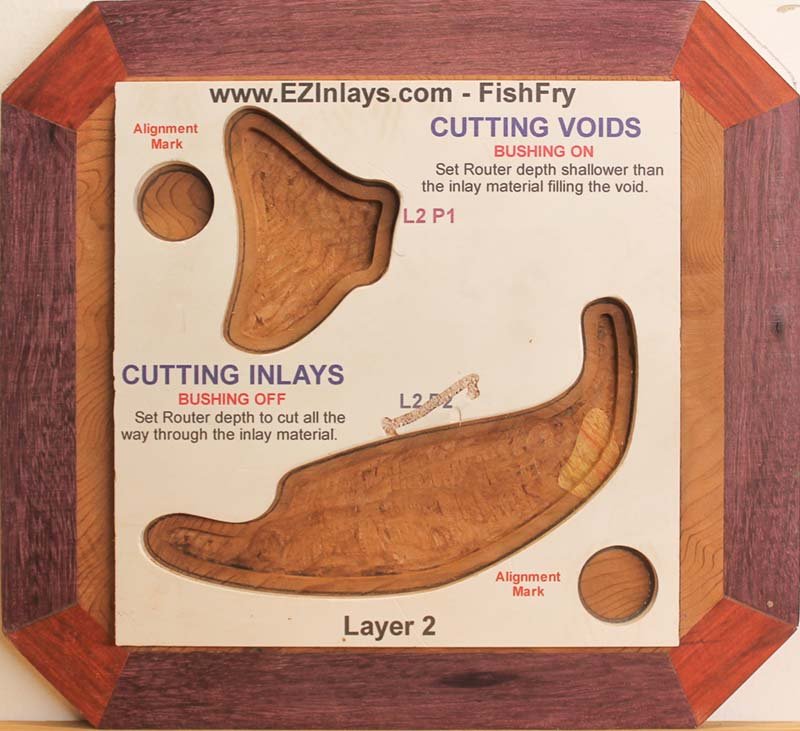
The create the REGISTRATION alignment marks center any of the templates for the design you're building on the base material. Trace the outline of the shape for a visual reference of where the templates will be placed and to help you determine where to place the double sided tape that holds the inlay in place. Trace the circular, or square depending on the design, alignment marks.
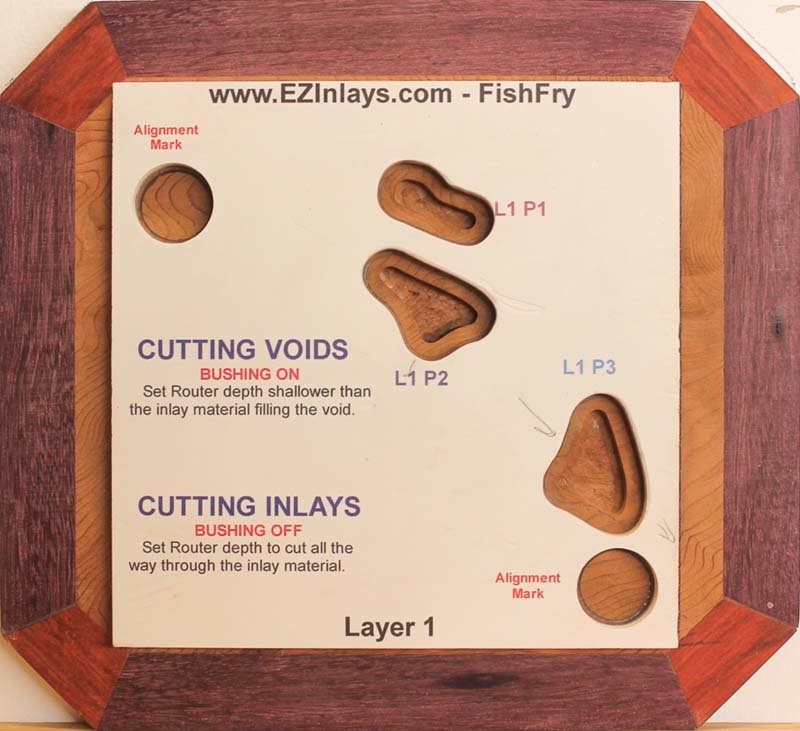
Using the registration marks position and secure the Layer 1 template to the base material. Using the Cutting a Void procedure route out all of the shapes on the template except for the registration mark voids!!!
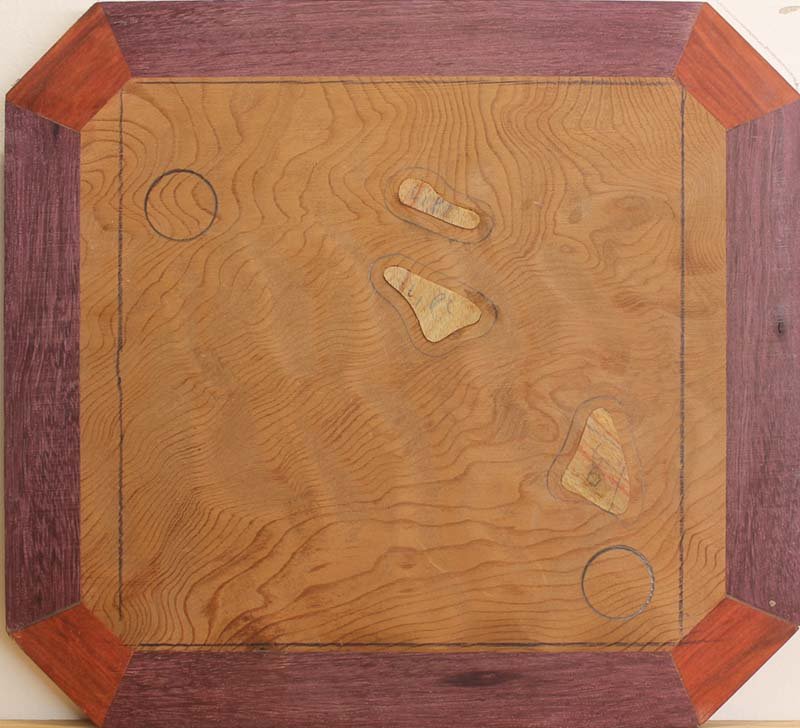
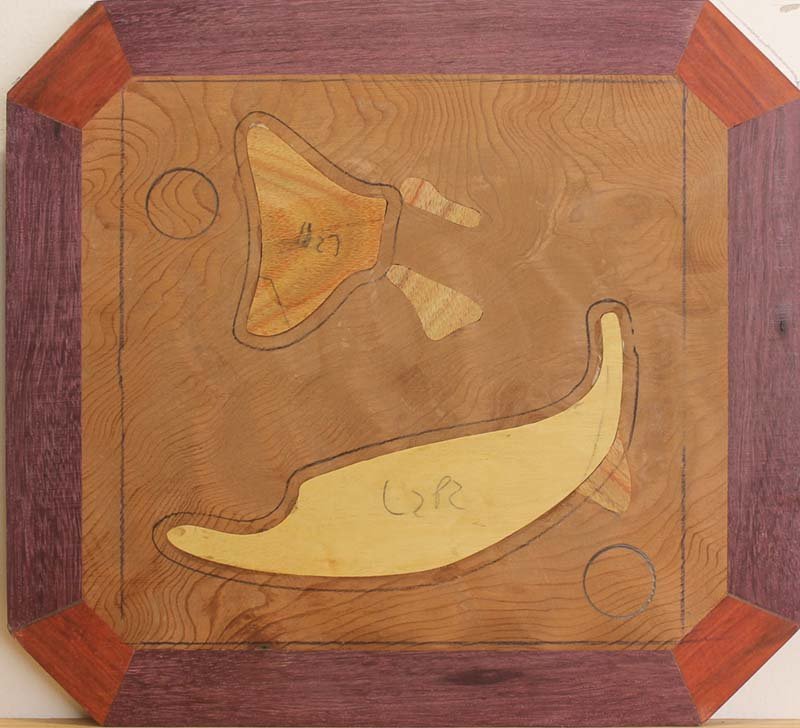
Remove the template and assemble the inlay(s) using the Assemble an Inlay procedures.
After assembly, position the next layer on the Base material and trace where the next set of voids will be cut from. You trace the shapes so you know where and where not to place the double sided tape used to hold the template in place.
Position and secure the template in place and route out all of the voids on the layer.
Assemble the inlay and repeat the above steps again until the final layer has been built.
