 $75
$75FREE SHIPPING
We only ship in the US
Dimensions:
5-1/2" Tall, 4-1/4" Wide
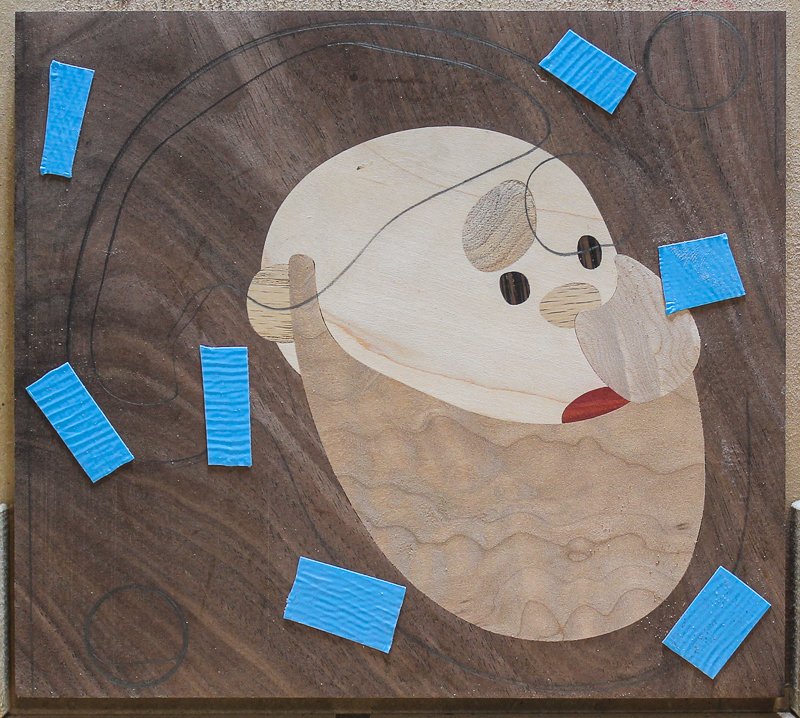
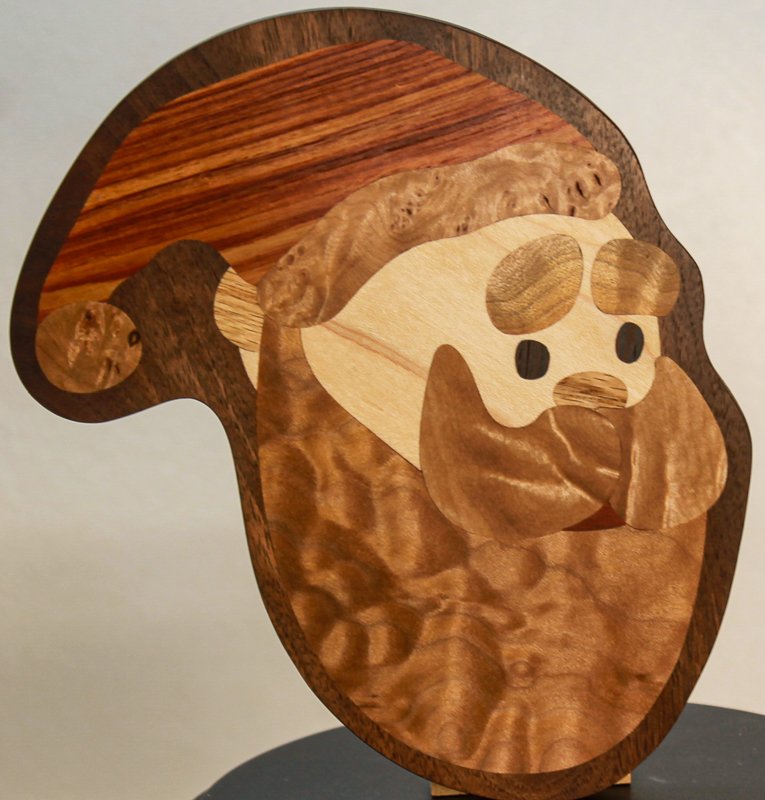
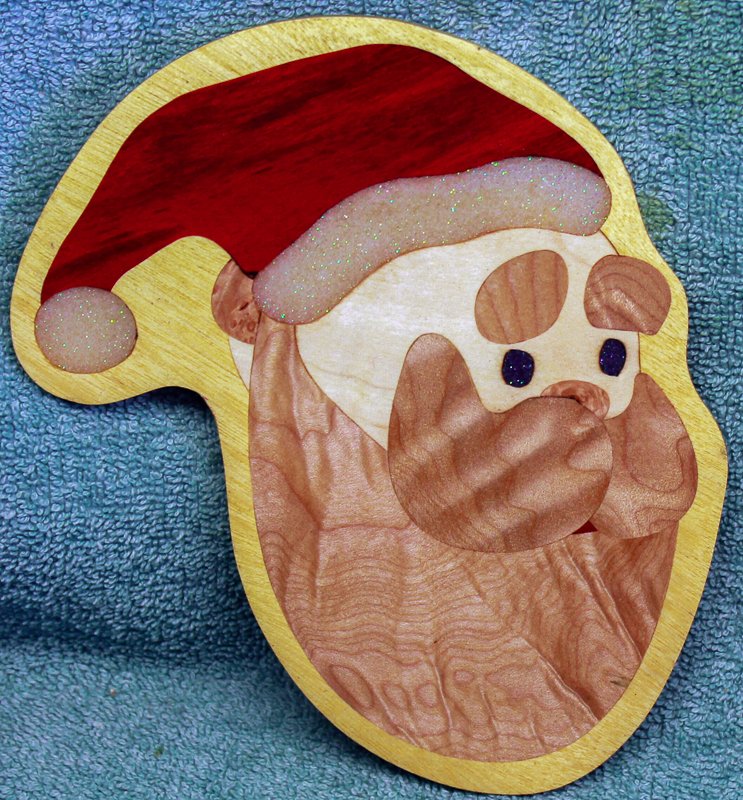
Walnut Santa
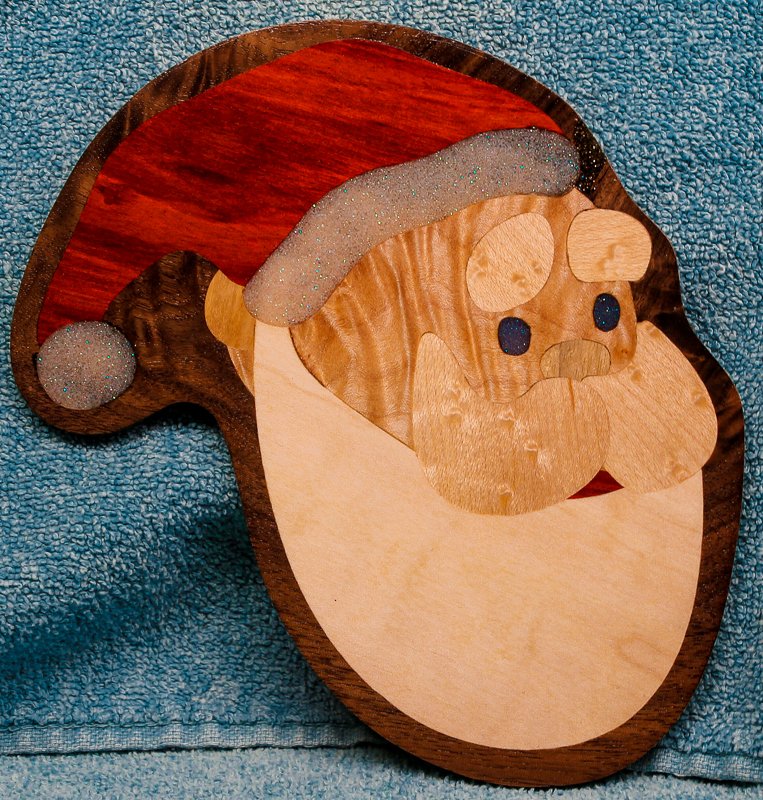
Brazilian Cherry Santa

Yellow Heart Santa
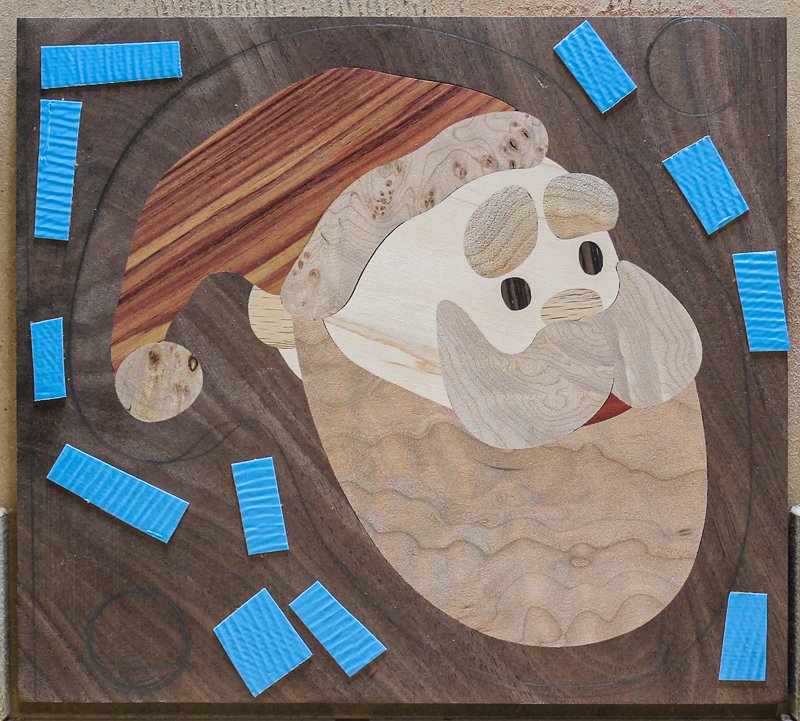
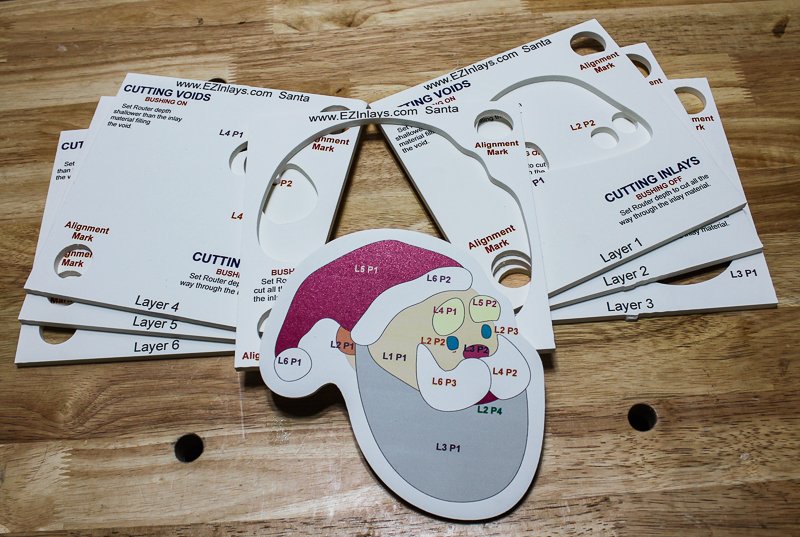
What's Included in the Kit
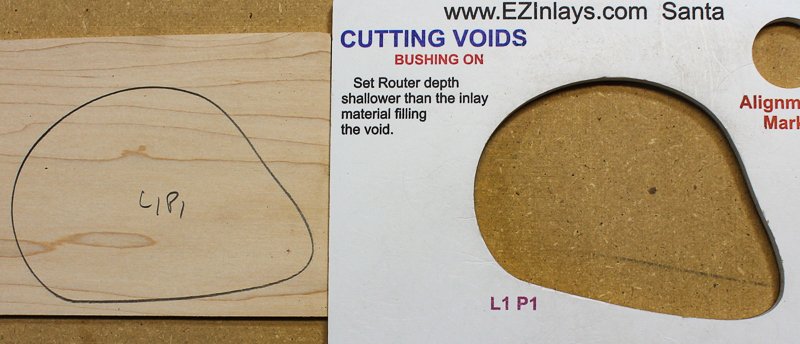
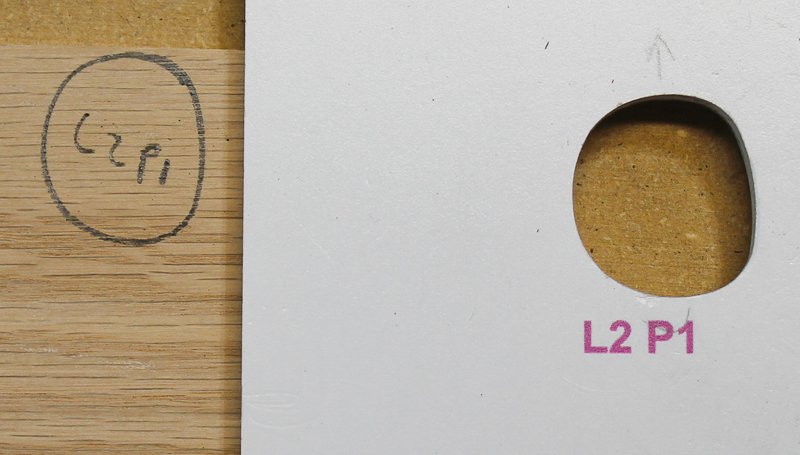
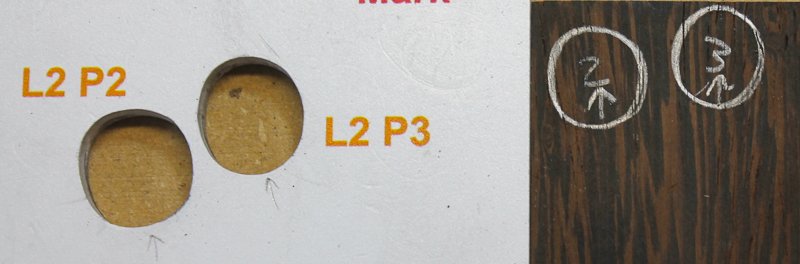
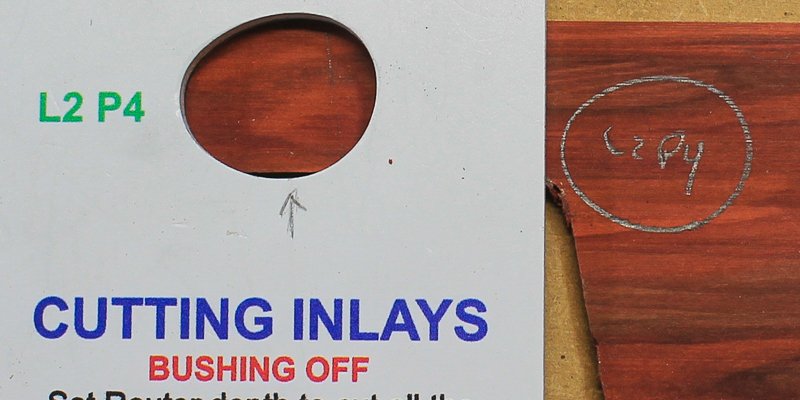
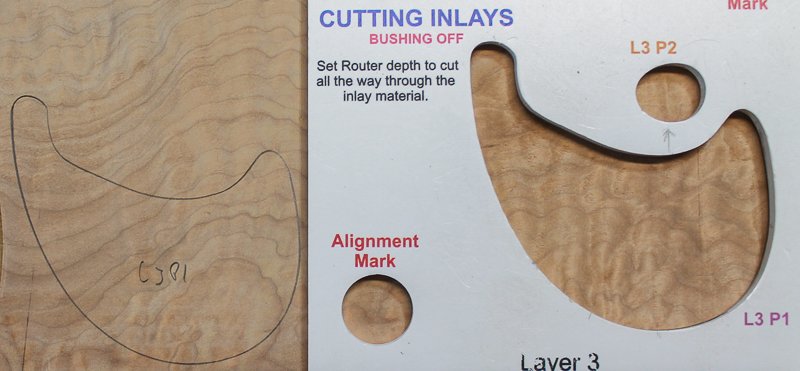
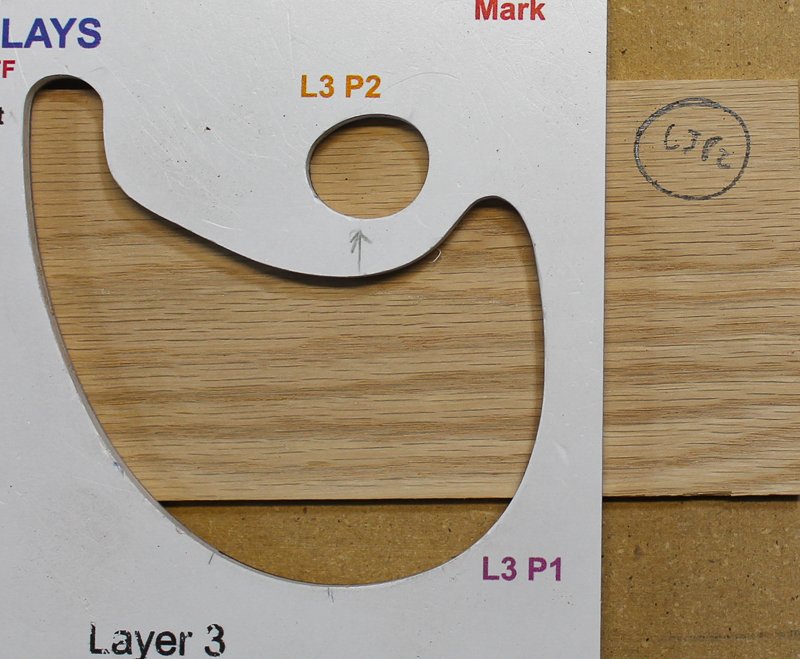
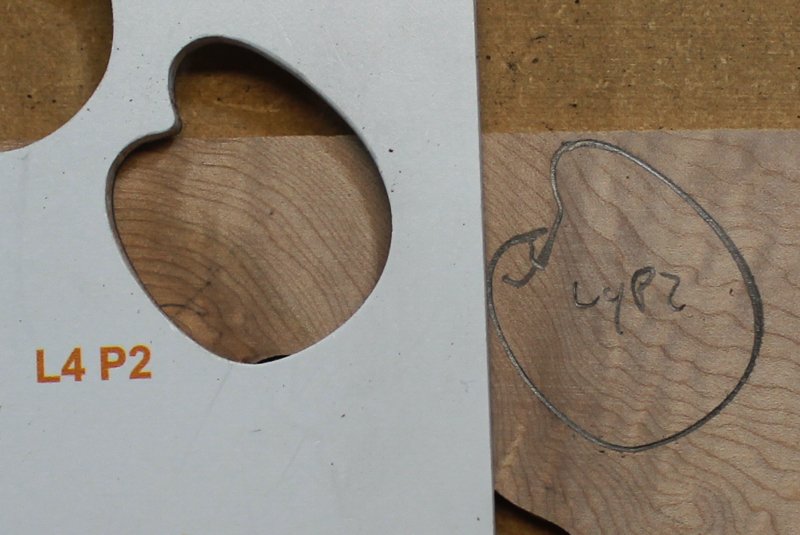
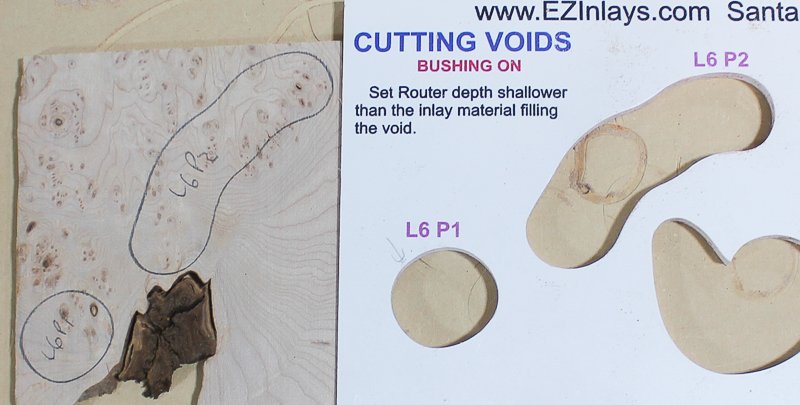
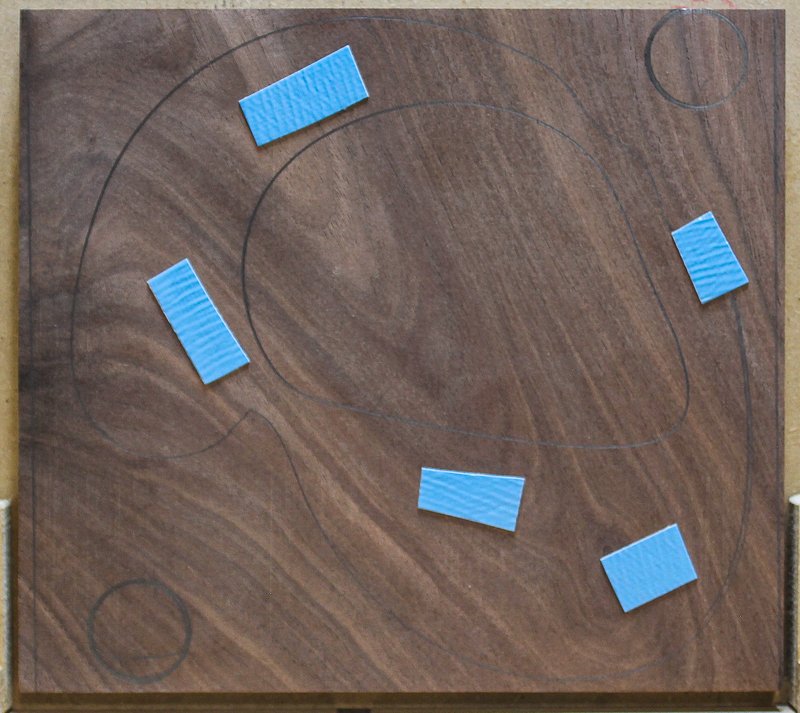
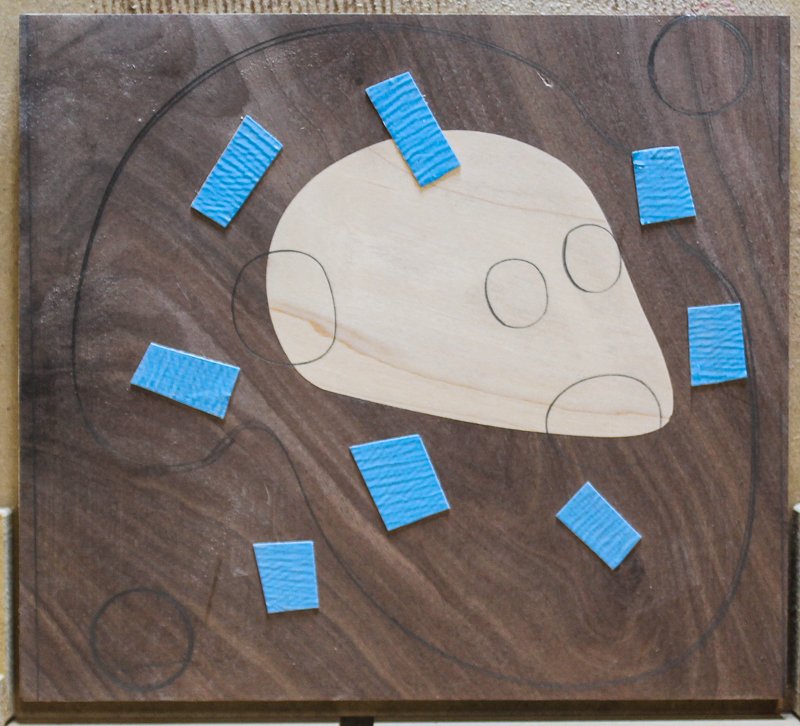
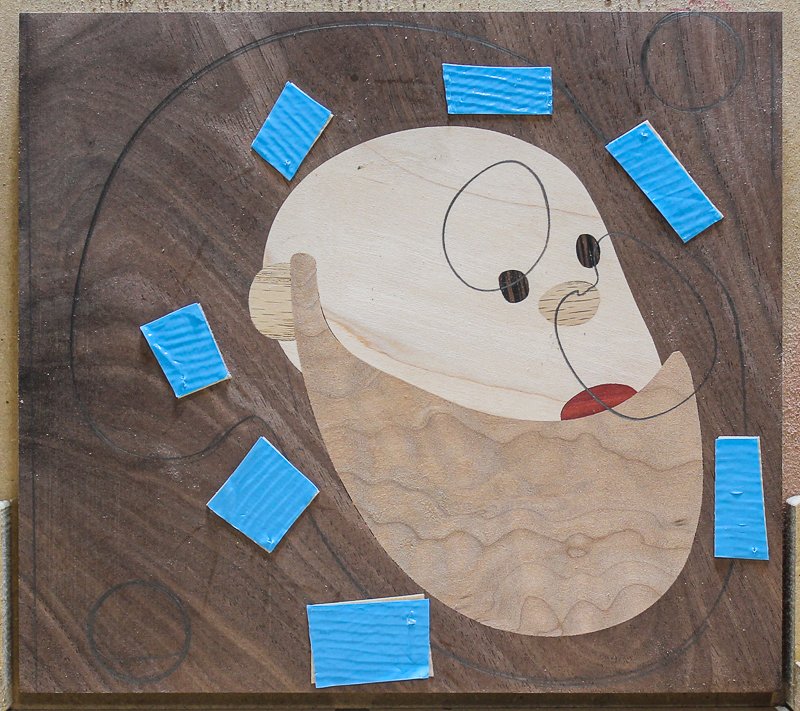
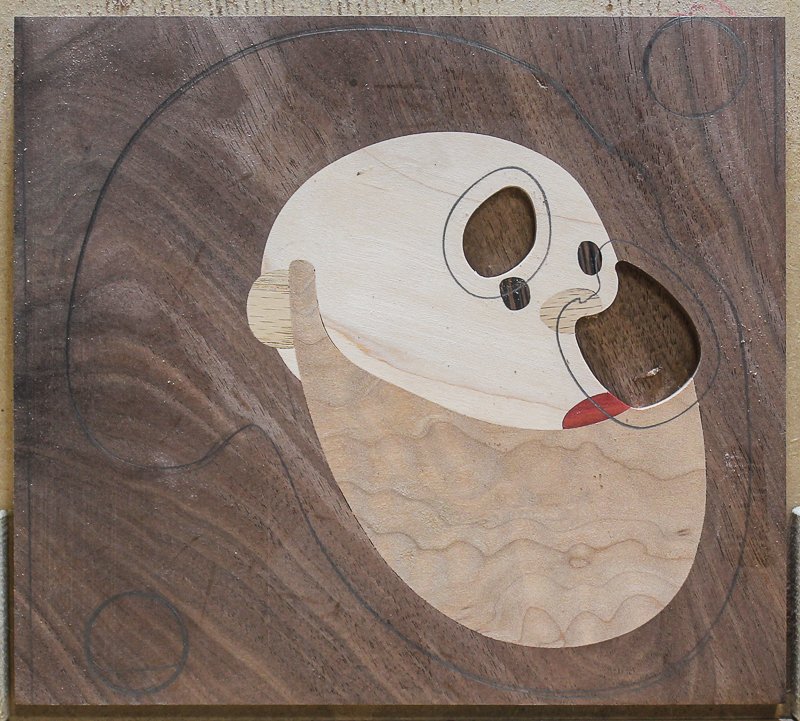
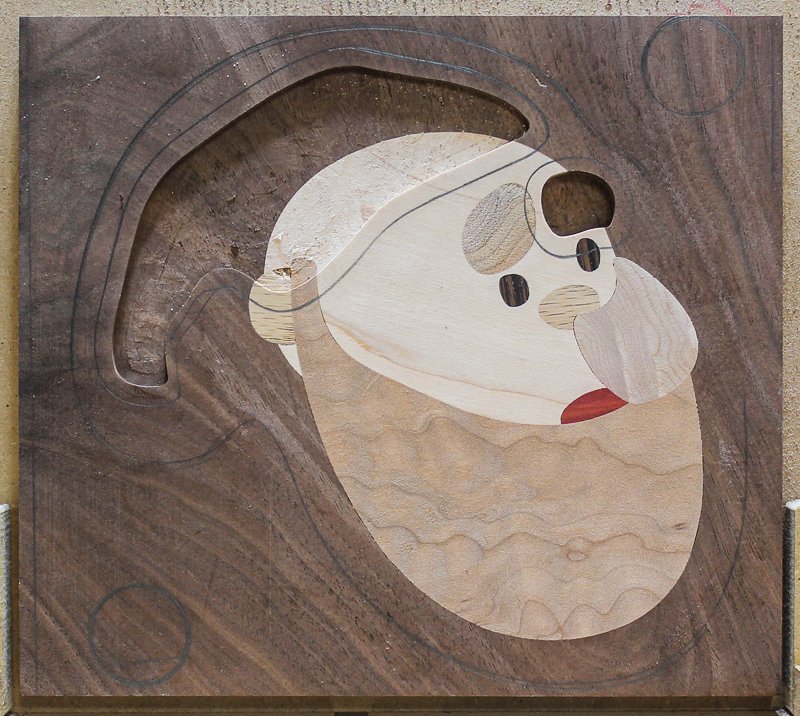
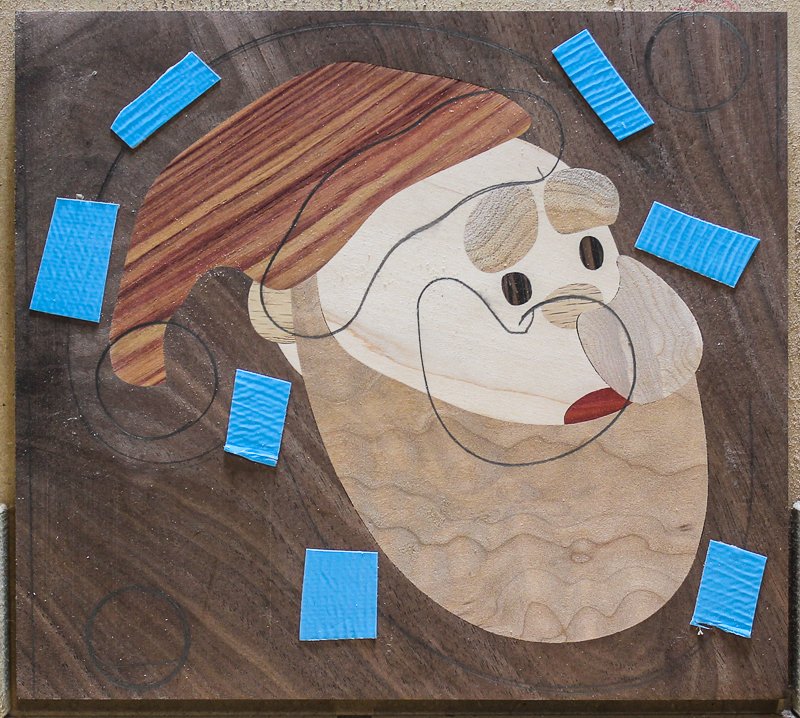
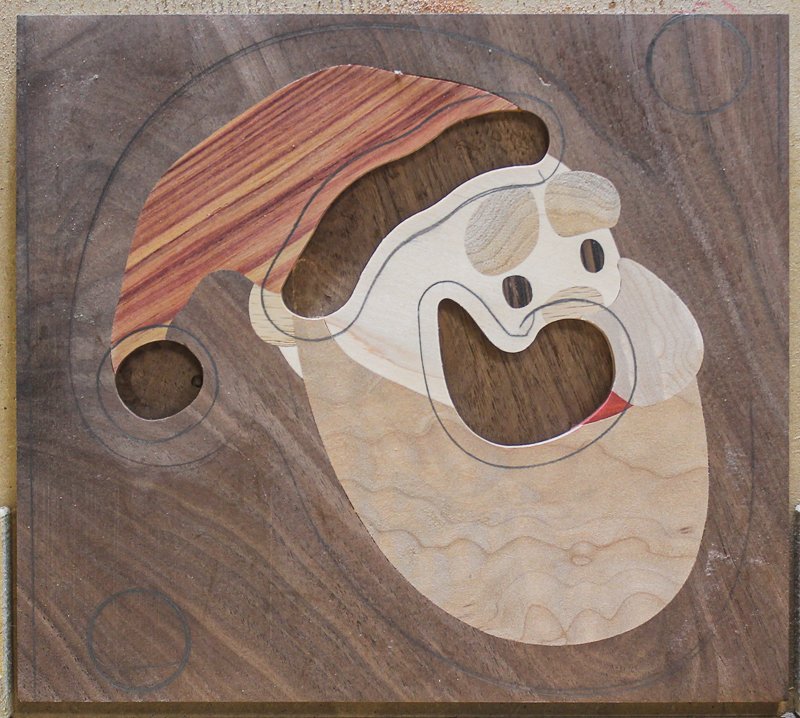
For $75 you'll receive a decorative inlay kit containing 7 templates. The first six templates builds each layer of Santa Claus. The seventh template allows you to cut out the design as a Christmas Ornament.
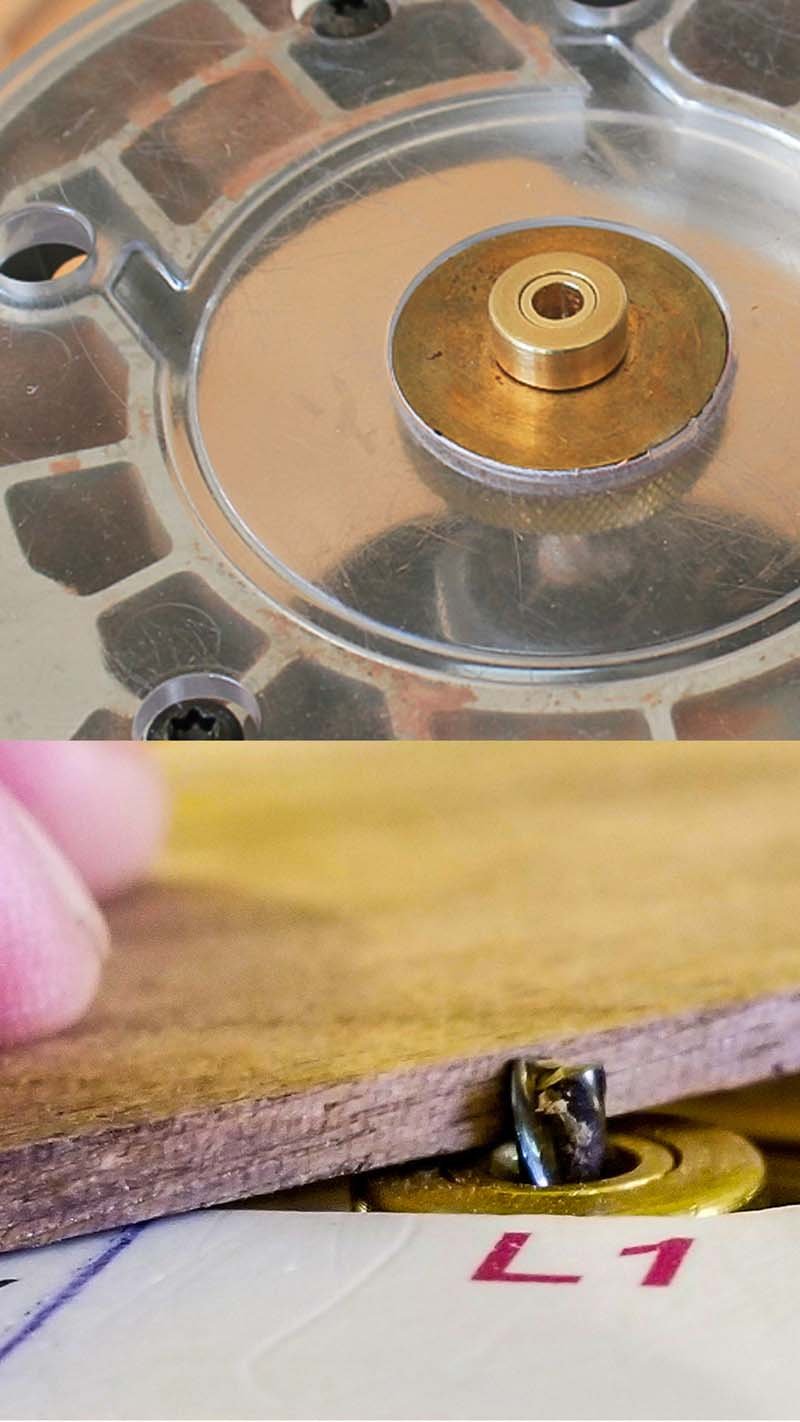
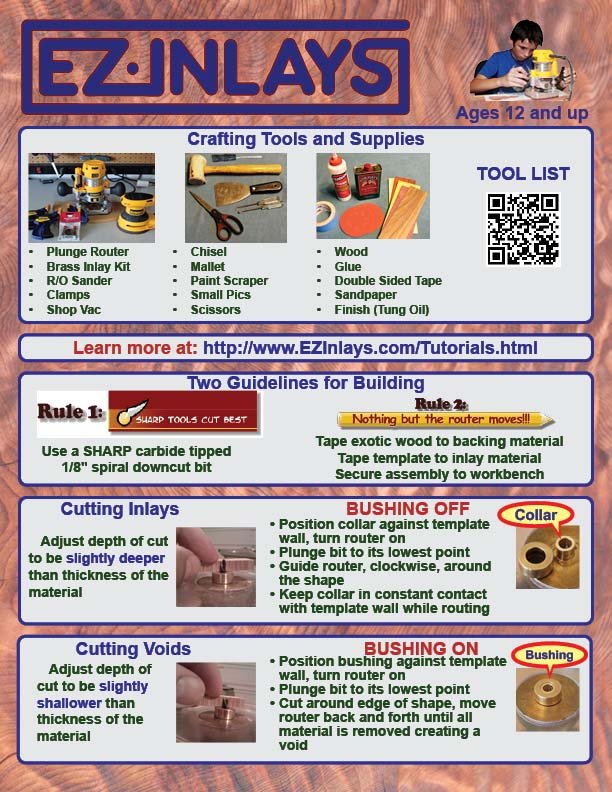
Best of all you don't need to be a master crafts-person, much less a woodworker, to build this ornament. All you need is a few basic tools that are inexpensive as well as safe and easy to use. Click here review the Router Based Inlay Tool List.
Never built an inlay before? Click here to Learn How To Build Any Wood Inlay.