Ruddy Christmas Ornament Inlay Kit

Santa Claus Templates
PayPal Pixel
$50
FREE SHIPPING

We only ship in the US
Dimensions: 4-3/4" Tall, 3-3/4" Wide
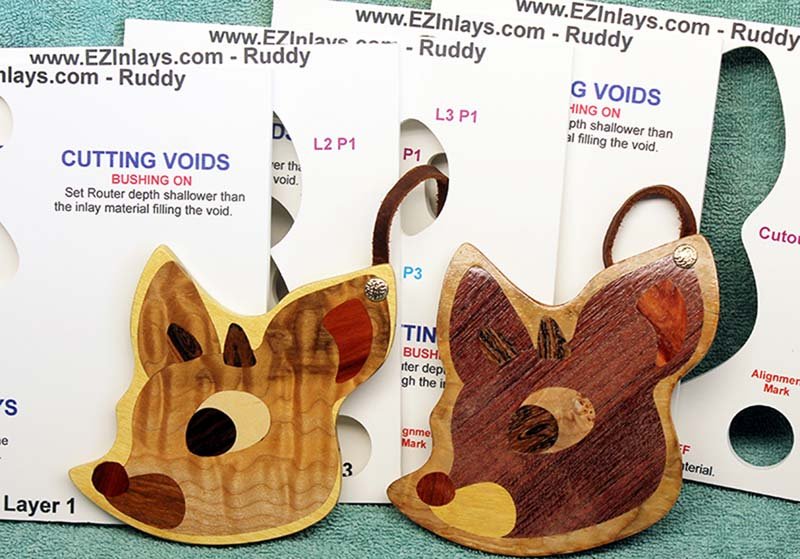
Ruddy Templates
What's Included in the Kit

  For $50 you'll receive the Ruddy wood inlay kit so you can complete the DIY Christmas Ornament that honors the claymation version of Rudolph the Red Nosed Reindeer. By following the router based inlay techniques outlined in this page you're guaranteed to create an ornament that will proudly adorn your Christmas Tree for years to come.

  Best of all you don't need to be a master crafts-person, much less a woodworker, to build this ornament. All you need is a few basic tools that are inexpensive as well as safe and easy to use. Click here review the Router Based Inlay Tool List.

  Never built an inlay before? Click here to Learn How To Build Any Wood Inlay.
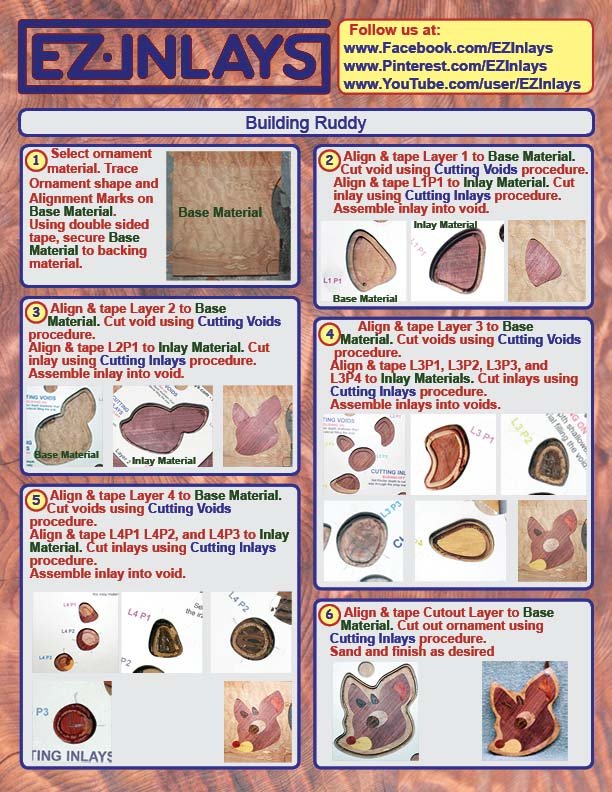
DIY Build of the Ruddy Wood Inlaid Christmas Ornament

Select and Prepare the Inlay Materials

Click twice to play

  When selecting the inlay materials you want to keep a few things in mind. The first is contrast. You want the inlay to stand out against the backing material which is why we chose Maple as the ornament base material.

  You want the base material to be at least 1/4" thick but not more than 3/8". Much thicker than that and it will be difficult to cut out using the plunge router.

The following materials were used to build the Ruddy Christmas Ornament

VIDEO
    * Birds Eye Maple 7" x 7" x 3/8" - Base material
    * Old Growth Redwood 4" x 4" x 1/8" - Face and Ear
    * Bacote 2" x 2" x 1/8" - Antlers
    * Red Heart 3" x 2" x 1/8" - Inner Ear and Nose!
    * Lacewood 3" x 2" x 1/8" - Muzzle
    * Wenge 2" x 2" x 1/8" - Inner Eye
    * Pine 2" x 2" x 1/8" - Outer Eye

WRITTEN INSTRUCTIONS
    * Quilted Maple 7" x 7" x 3/8" - Base material
    * Purple Heart 4" x 4" x 1/8" - Face and Ear
    * Bacote 2" x 2" x 1/8" - Antlers and inner eye
    * Red Heart 3" x 2" x 1/8" - Inner Ear and Nose!
    * Yellow Heart 3" x 2" x 1/8" - Muzzle
    * Maple 2" x 2" x 1/8" - Outer Eye

Create the Alignment Marks & Trace Out the Shapes

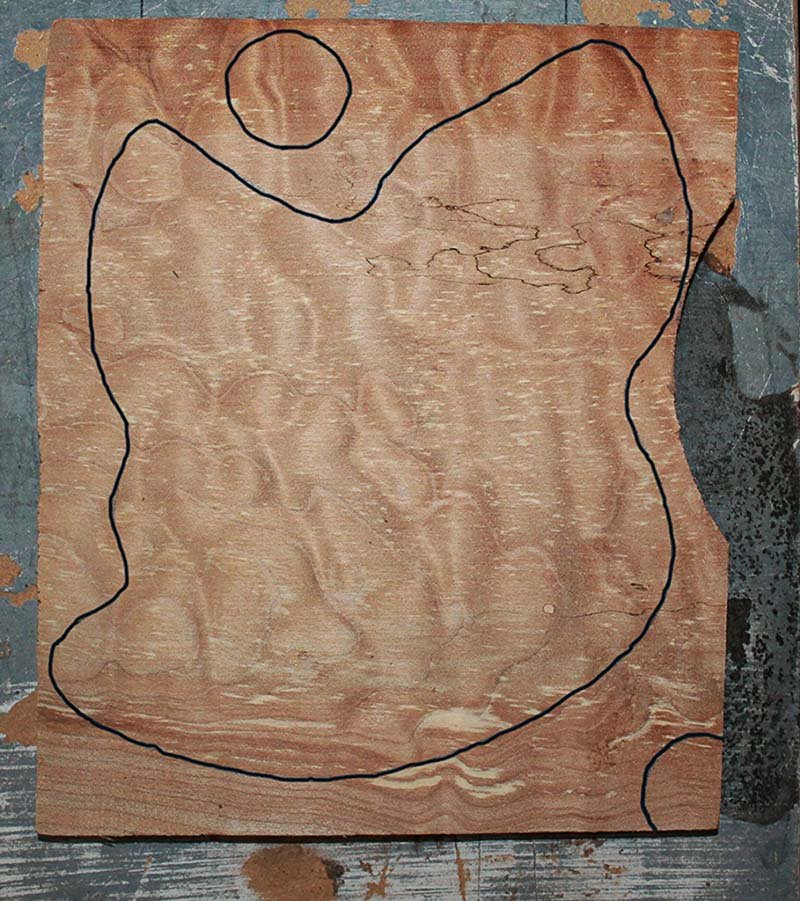
Base Materials marked with alignment marks

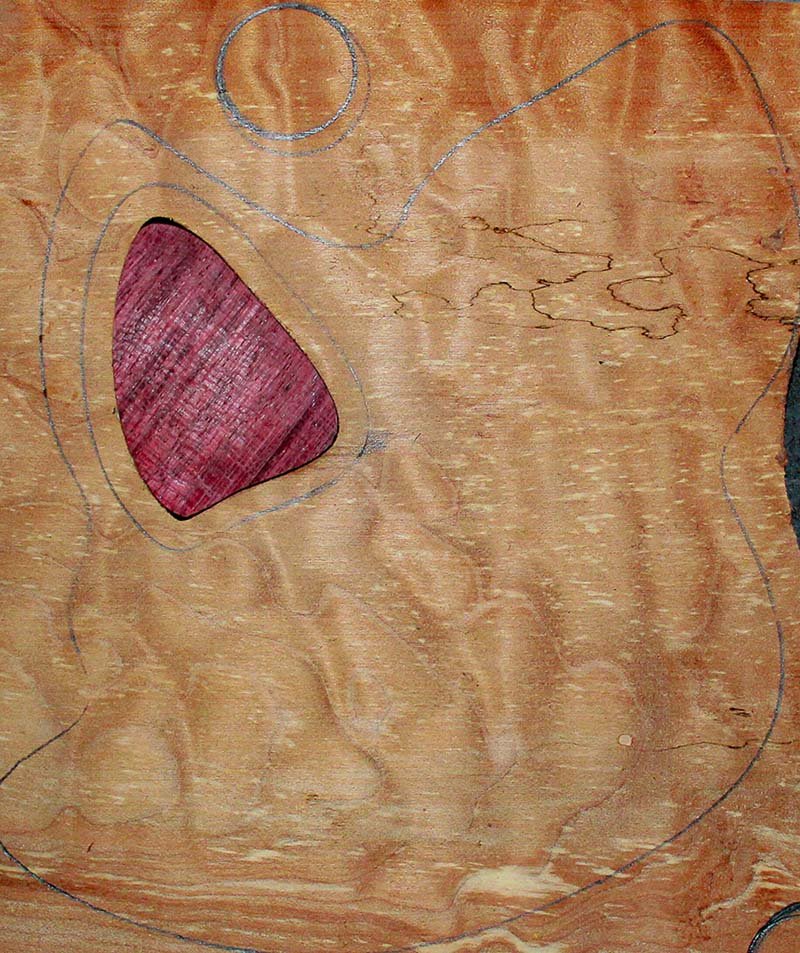
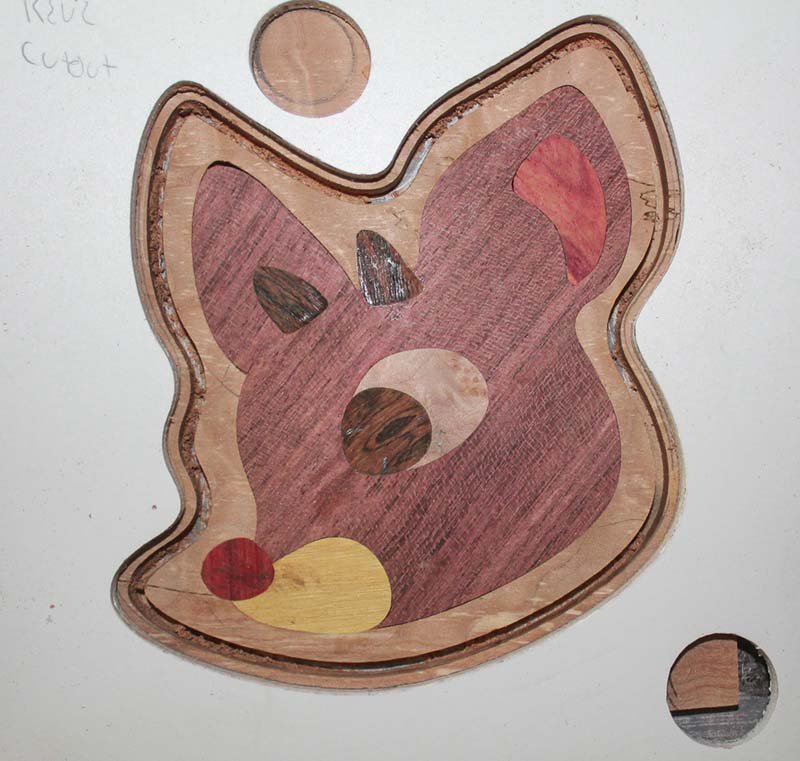
  After selecting the inlay materials outline where the shapes will be cut from. Start by orientating the cutout inlay template, Layer 5, on the base material in a direction you like. Trace out the shape of the ornament and draw in the circular alignment marks. The two circles you're drawing are used to align each layer as you cut out the voids.

  The base material should look like the picture after the shape and alignment marks are traced on it.

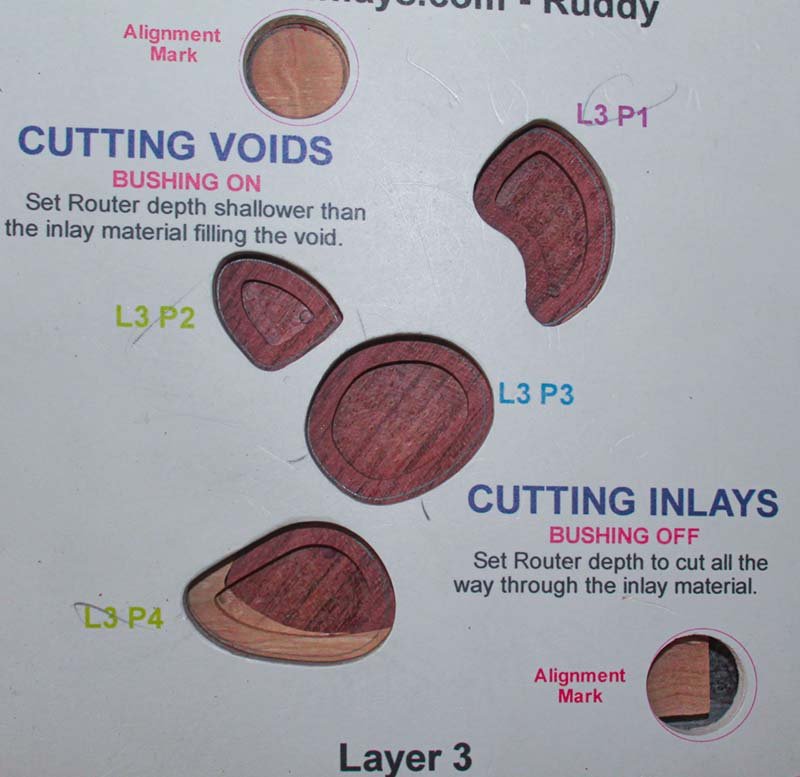
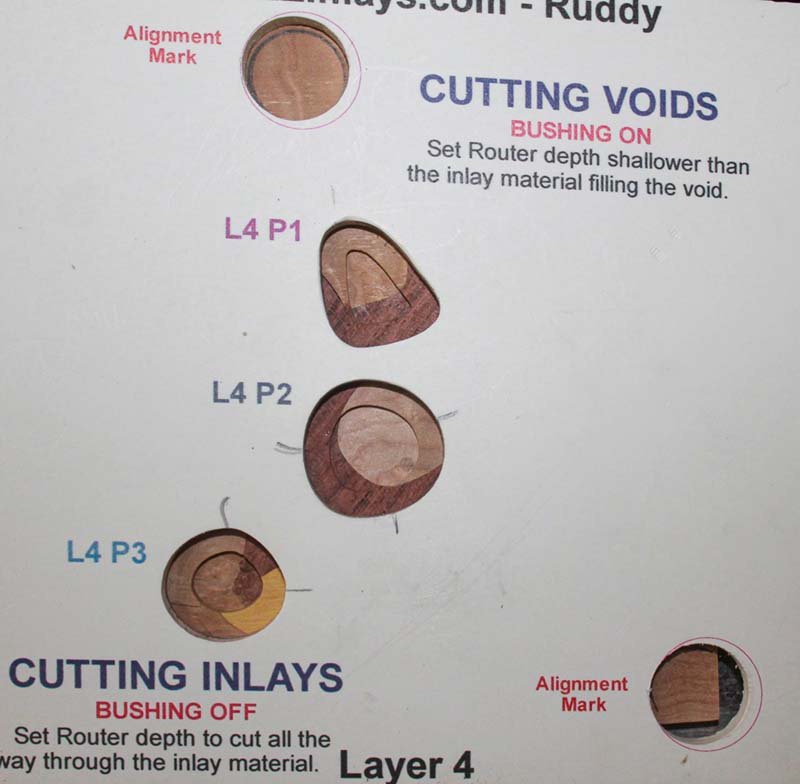
  Trace out the shapes for all inlay pieces on the material they will be cut from. When selecting the areas from which the inlays will be cut from pay attention to grain orientation.

Cutting the Inlay Pieces

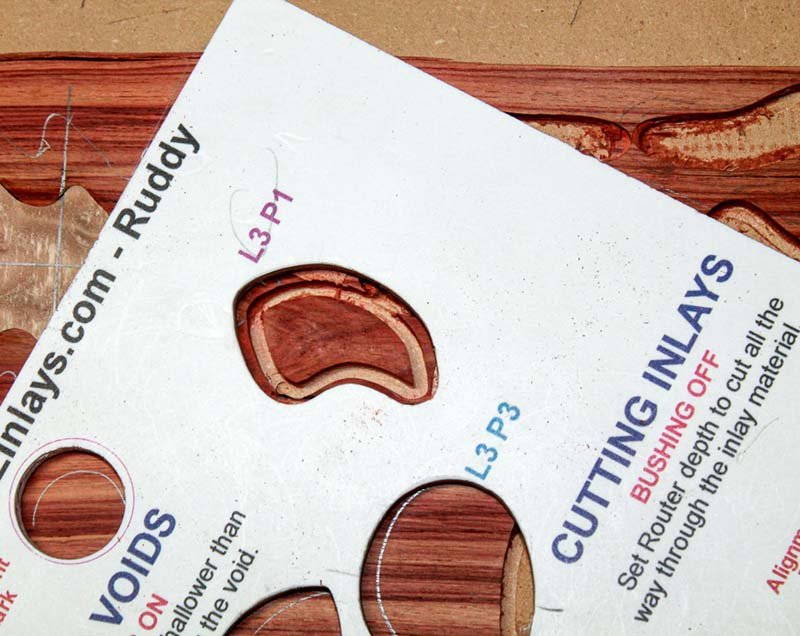
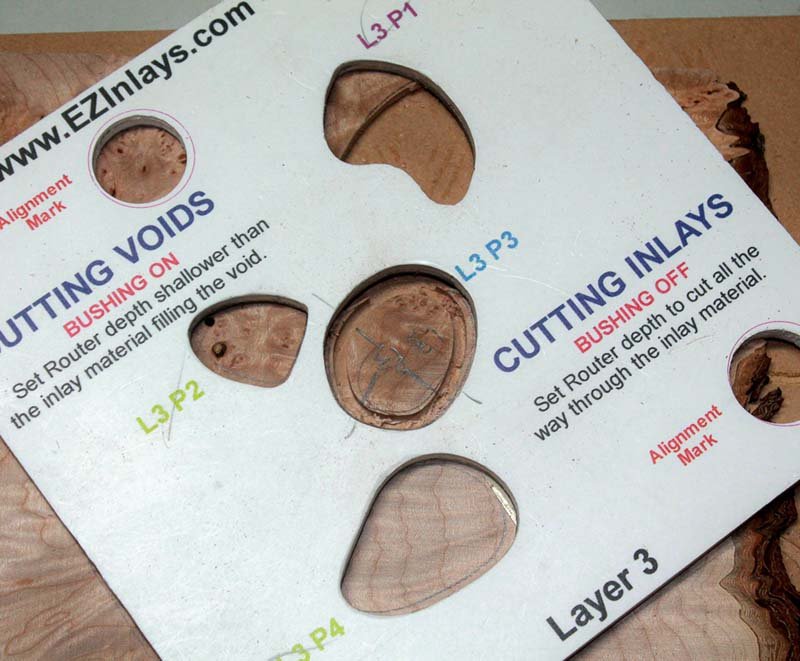
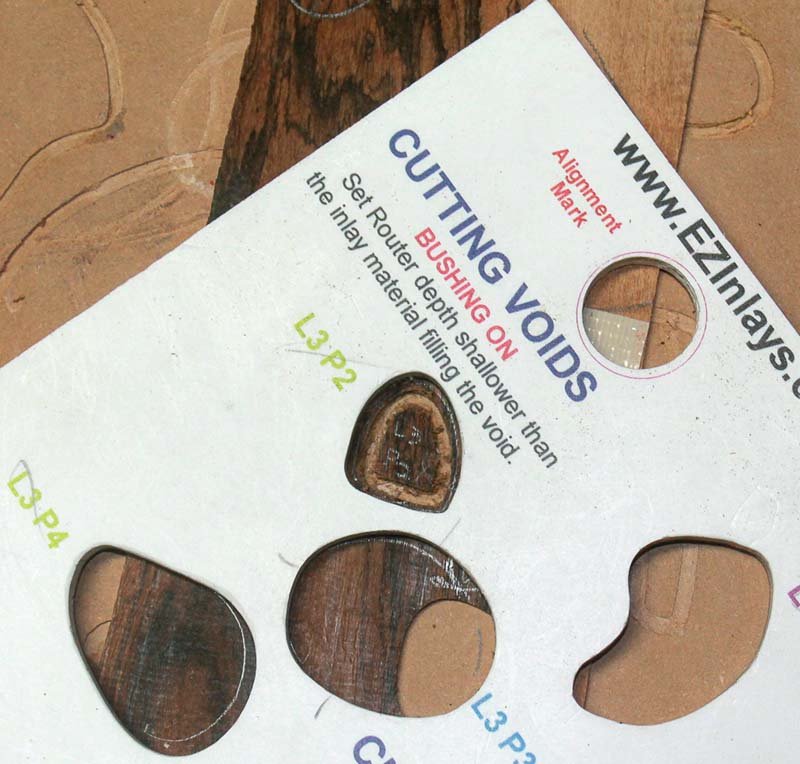
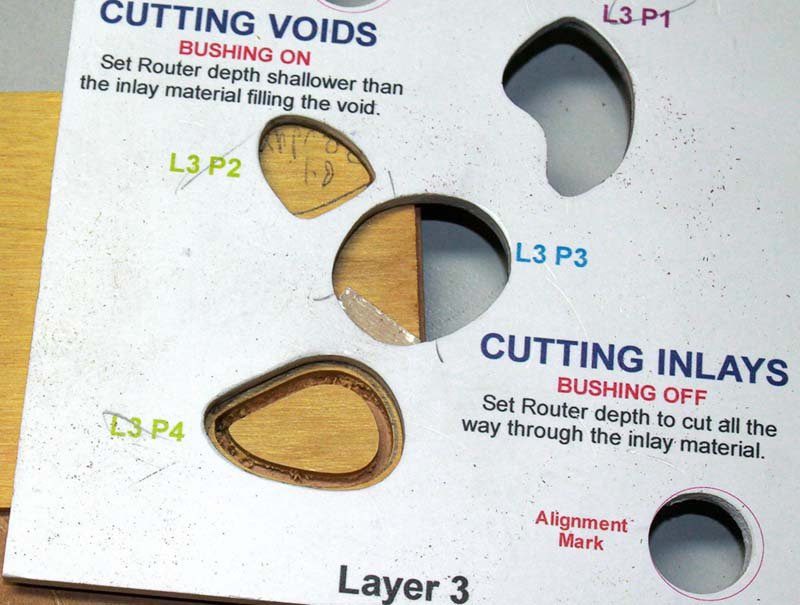
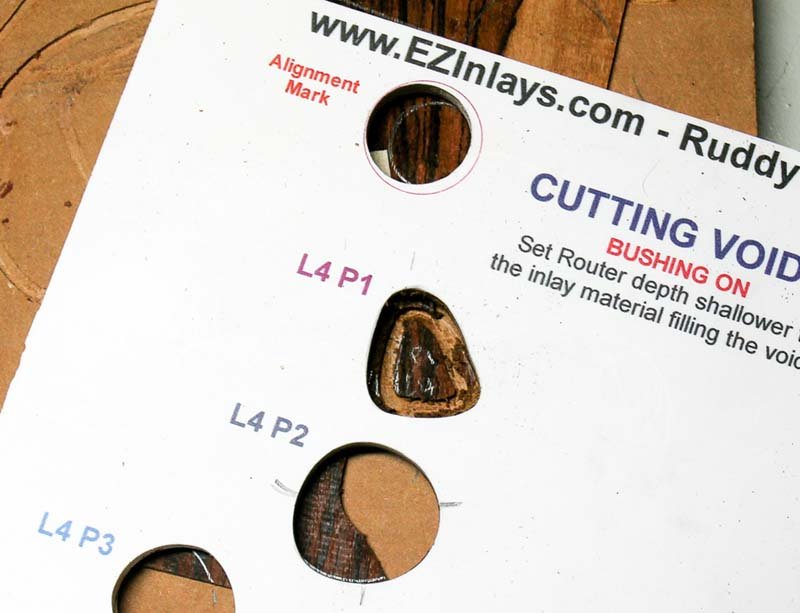
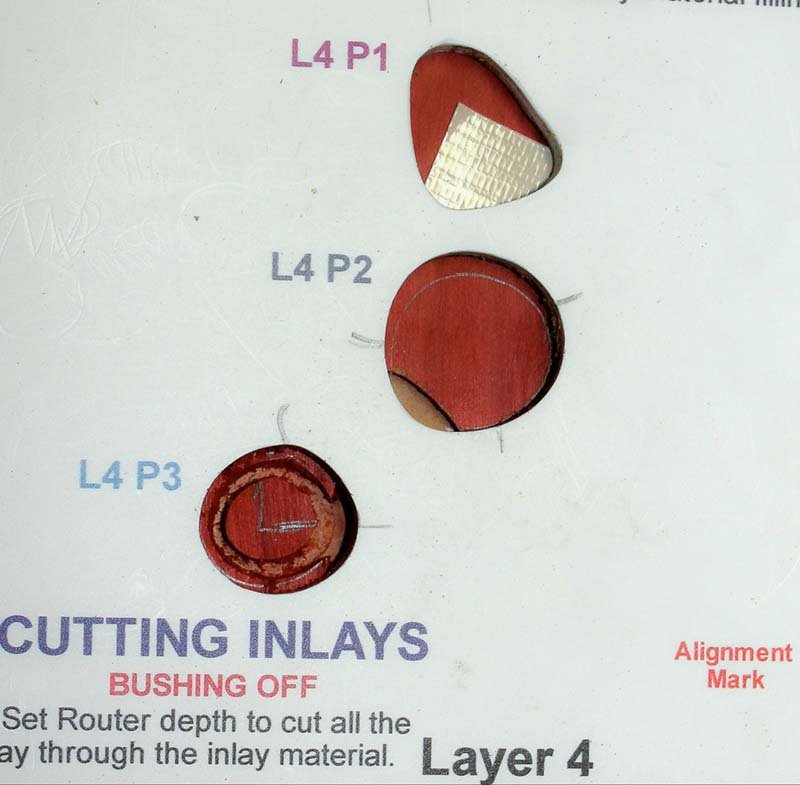
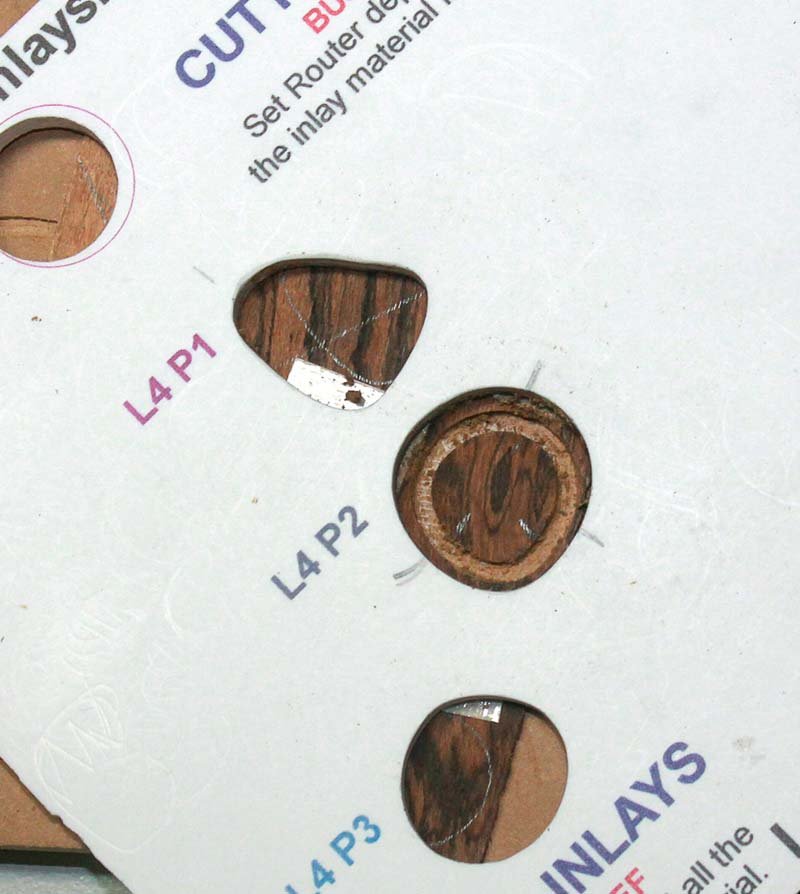
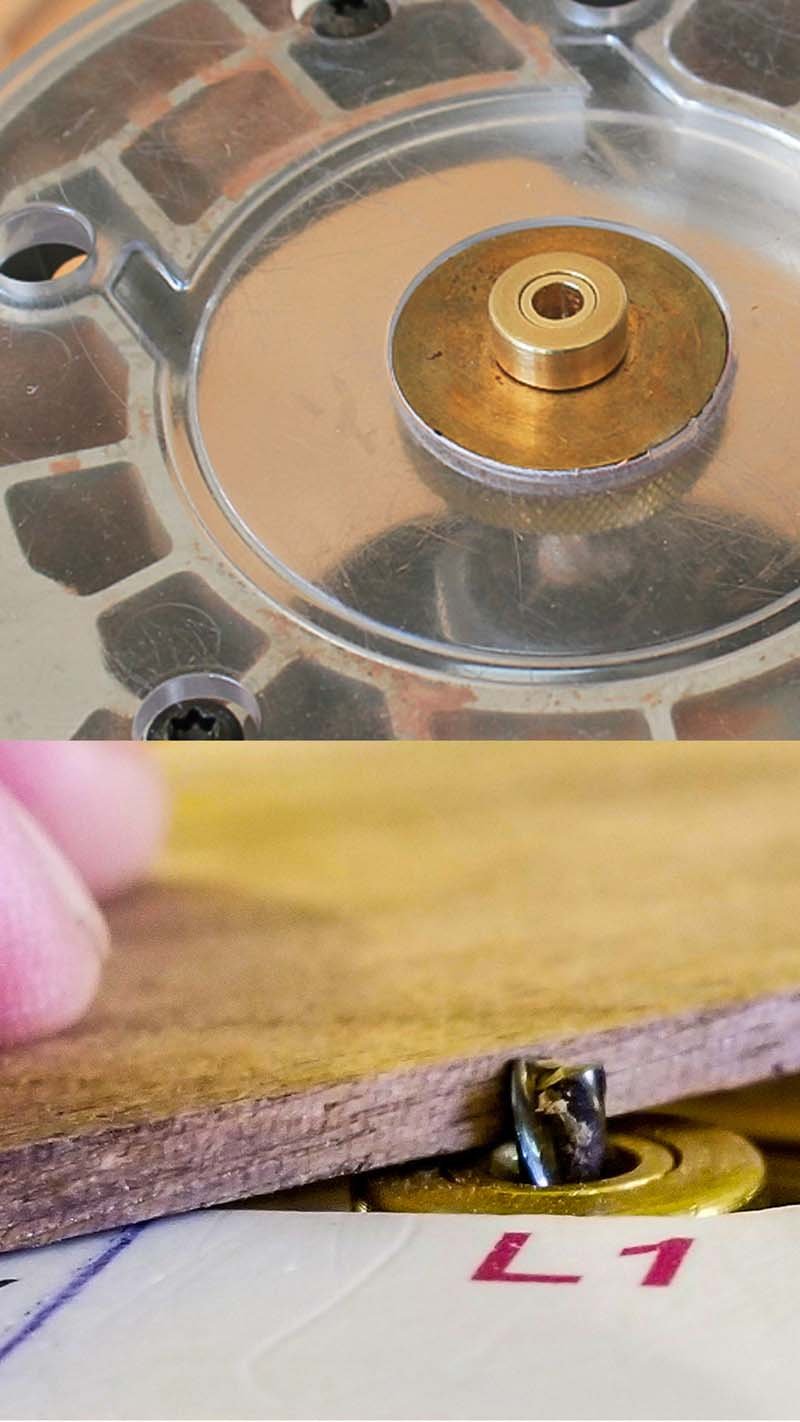
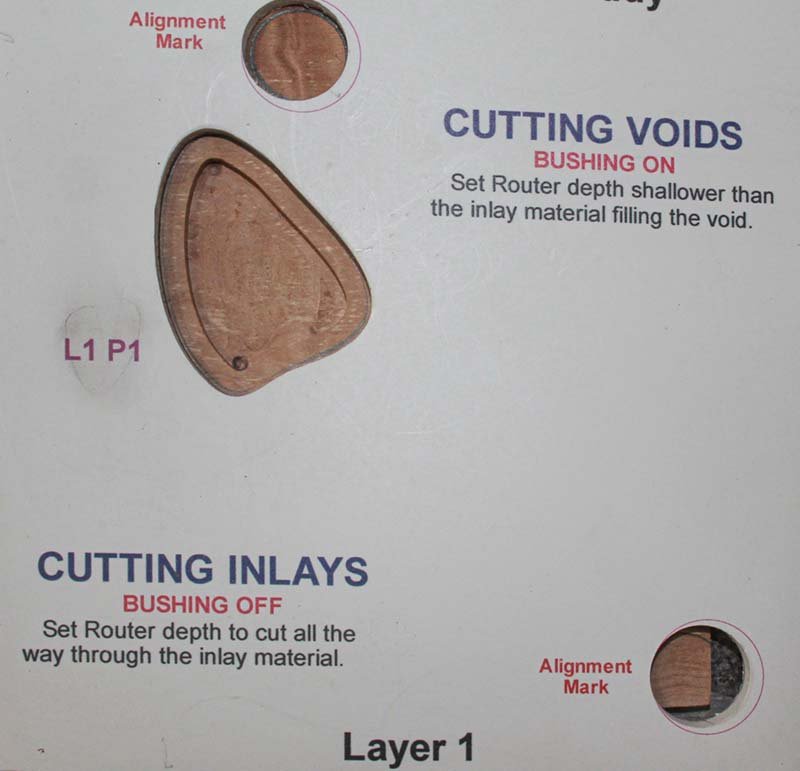
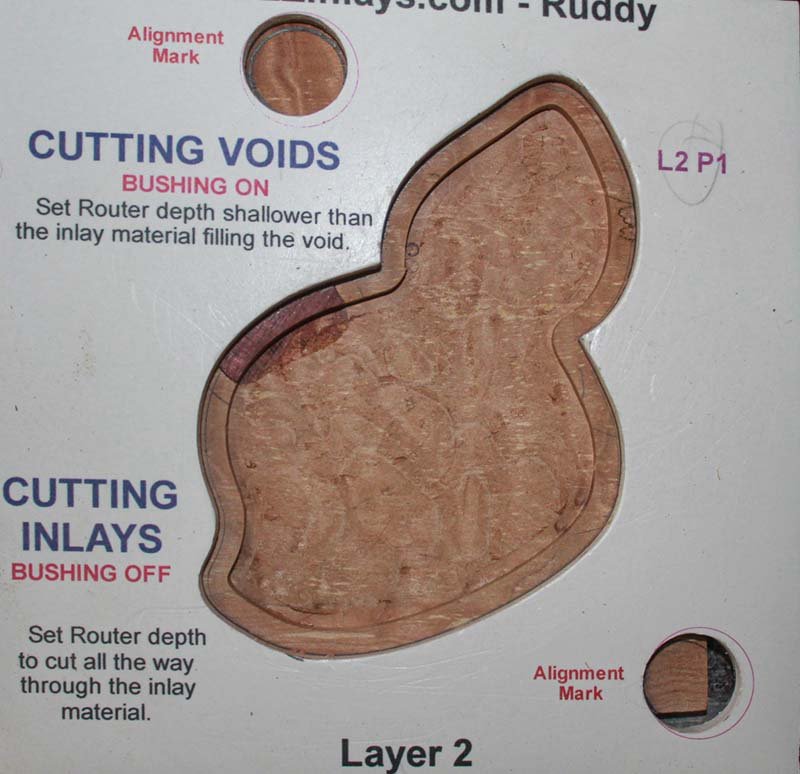
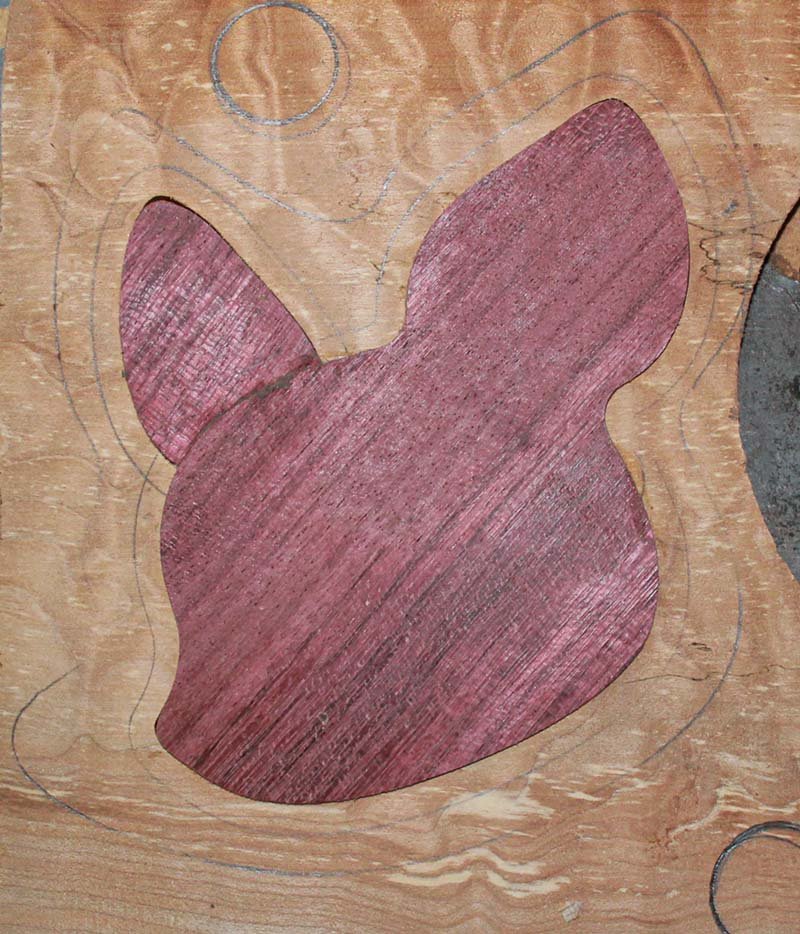
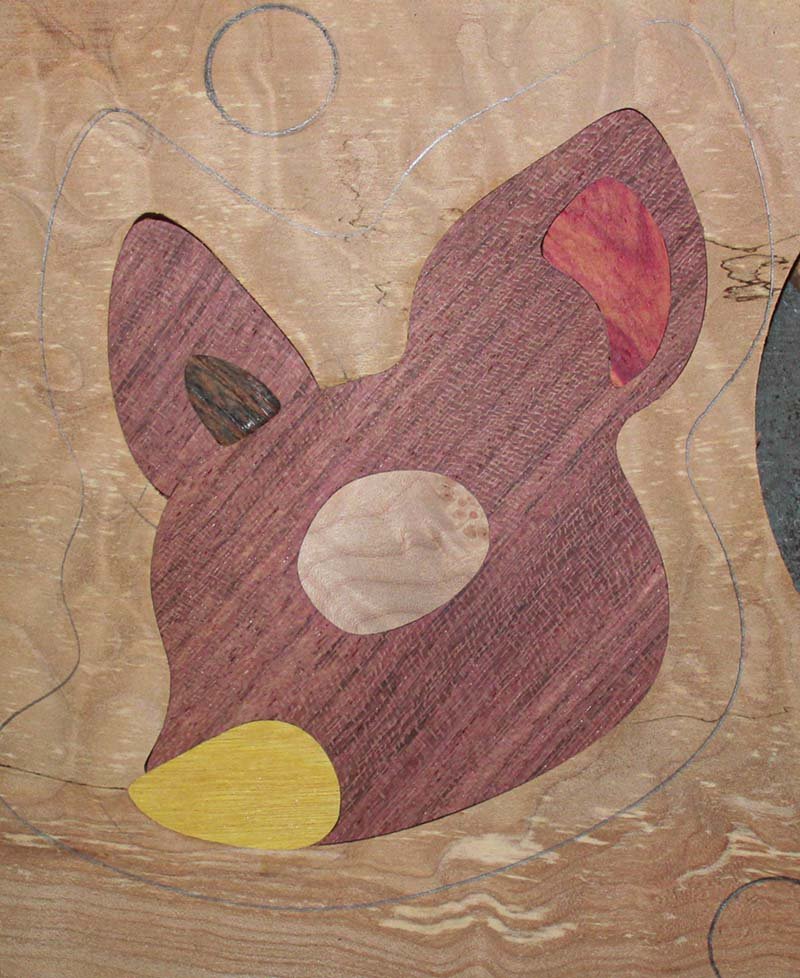
Cut Voids and Assemble Each Layer

Final Sanding and Applying Finish

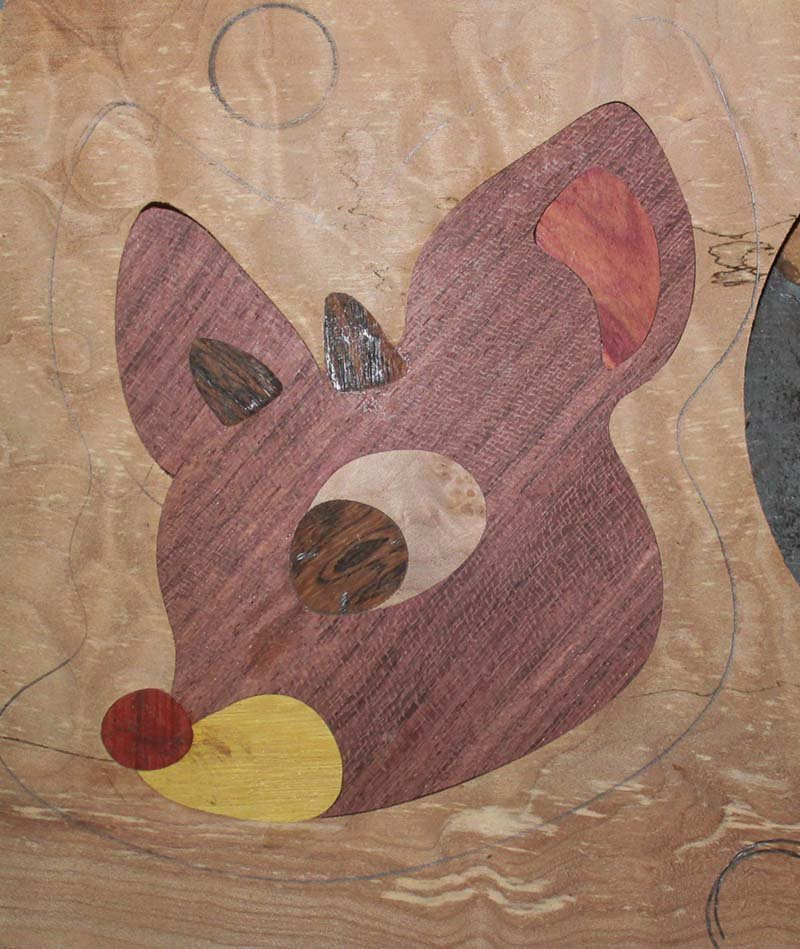
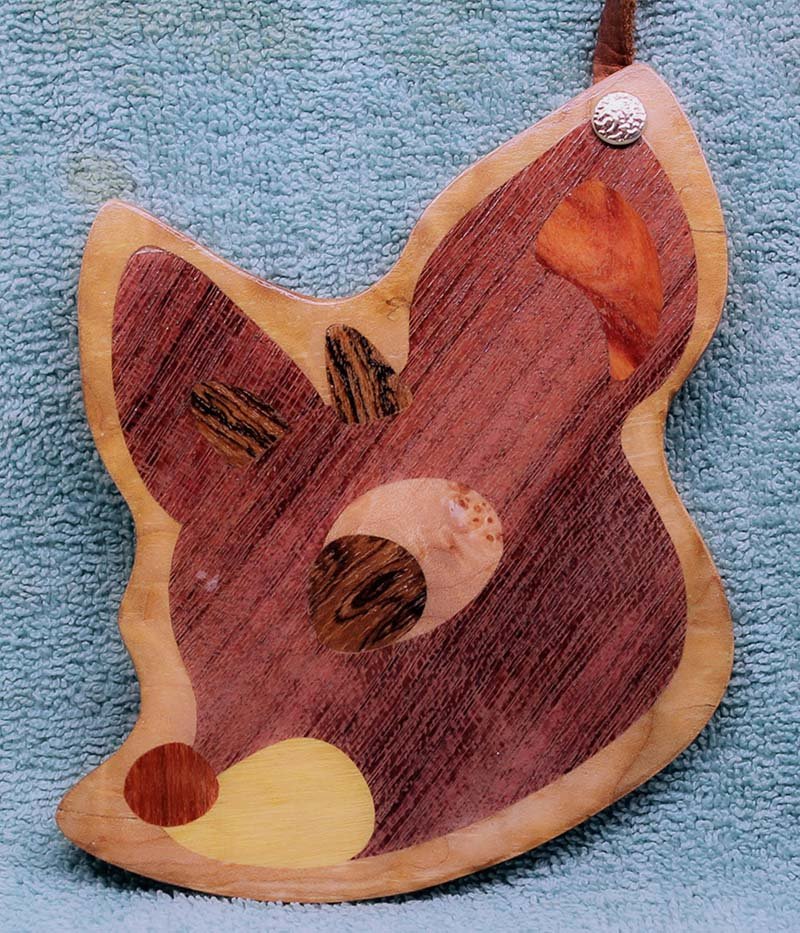
The Ruddy Ornament after finishing

   With the ornaments still affixed to the backing material fix any gaps in the ornaments. To do this just smear a small amount of glue into the gap, wipe off the excess glue, then sand over the area. The sanding action will cause sawdust to mix with the glue in the gap blurring it out.

  After all the gaps have been filled carefully pry the ornament off the backing material. With the ornaments free sand the back and the side of the ornament to remove tool marks.

  Once your ornament is are sanded to your satisfaction apply a finish. Personally I like to apply three coats of Tung Oil followed by three coats of a polyurethane finish that has a UV inhibitor in it. The UV protection will help keep the woods used in your ornament from changing color over time.

  Always follow the instructions of the finish you're using to complete your ornaments. A good rule of thumb for Tung Oil is to hand rub in a coat, wait at least 8 hours for the coat to dry, rub in a second coat and let it dry too. Do this one more time and after the third coat is applied let the oil dry for two days or more. Once the Tung Oil is completely dry apply the poly finish. The finish I use has a dry time of two to three hours so I apply a coat, wait a few hours, apply a second coat, wait a few more hours and then apply the final coating.

Facebook link   Pinterest link   etsy link