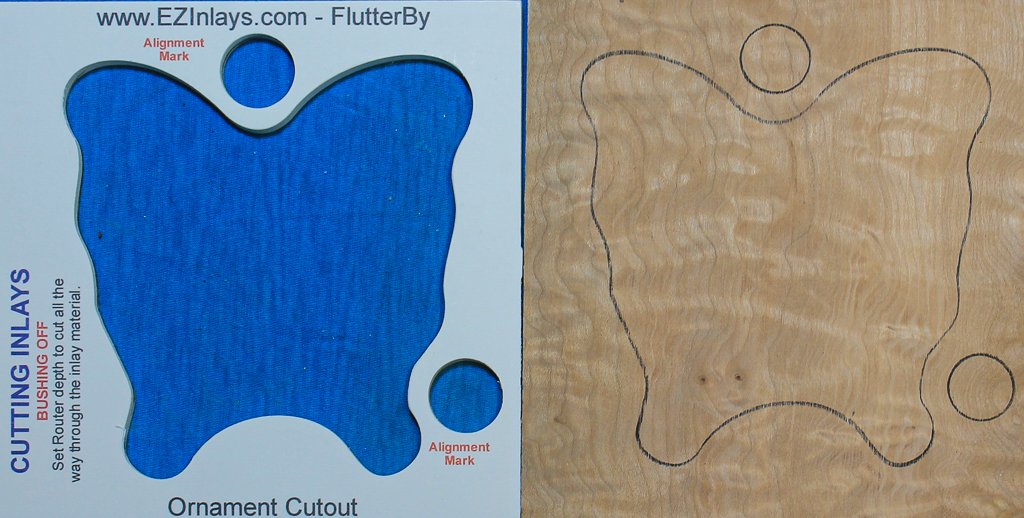
Select and Prepare the Inlay Materials
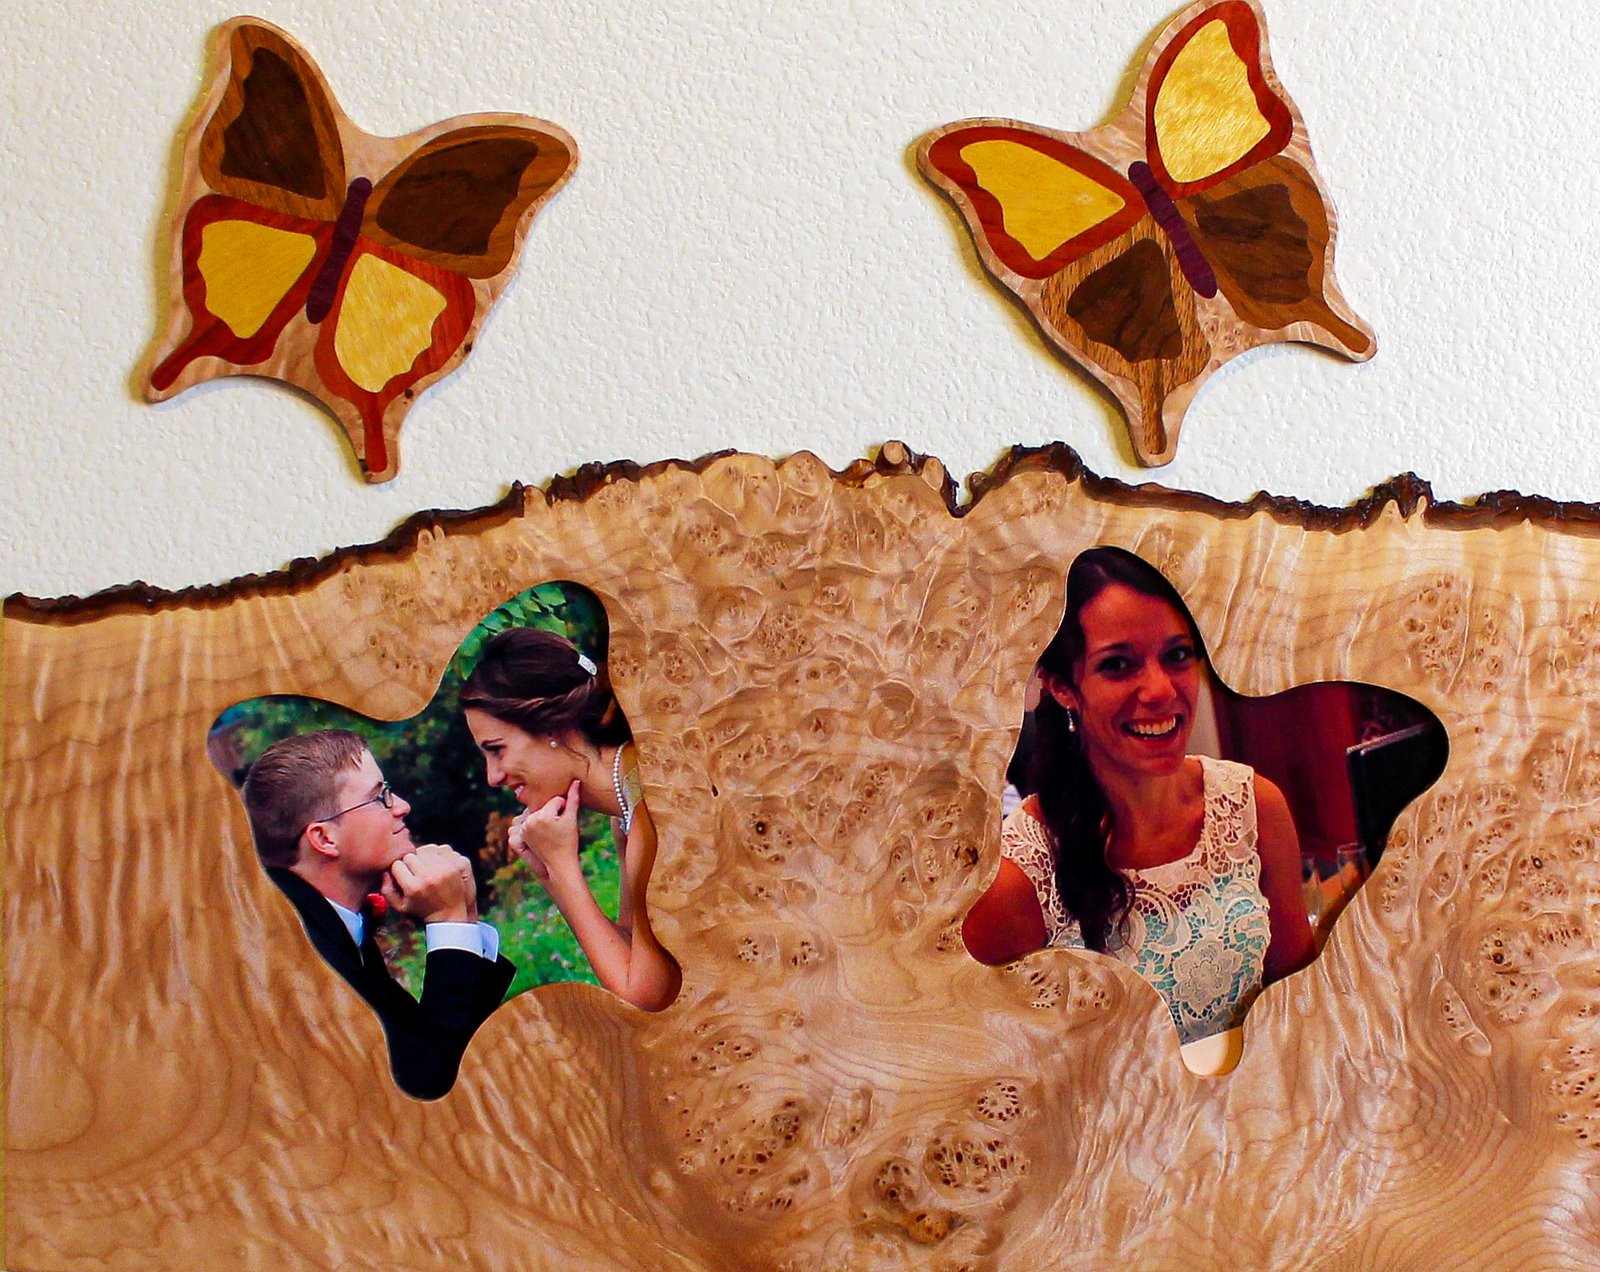
This is another one of those inlays where it's fun picking out wood-color combinations! My favorite part is looking for those perfect pieces to go in the middle of the upper wings!!!
The best tip for this design is to think about how would your creation look in nature. Grain patterns need to flow with the lines of the wings and body or else your design will look weird.
You want the base material, the material in which FlutterBy will be inlaid, to be at least 3/8 of an inch thick, any thinner than that and chances are good your inlay will warp!
INLAY MATERIALS THIS BUILD
* Padauk 7" x 8" x 5/8" - Base material (the lid)
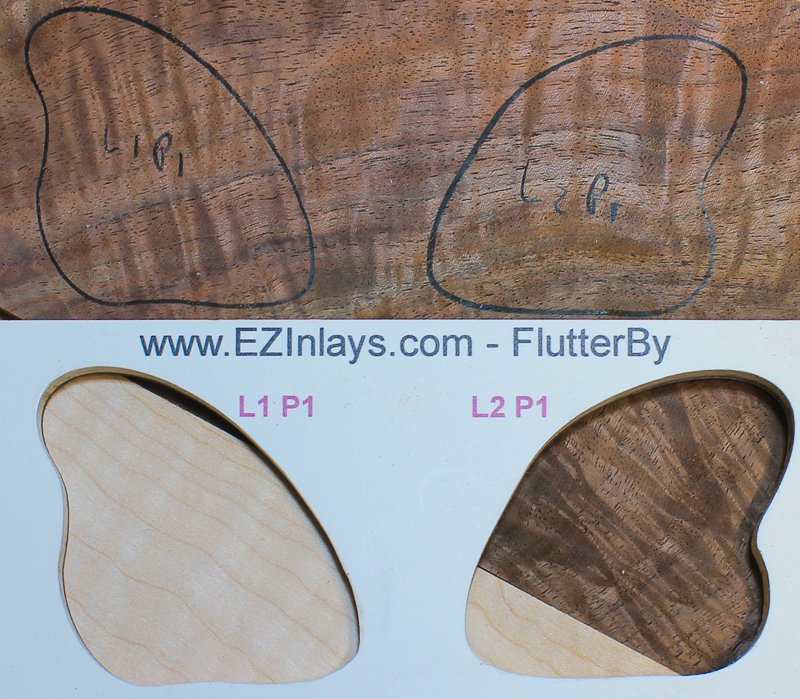
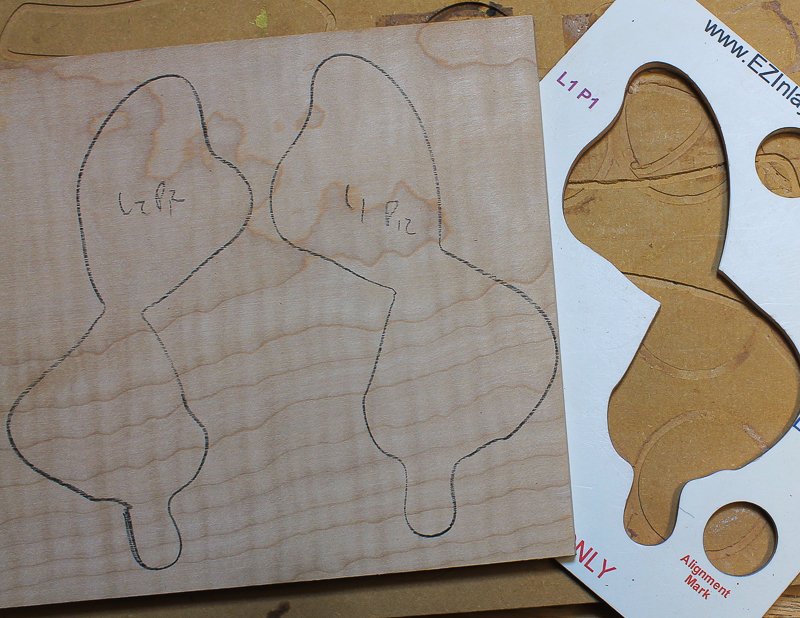
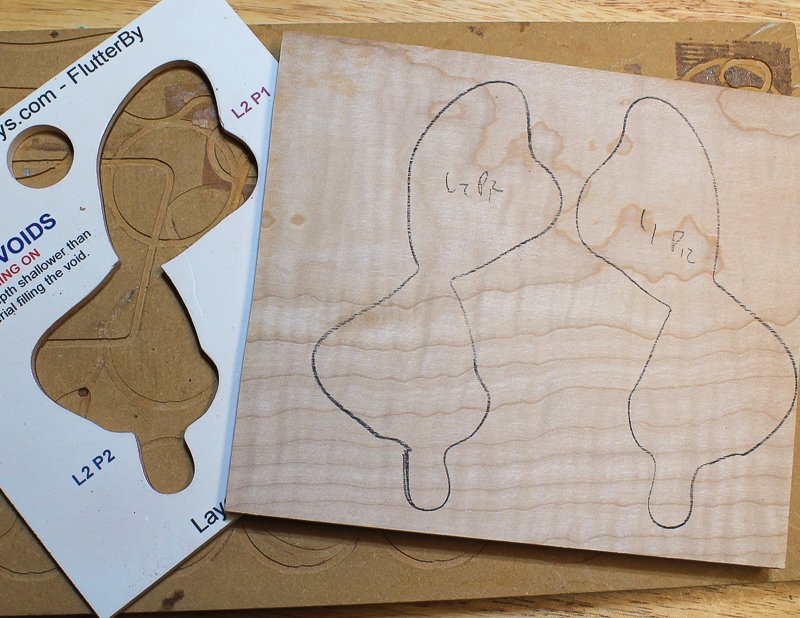
* Curly Maple 6" x 5" x 1/8" - Outer Wings
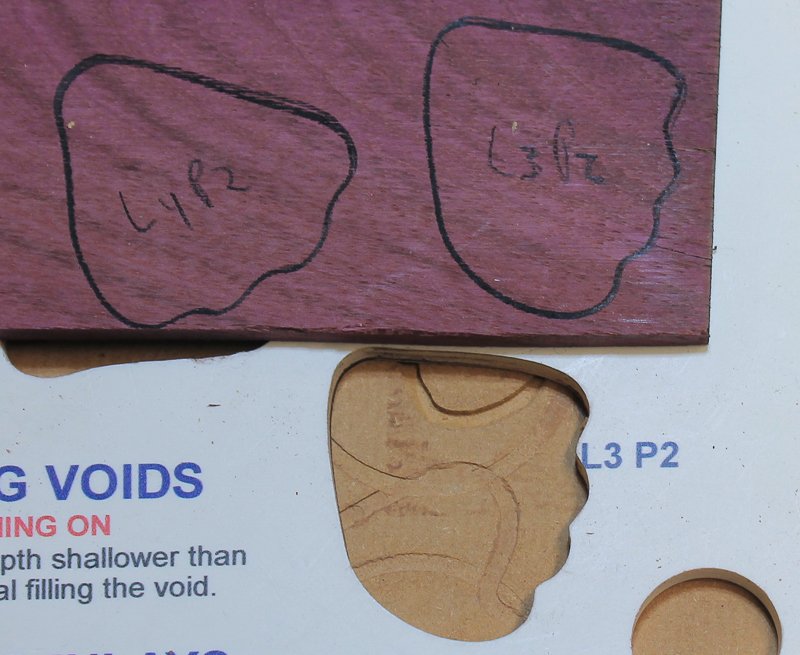
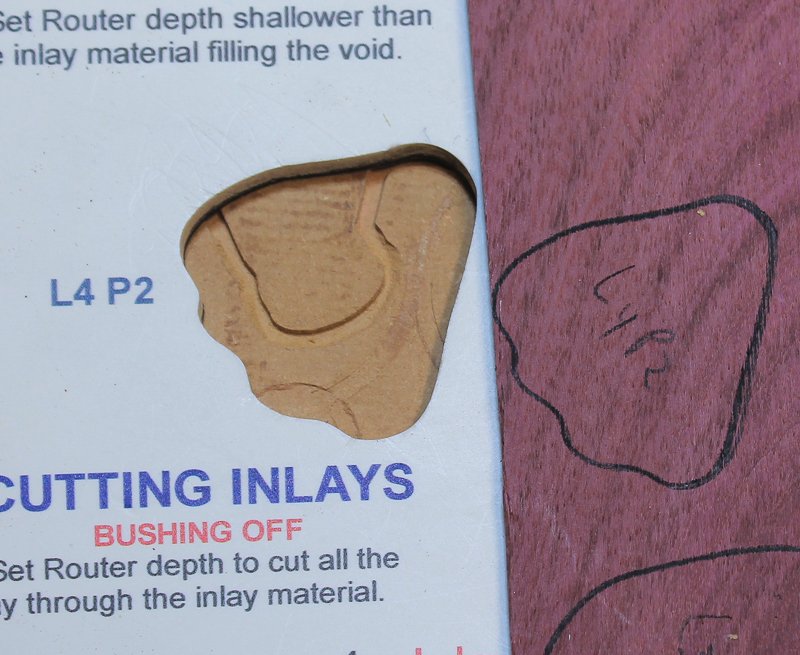
* Purple Heart 4" x 3" x 1/8" - Center of Lower Wings
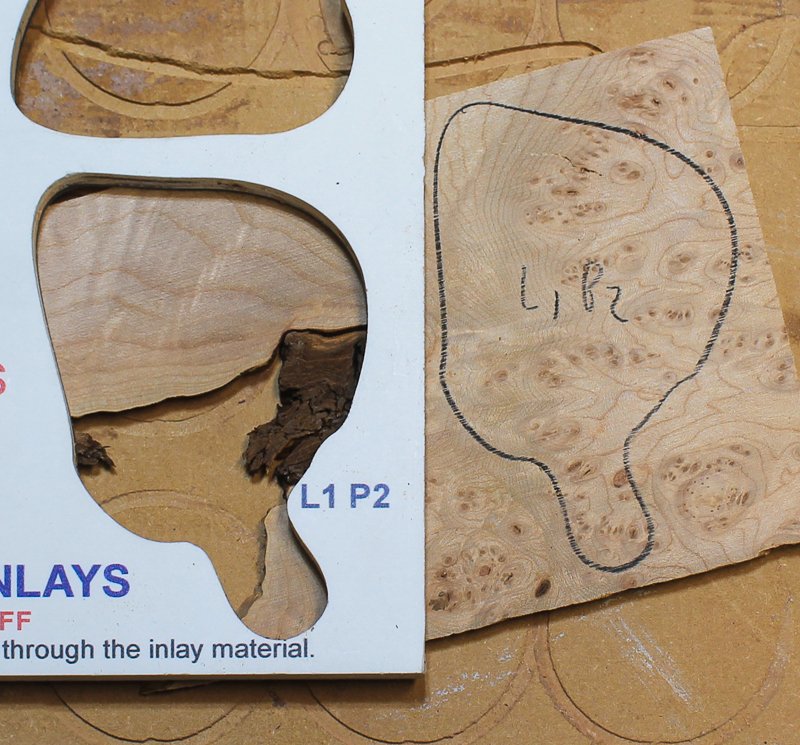
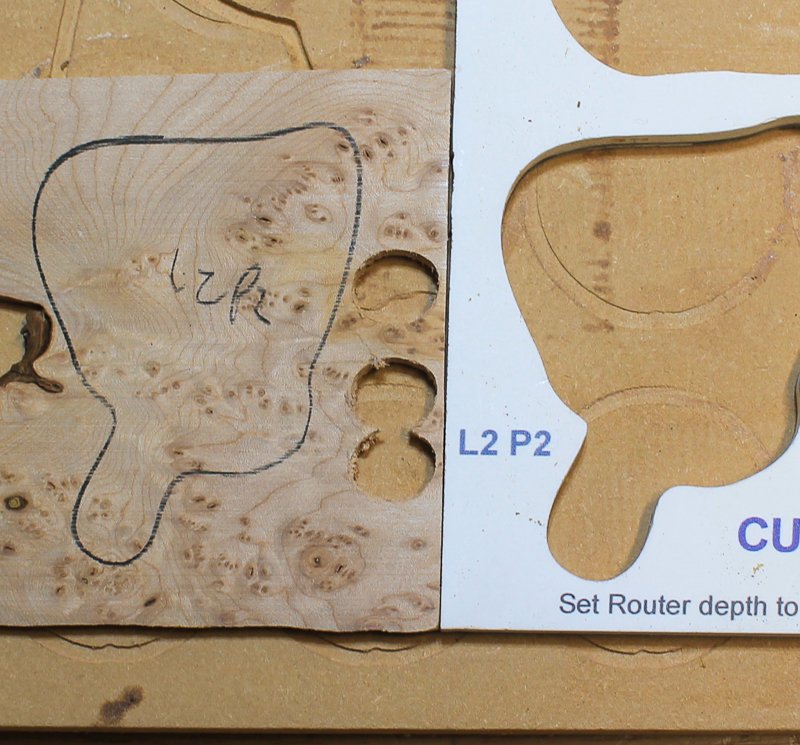
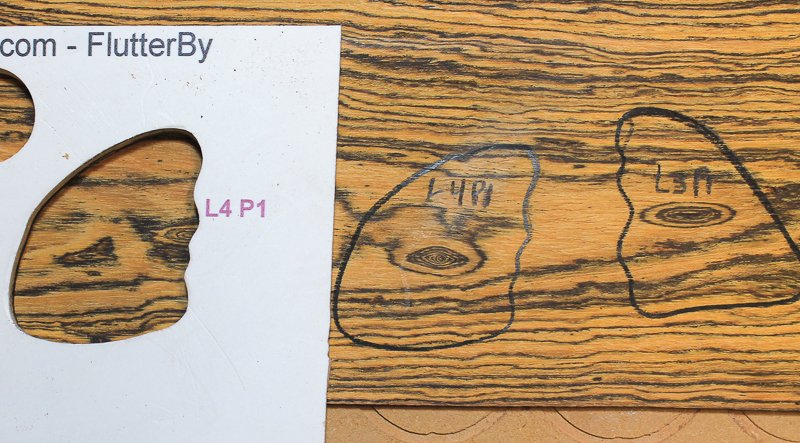
* Bacote 4" x 3" x 1/8" - Center of Upper Wings
* Wenge 3" x 3" x 1/8" - Body
GENERAL GUIDELNES
The main thing you want to pay attention when selecting the material for any type of decorative inlay is contrast. There are two type of contrast to keep in mind, color and grain pattern / direction.
It's possible to get decent contrast from two similarly colored woods as long as there is a sharp contrast in grain patterns and direction.
Without this contrast your inlay will not look it's best!
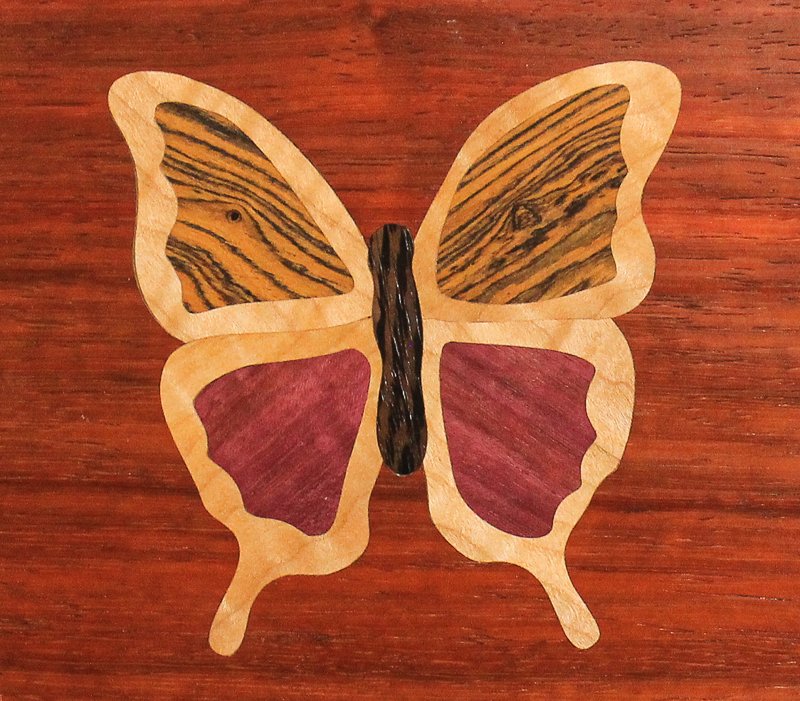
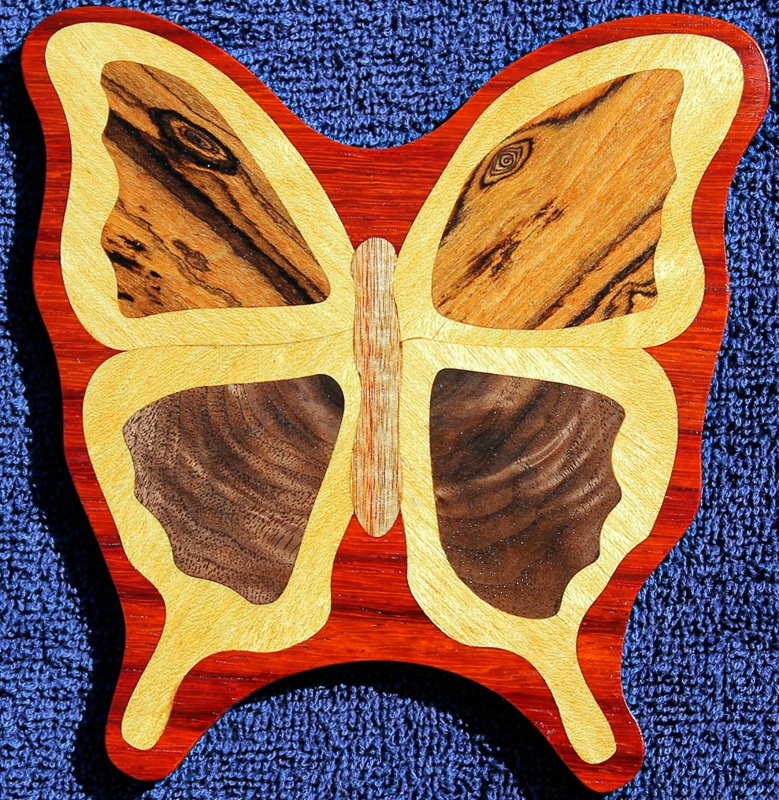
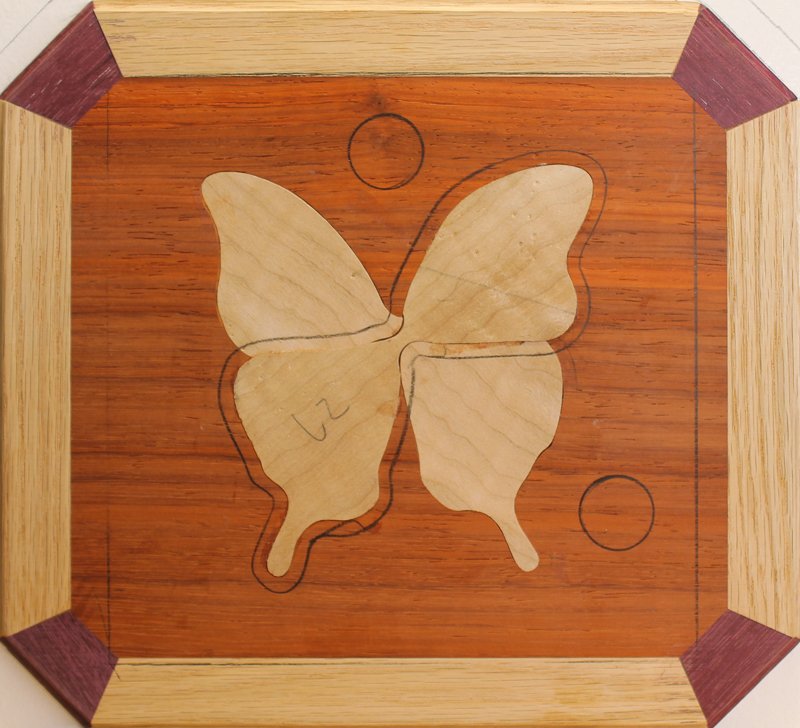
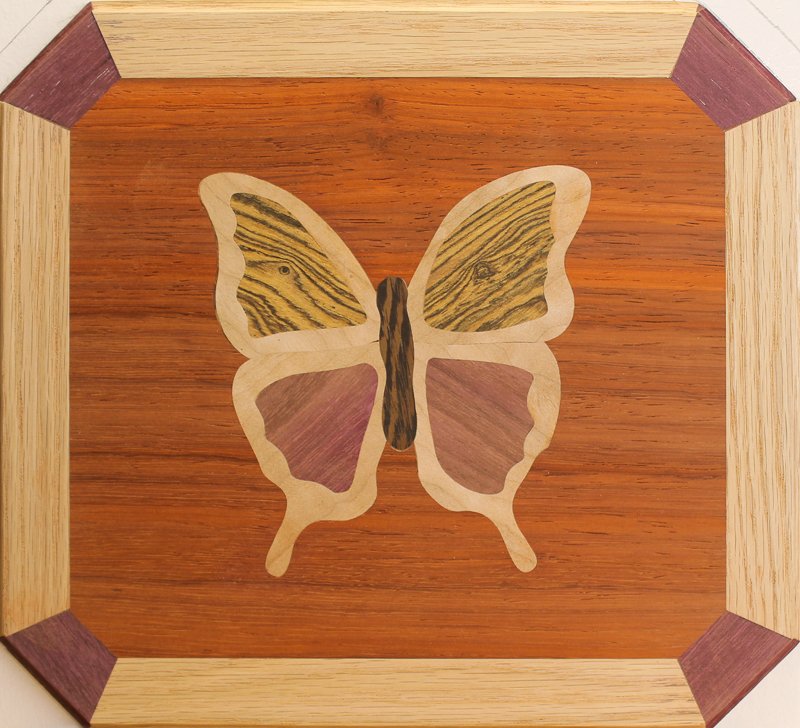
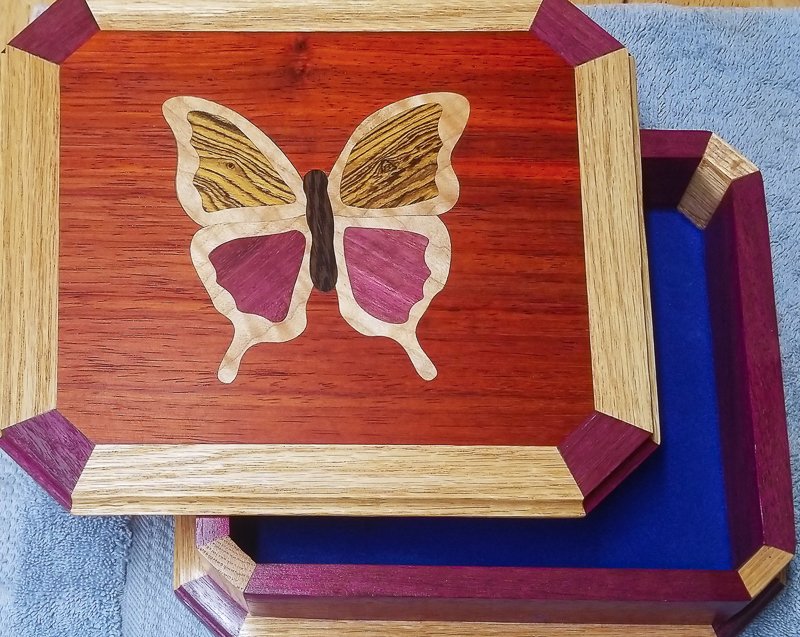
Good Contrast Inlay
![Picture of inlay with high contrast]() Low Contrast Inlay
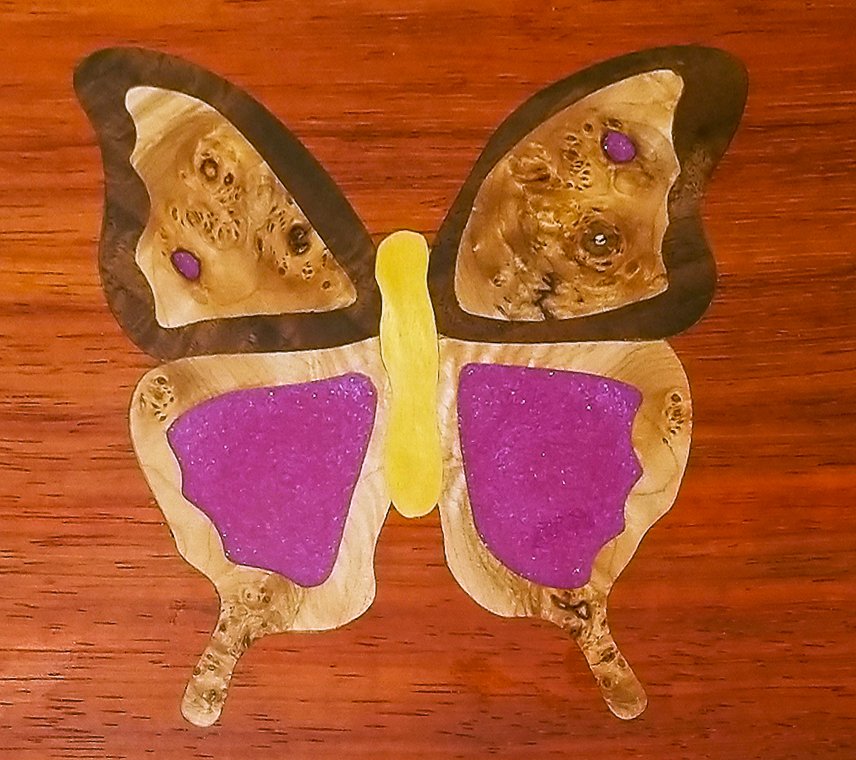
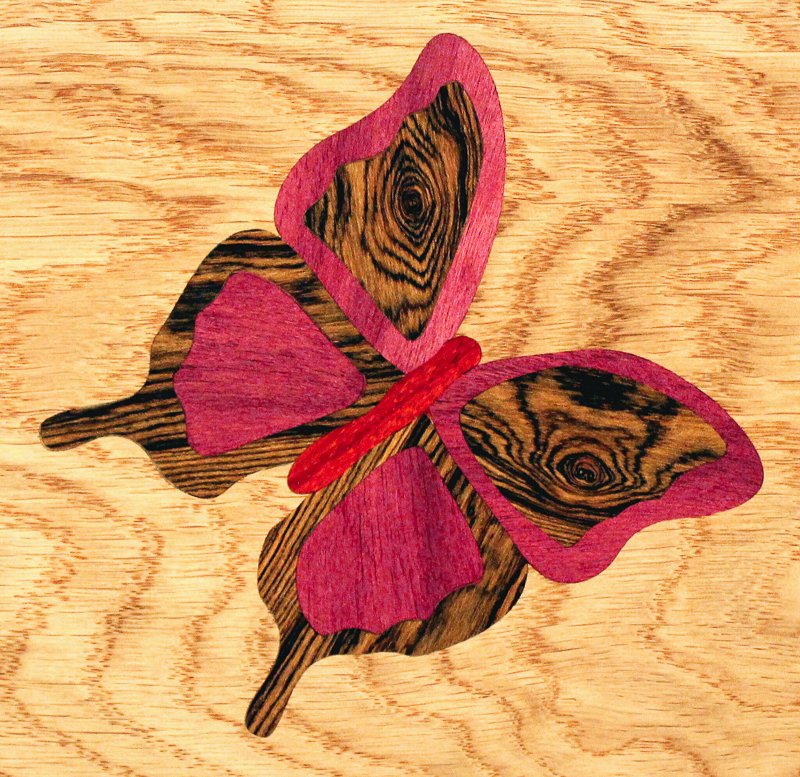
Low Contrast Inlay
![low contrast FlutterBy inlay]()
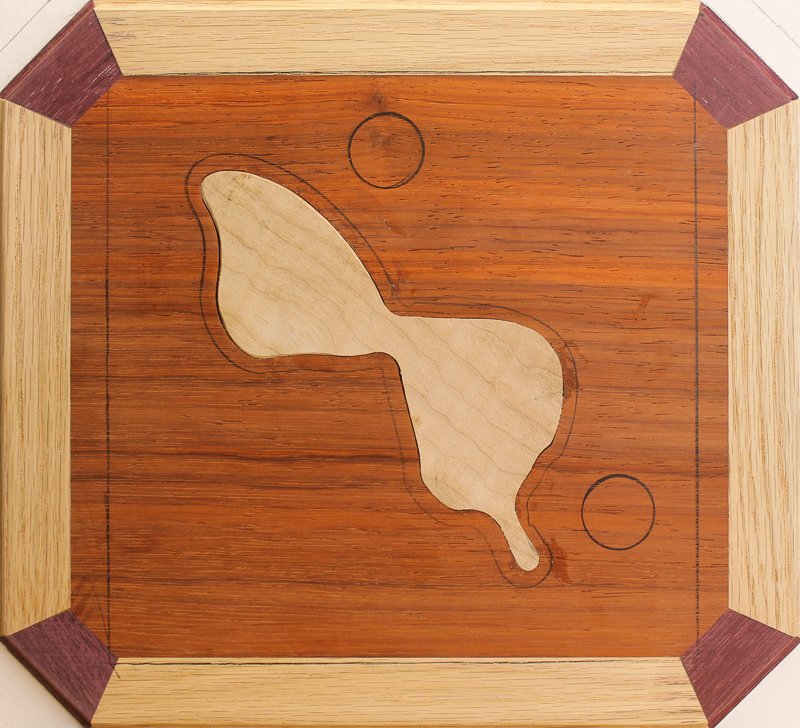
The Good Contrast picture shows great contrast all the way around. The section of Bacote used for the upper wings gives the appearance of eyes on the wings making the butterfly appear larger and more menacing
to other creatures. This type of pattern is something one could expect to see in nature!
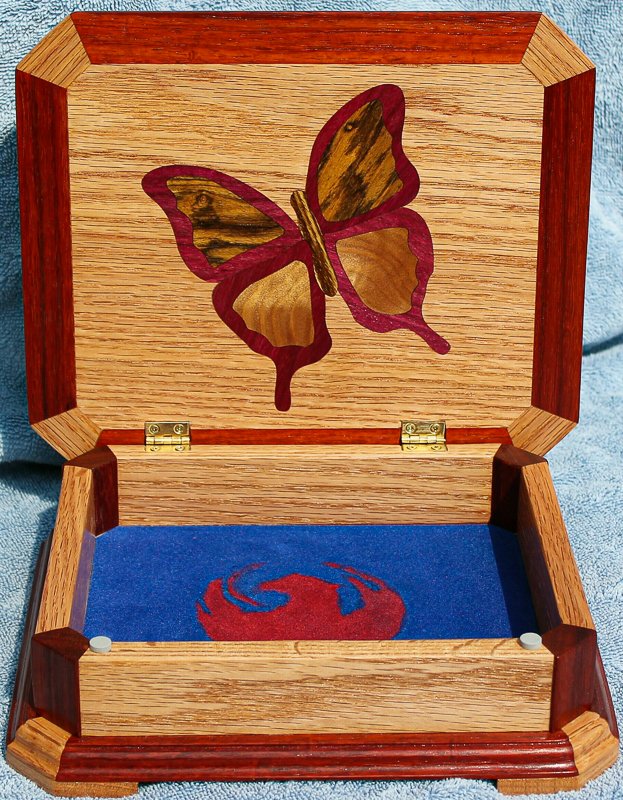
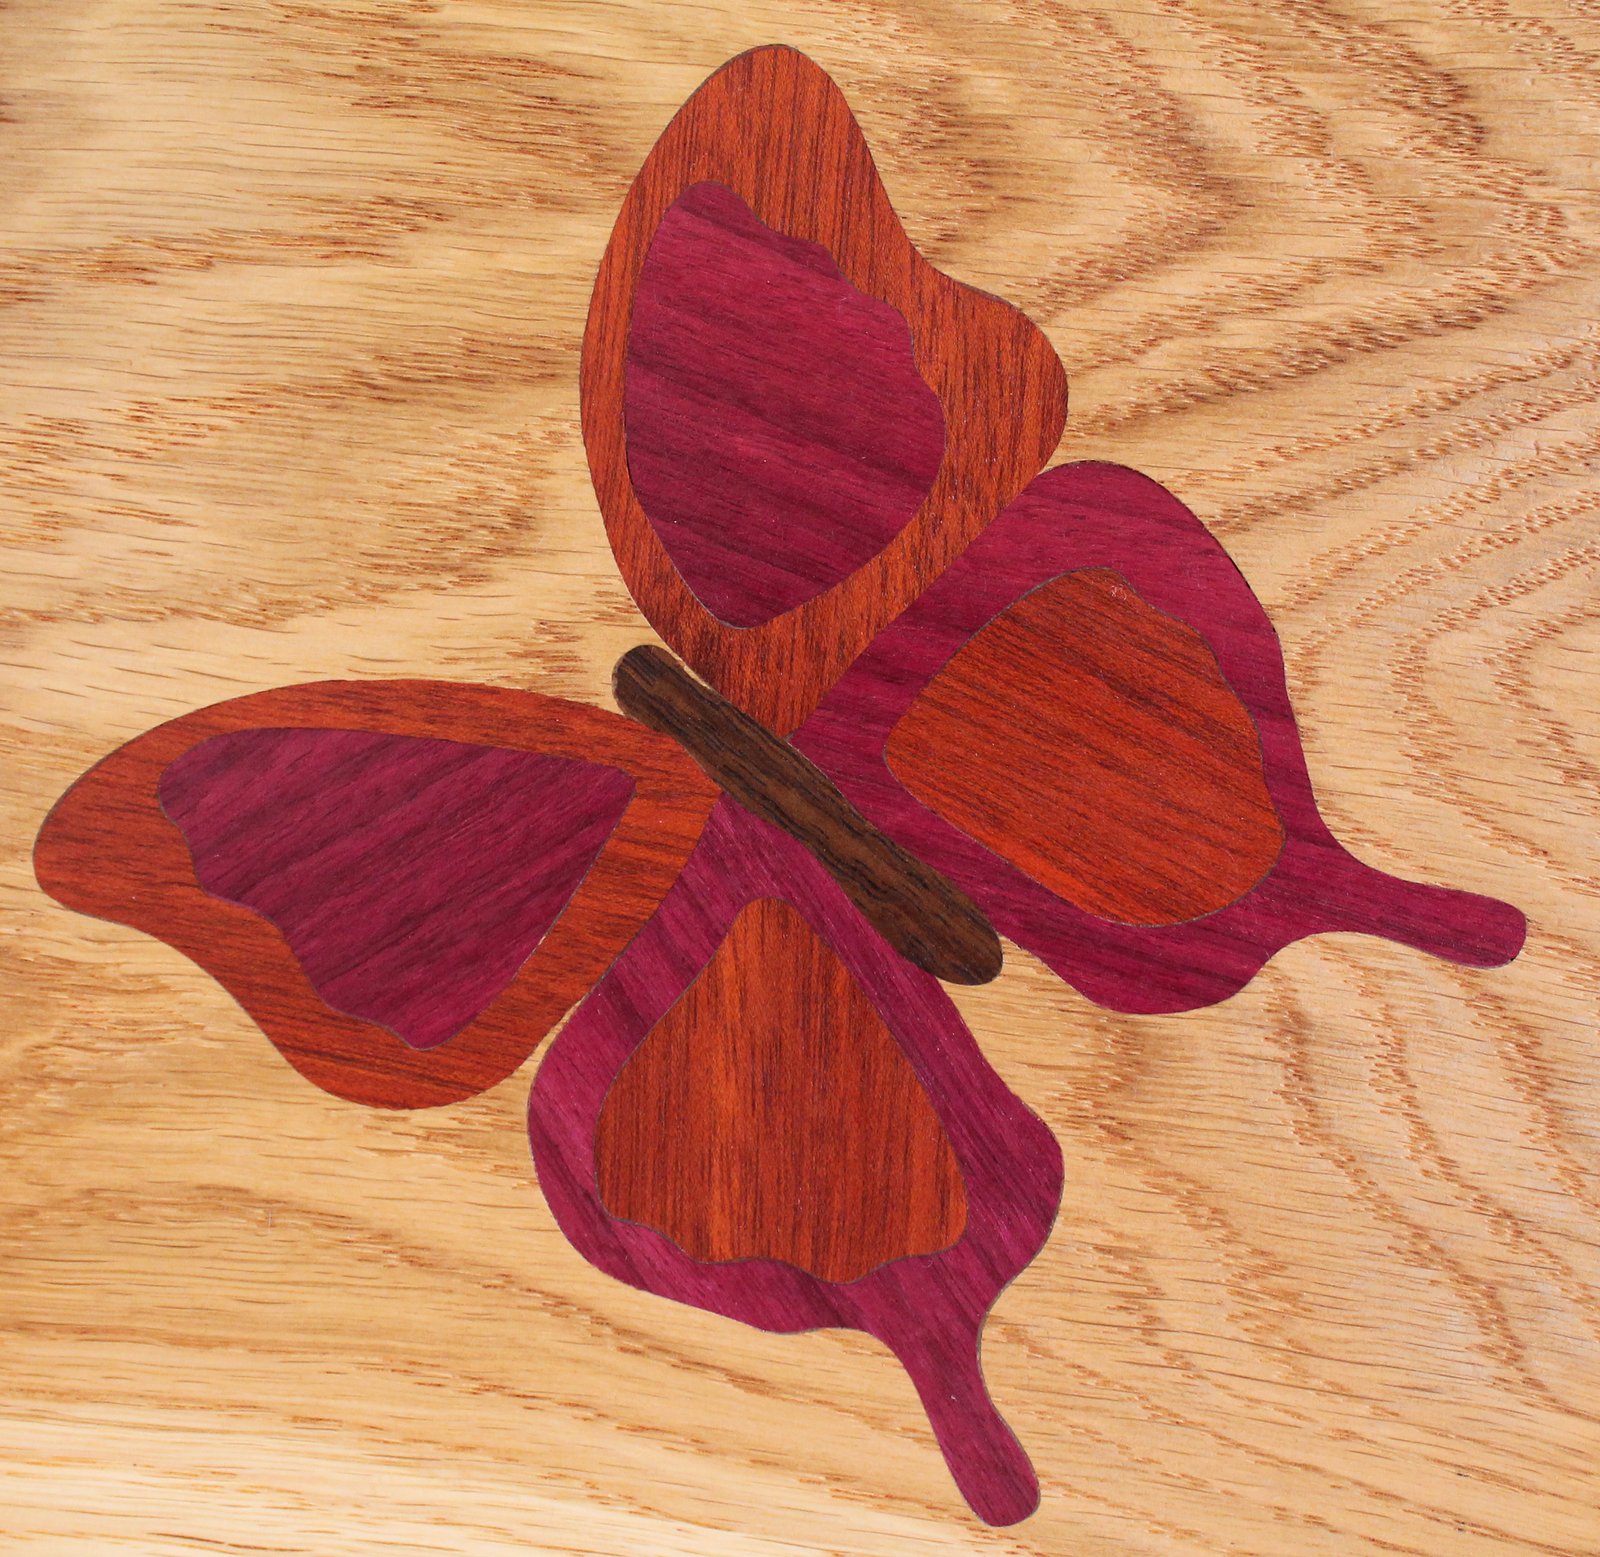
Purple Heart and Bacote was used to build the wings. The body was made from Red Heart and the base material is Oak.
It's your choice when it comes to what colors and grain patterns your outer and inner wings will sport. This page has examples where the entire outer wing is the same color and also examples of where the top outer
wing is a different color than the bottom. You decide what looks best for you!
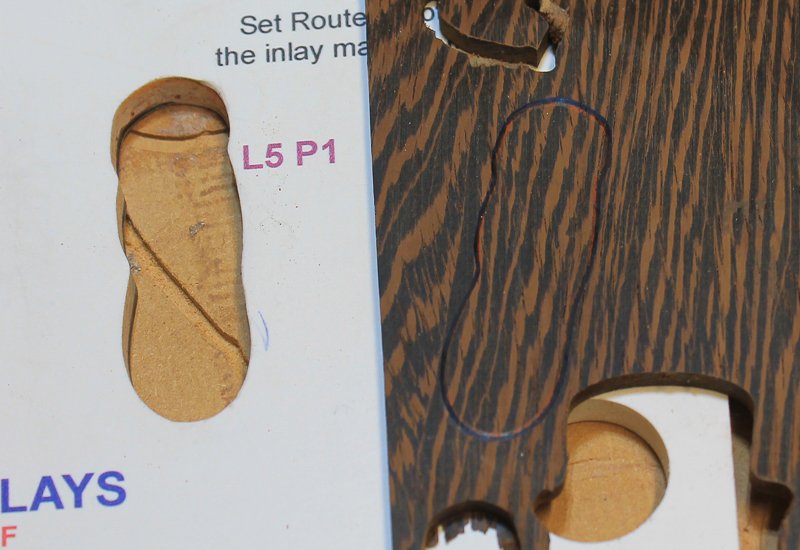
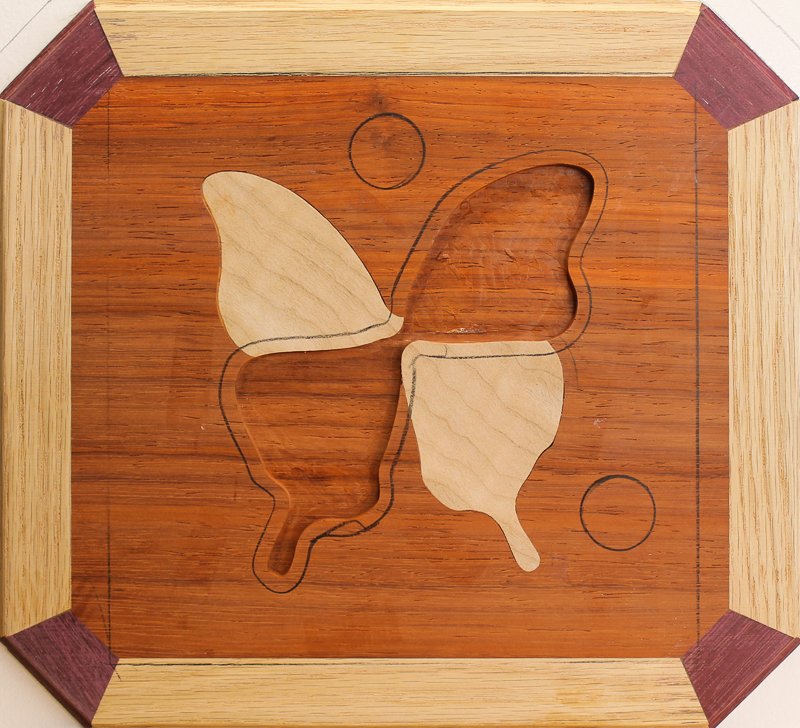
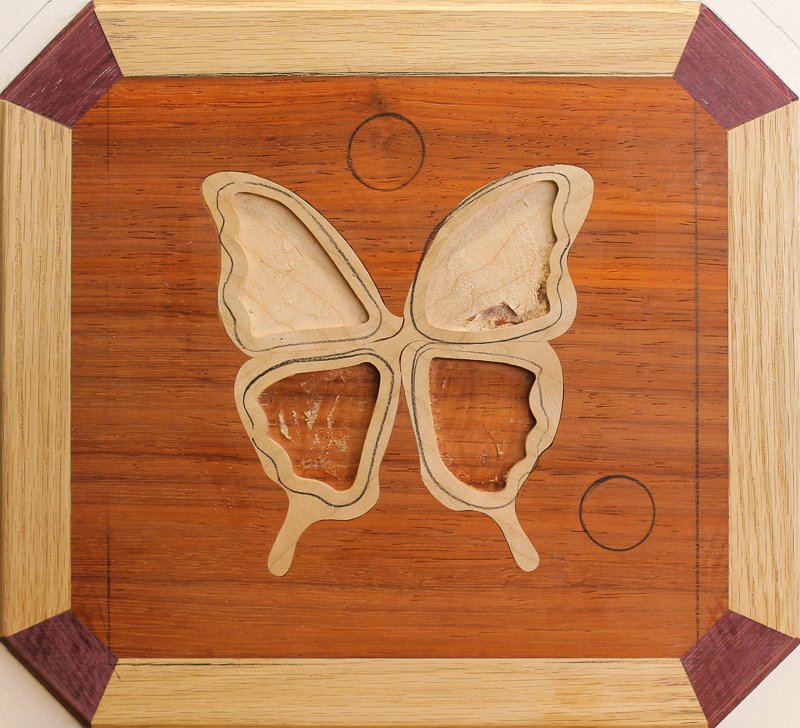
A good suggestion is to select the two pieces that make up the middle of the upper wings first! These pieces. L3P1 and L4P1, set the tone for the rest of the design, so pick them out first.
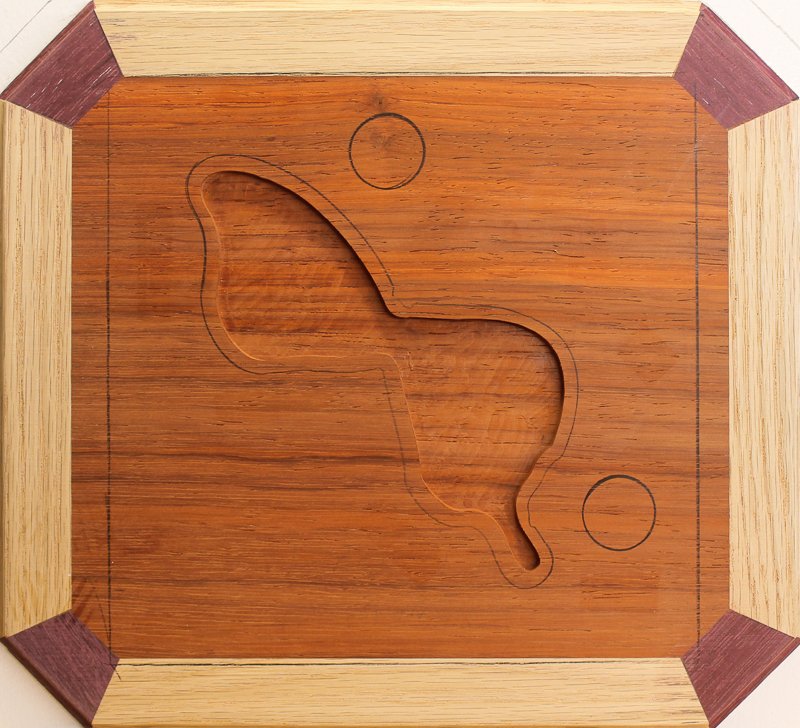
The Low Contrast inlay picture is made from Red Heart and Purple Heart. Unfortunately these two selections of wood didn't have enough contrast to make the inlay look it's best.
 $75
$75