 $75
$75FREE SHIPPING
We only ship in the US
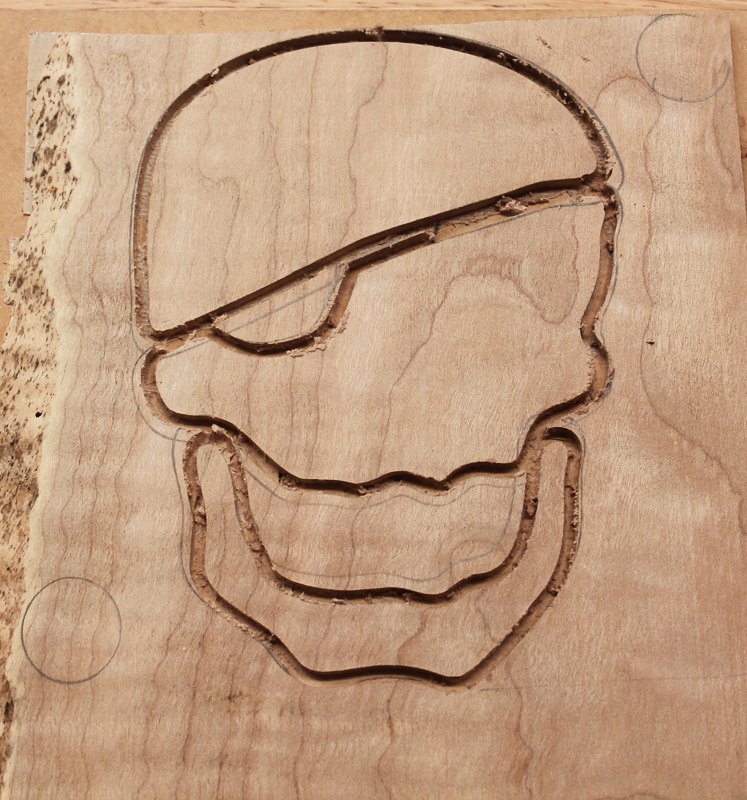
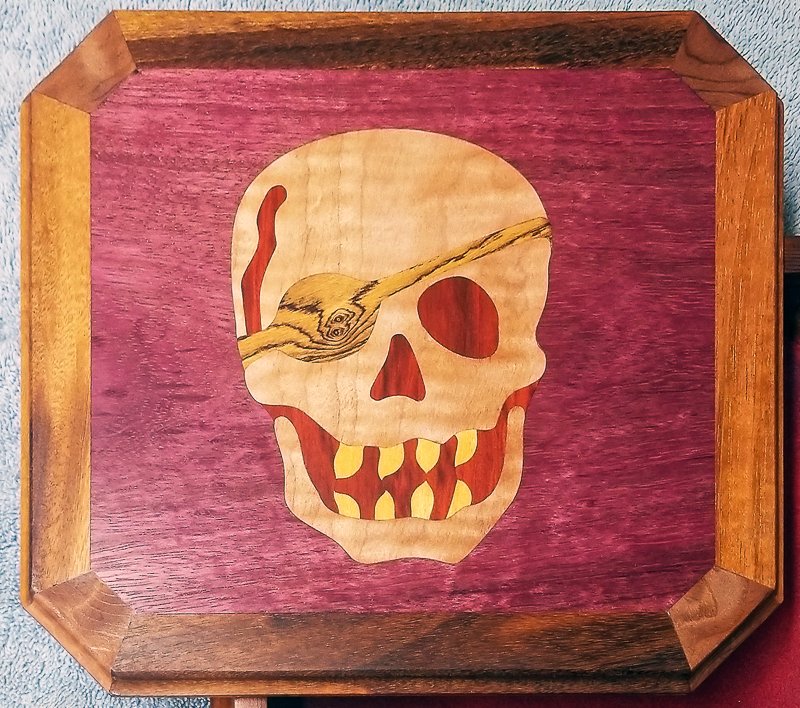
Dimensions:
5-3/4" Tall, 4-1/4" Wide

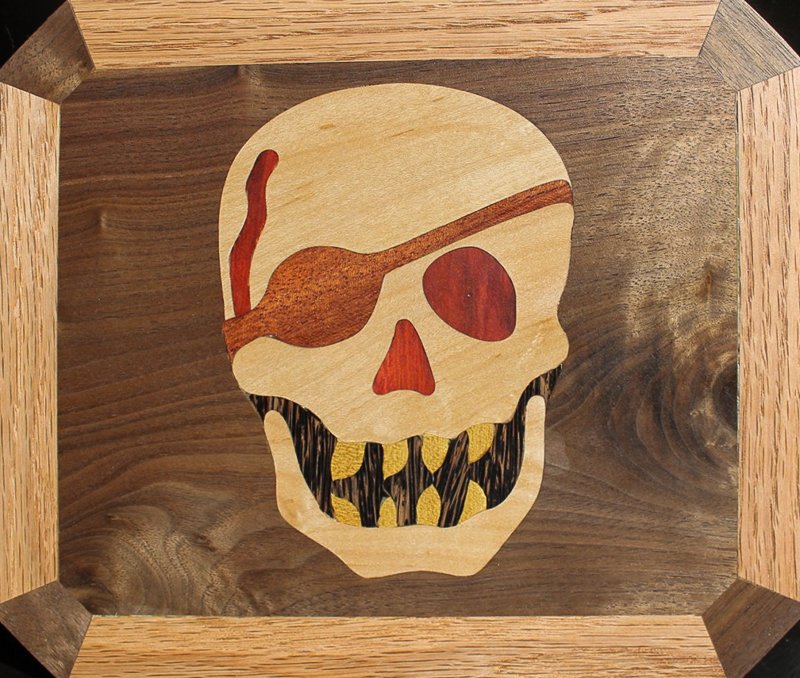
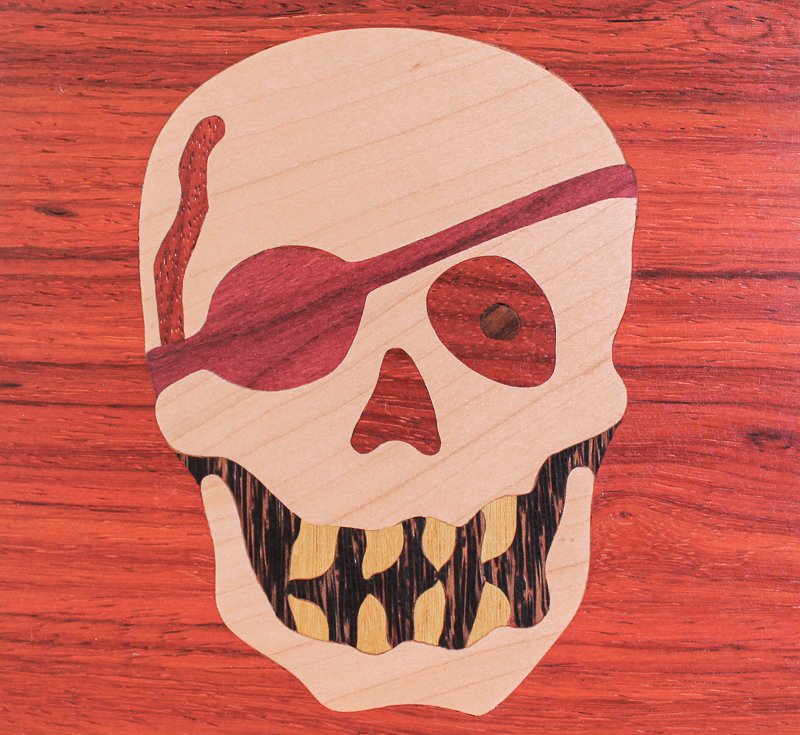
This Build
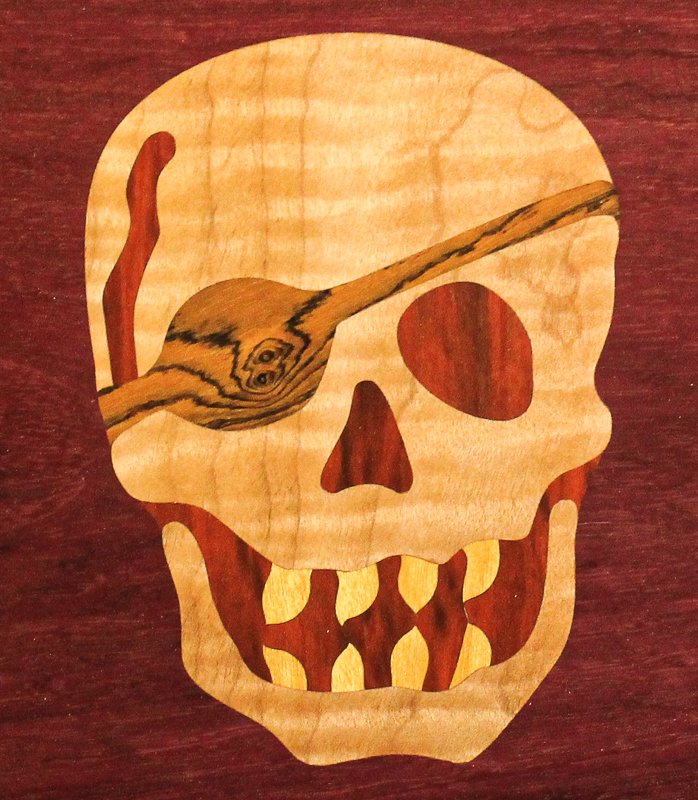
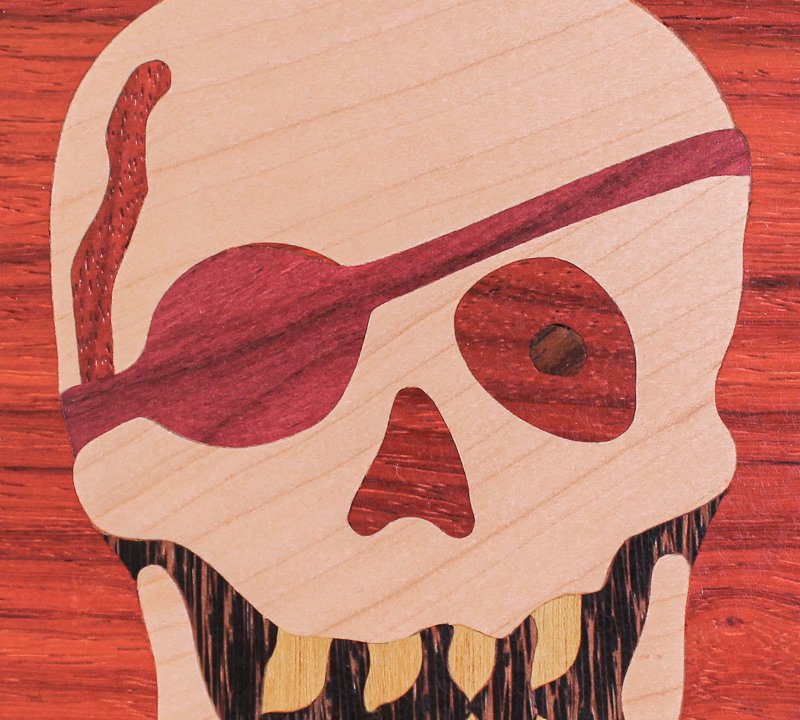
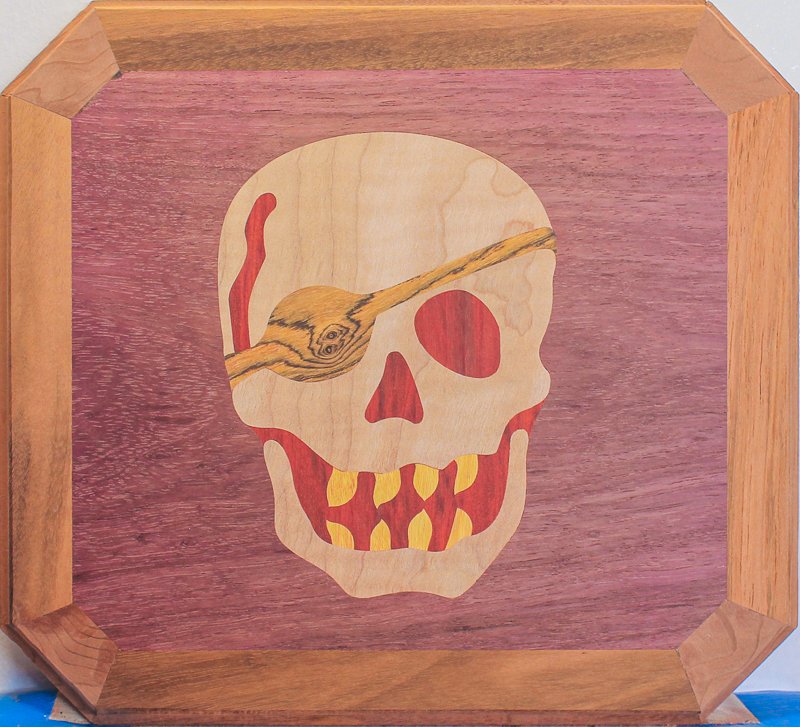
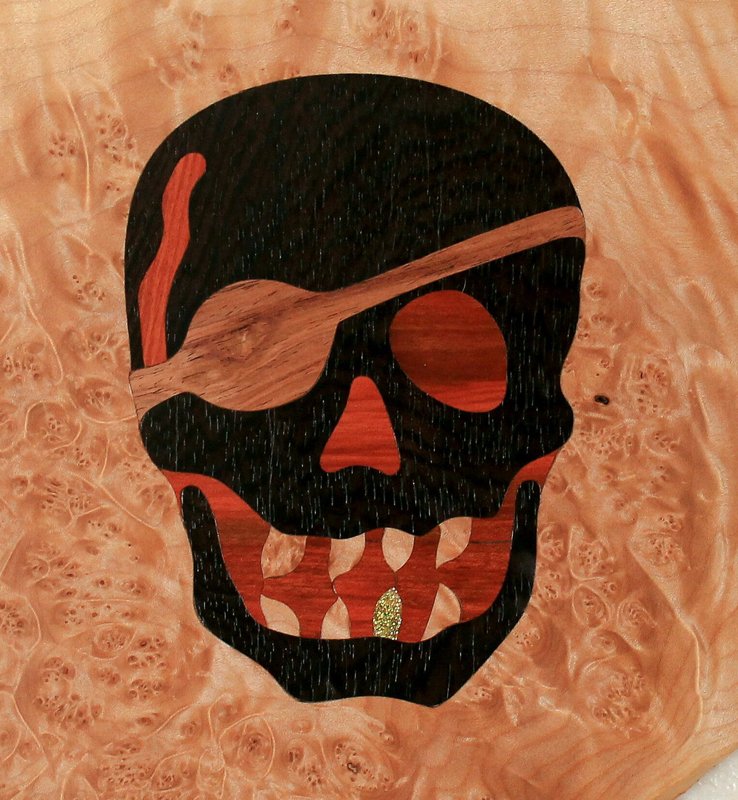
Black Skull
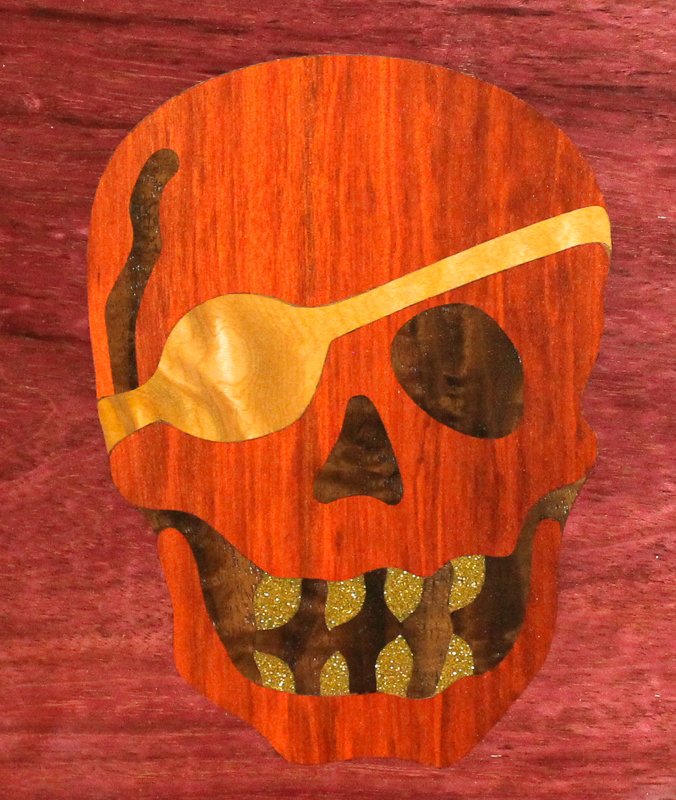
Red Skull
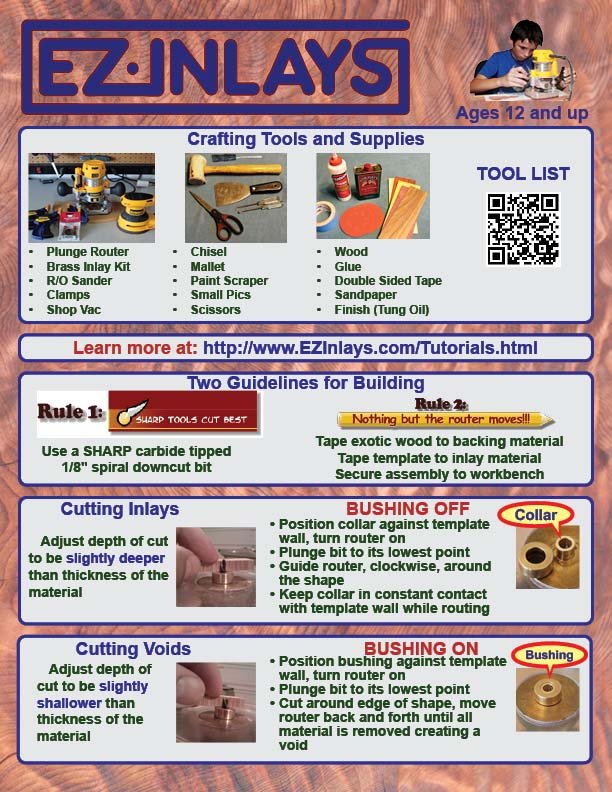
What's Included in the Kit
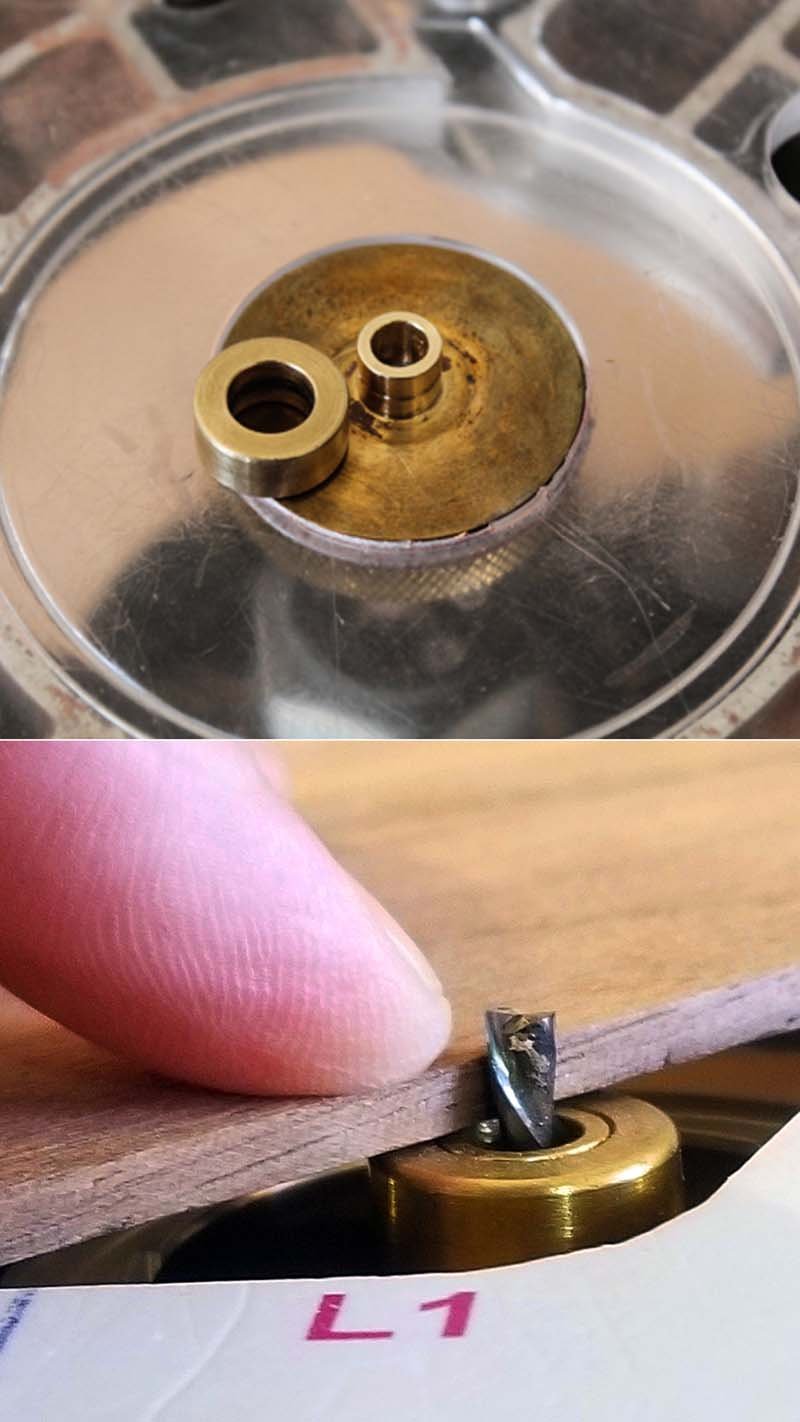
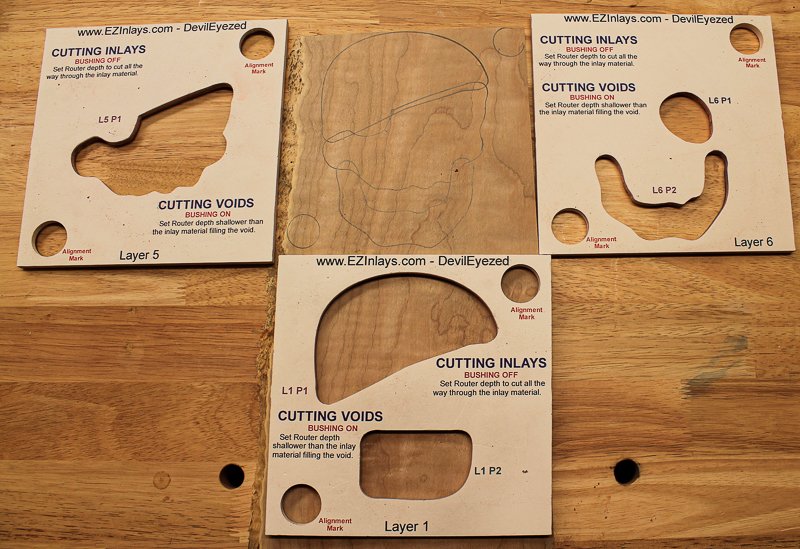
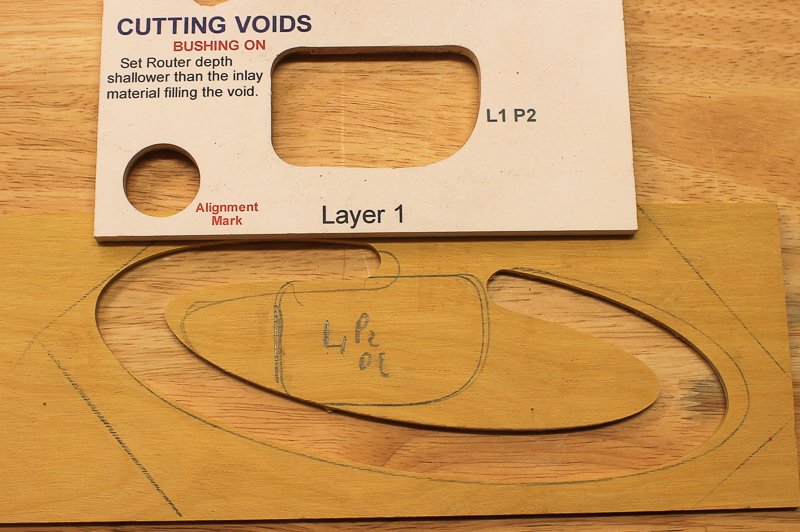
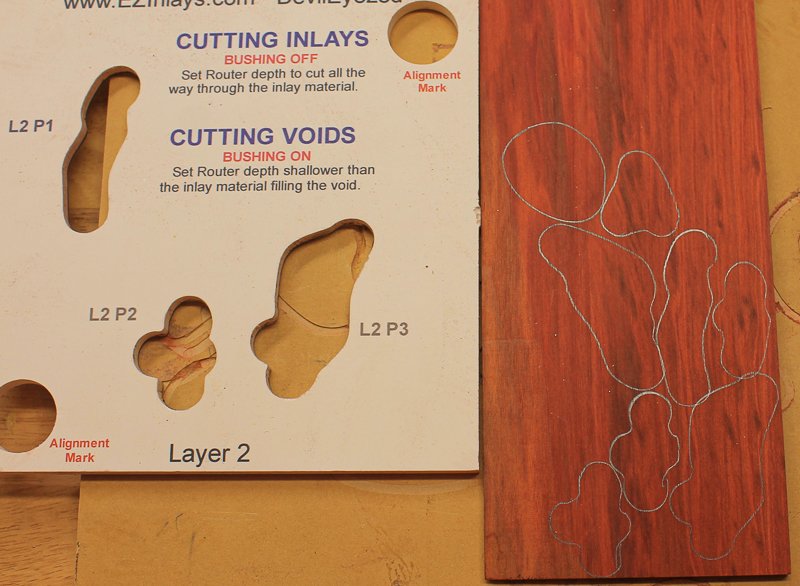
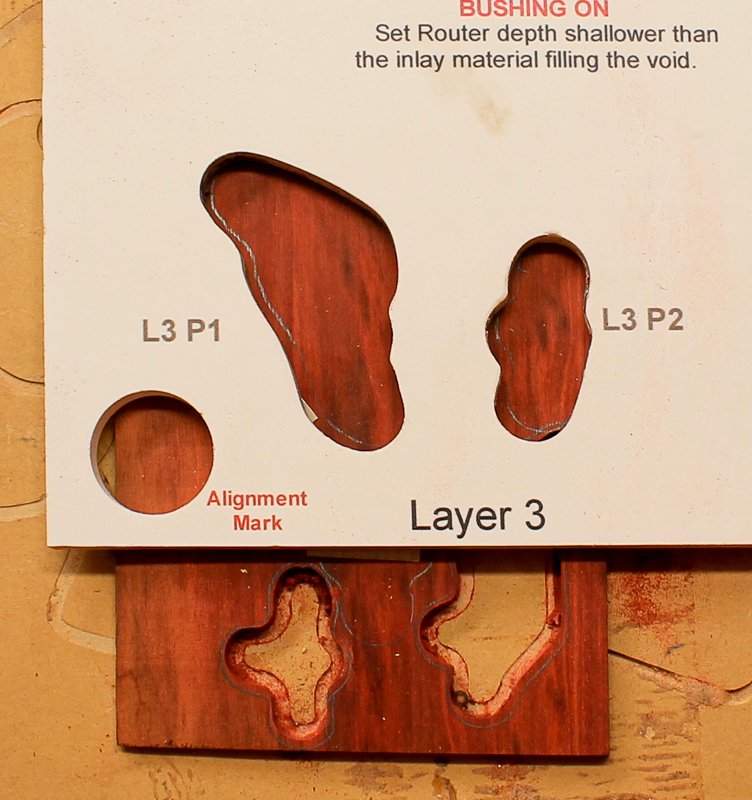
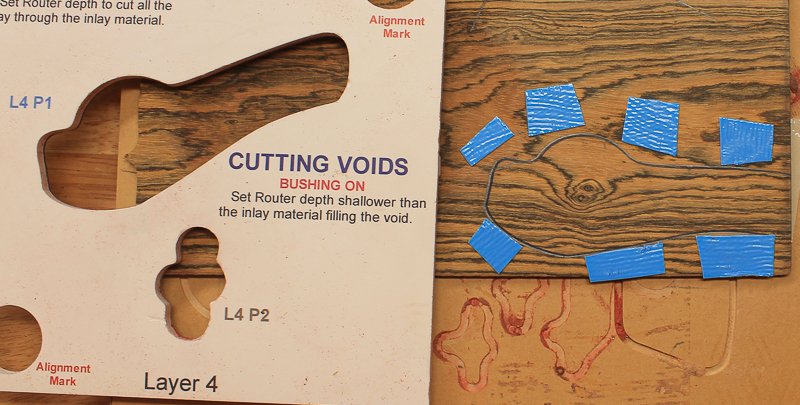
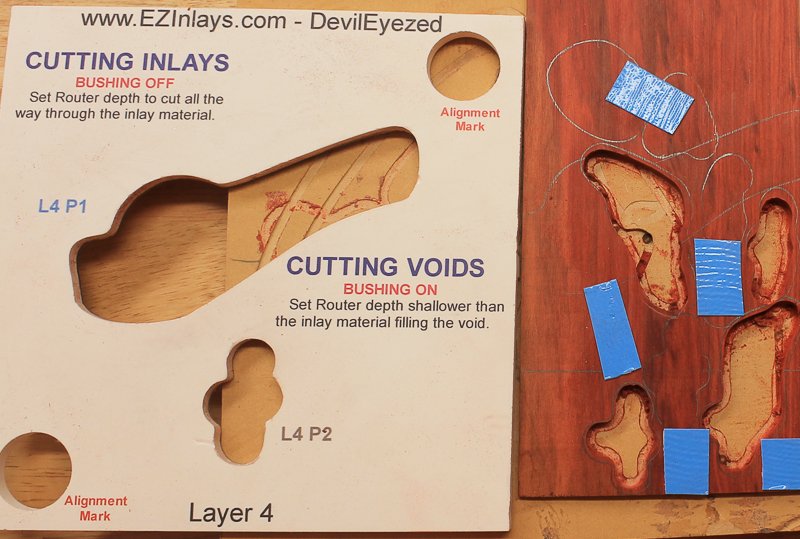
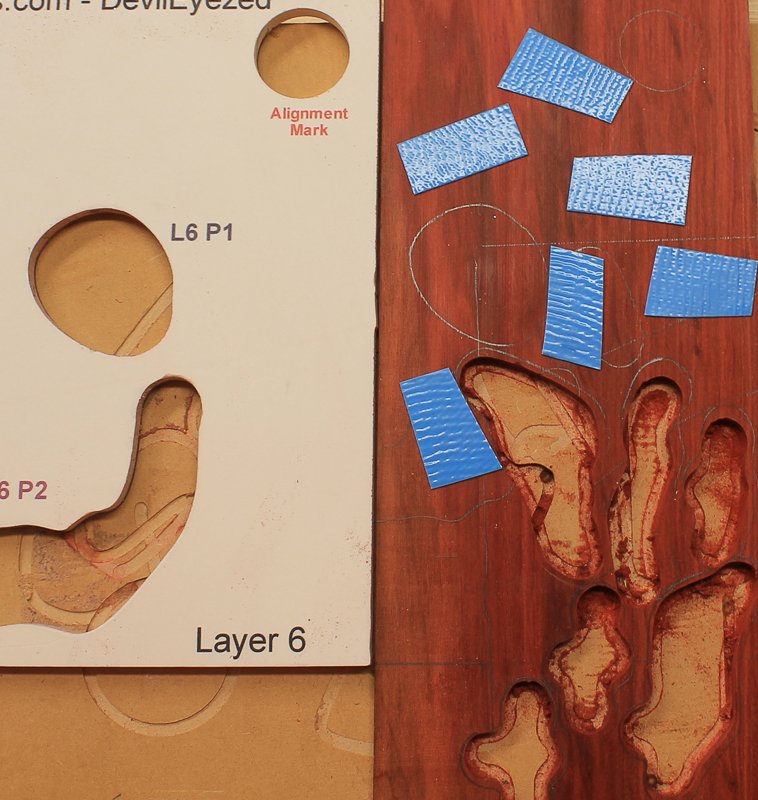
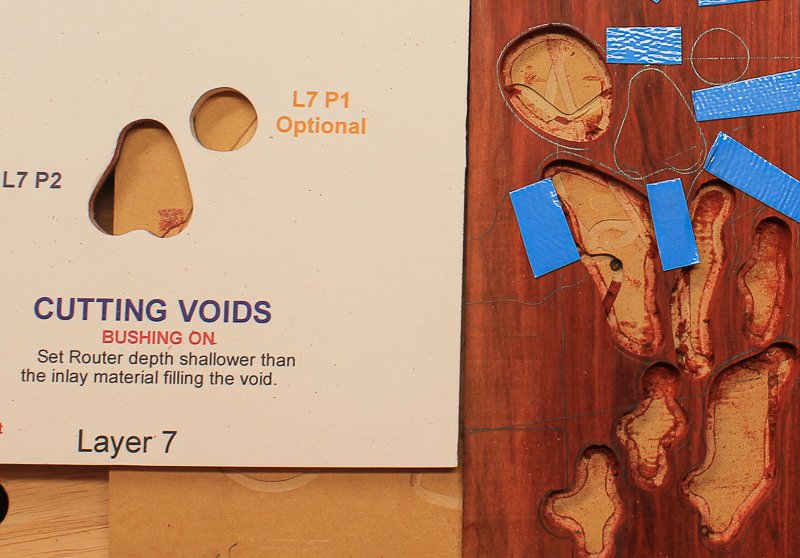
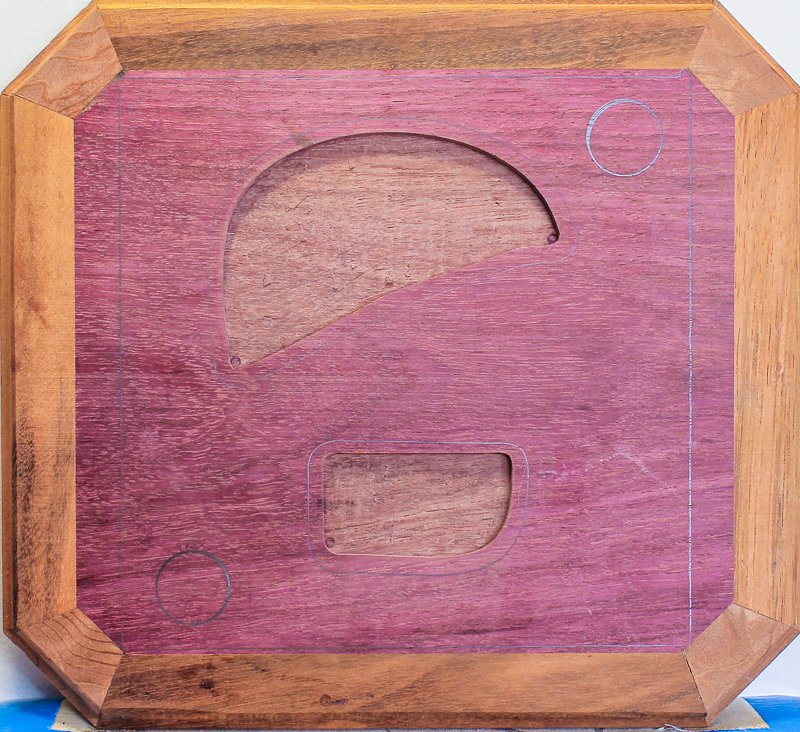
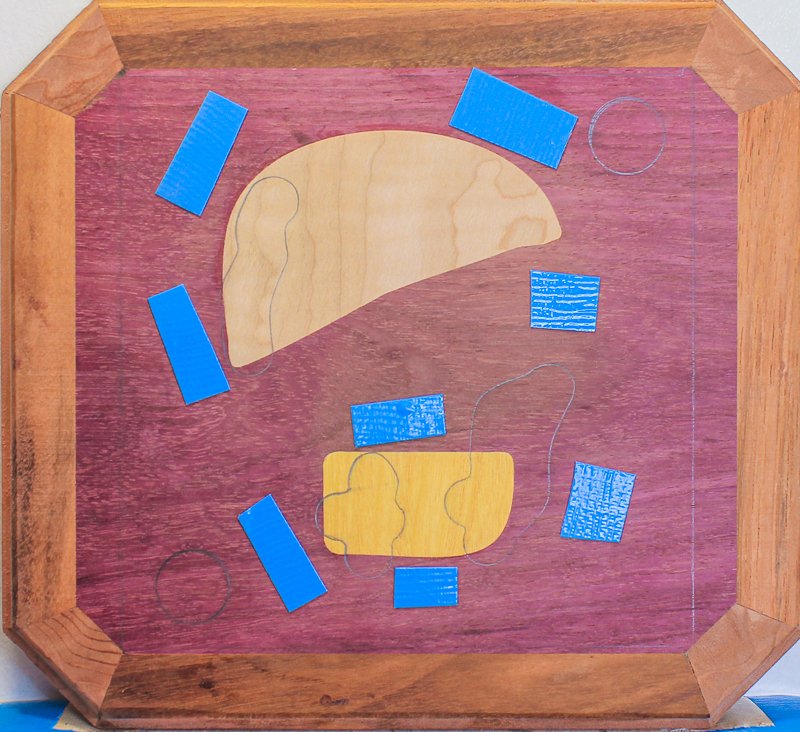
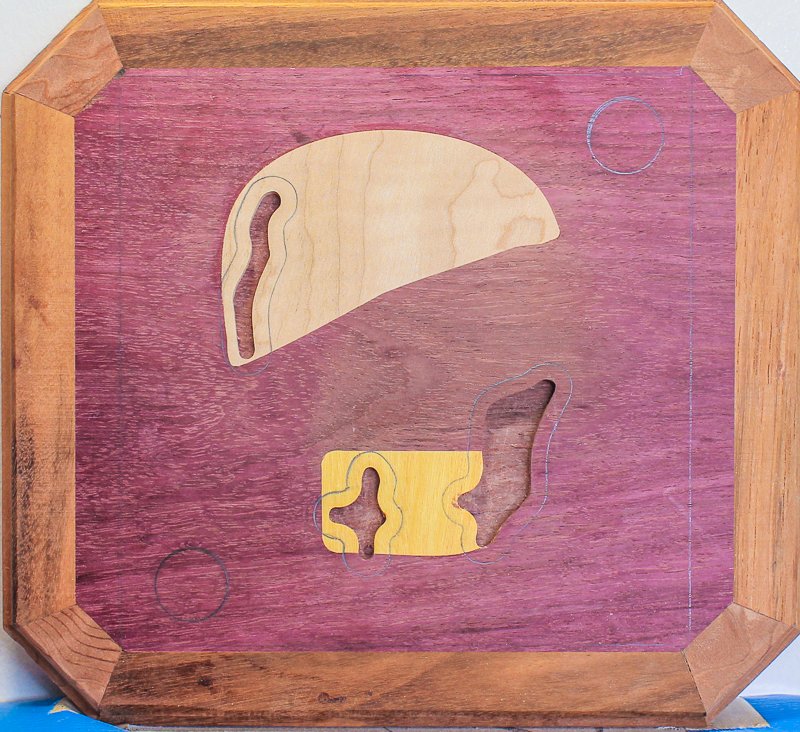
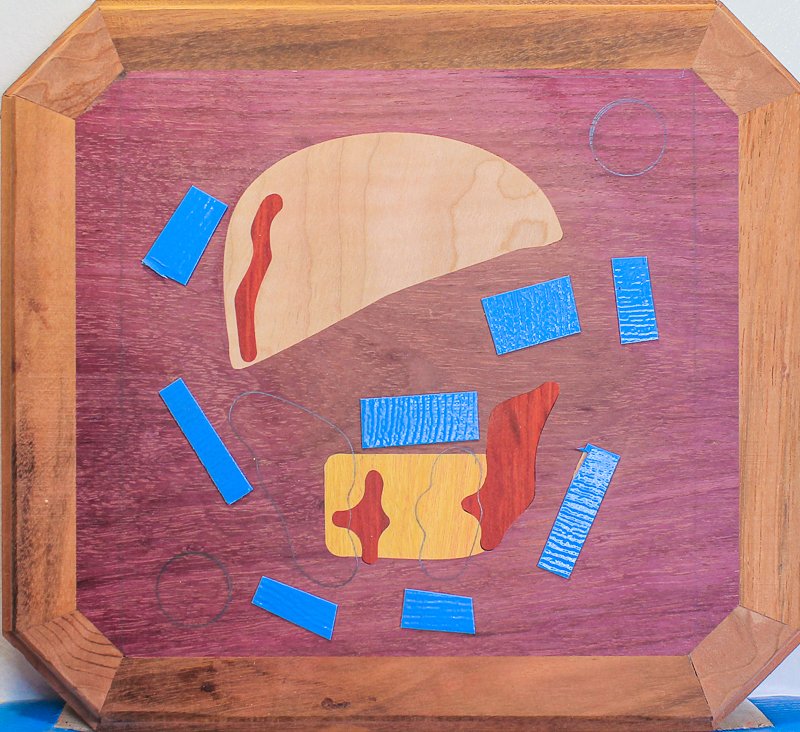
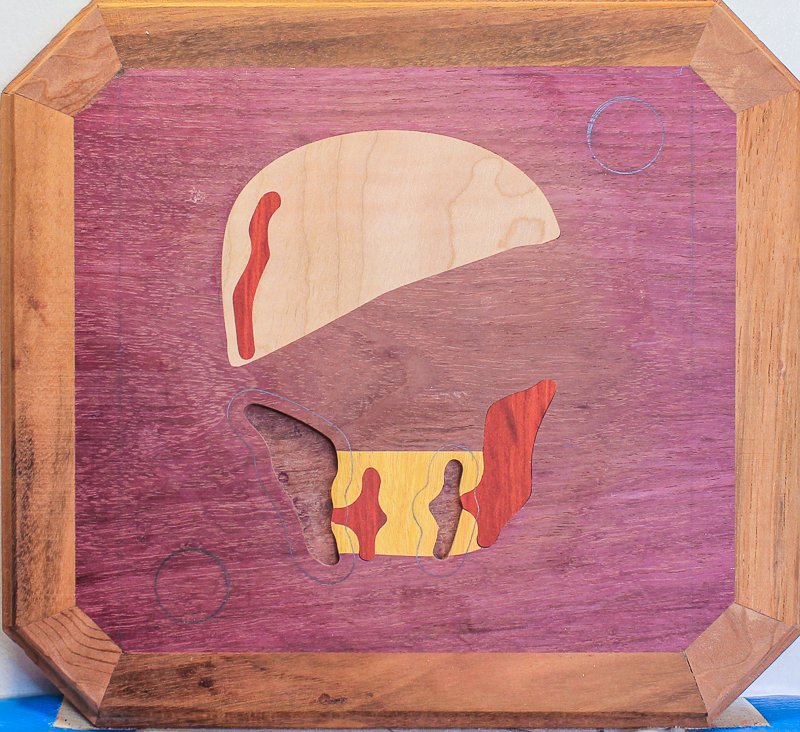
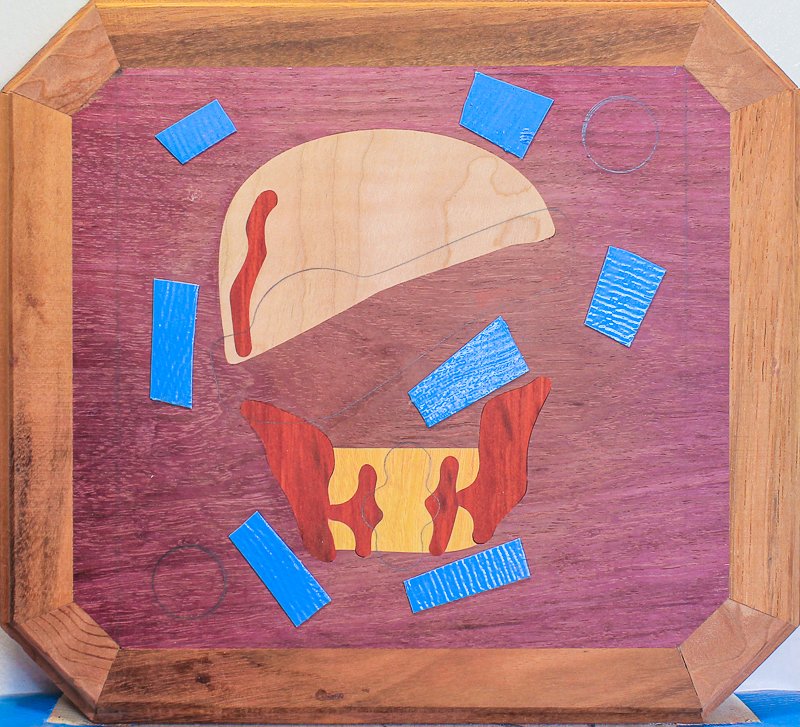
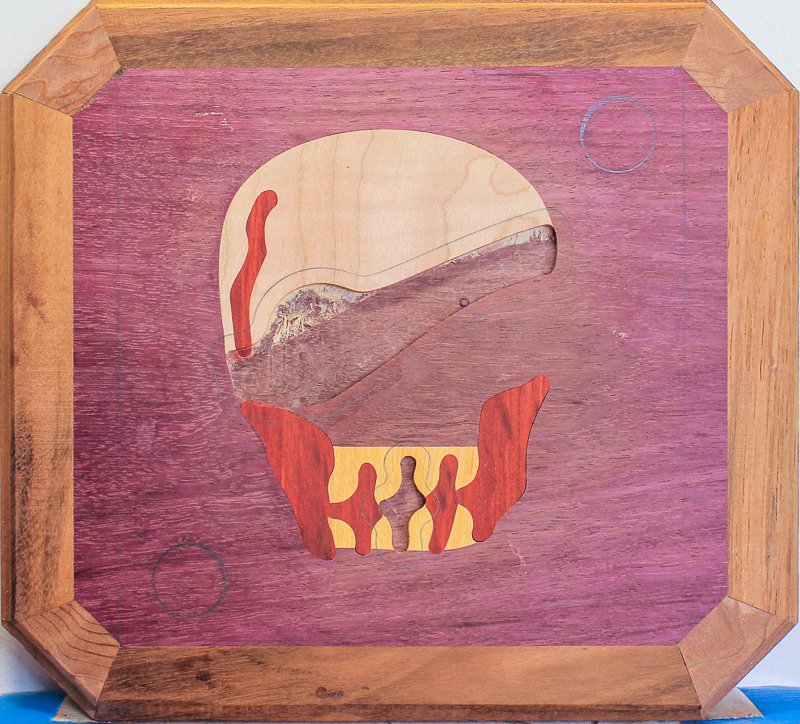
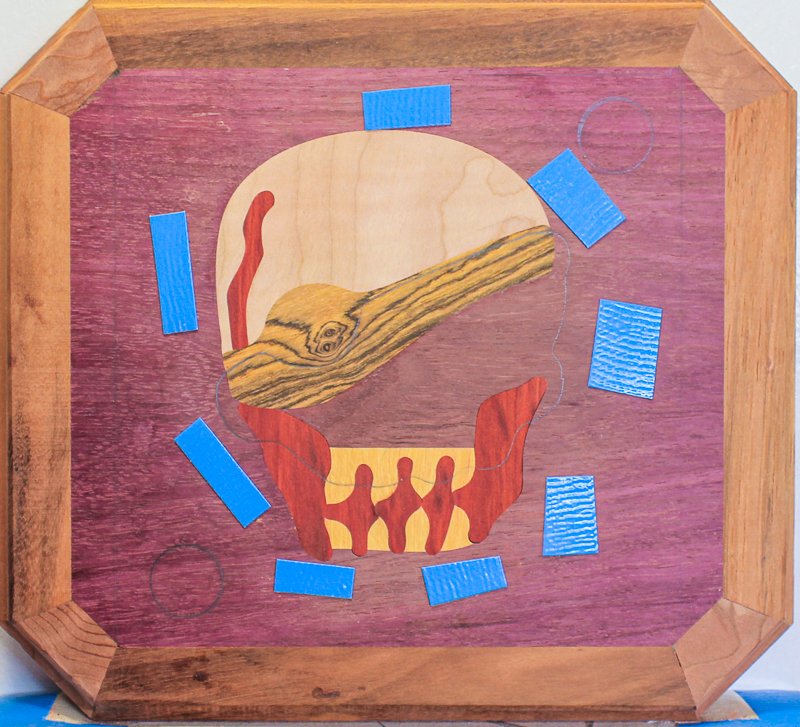
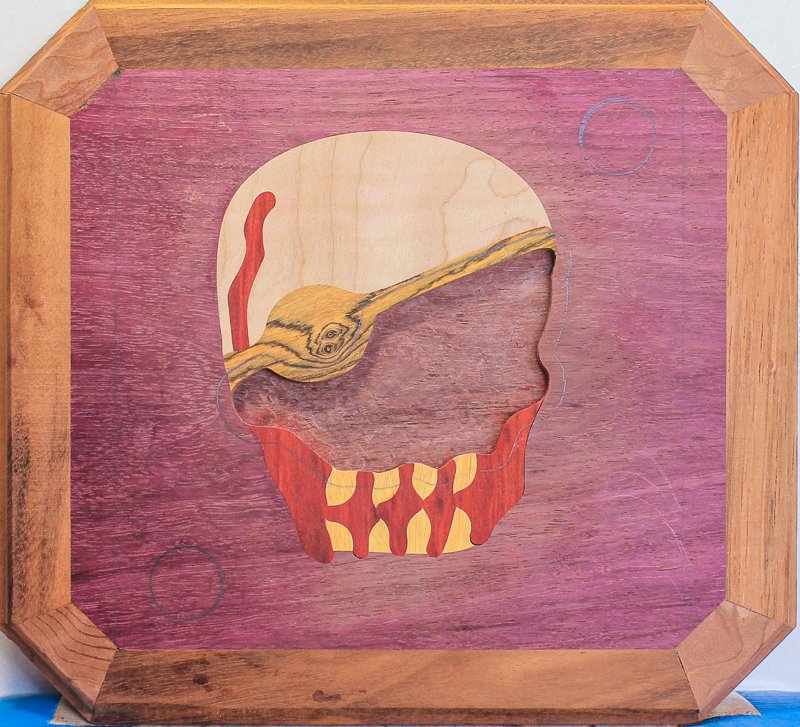
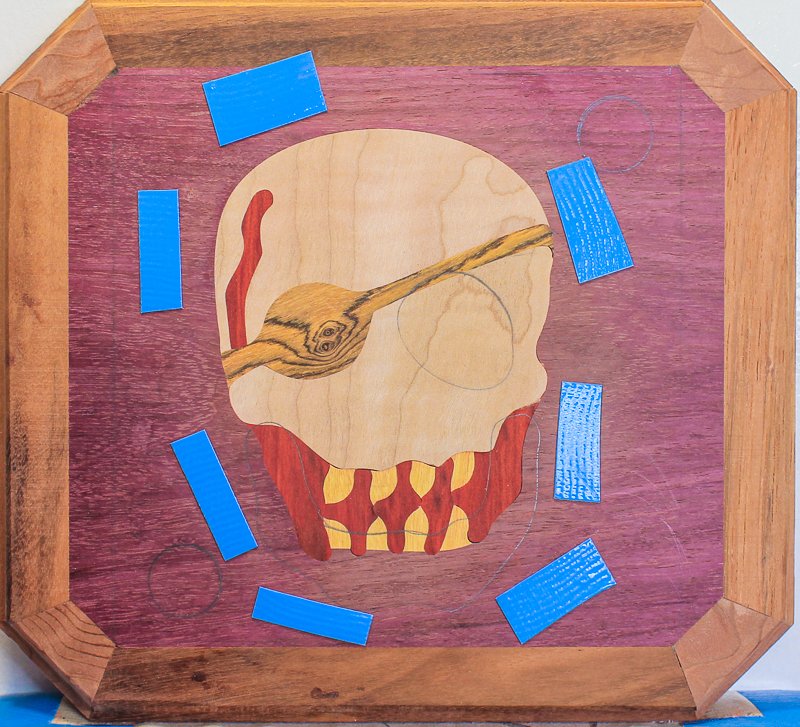
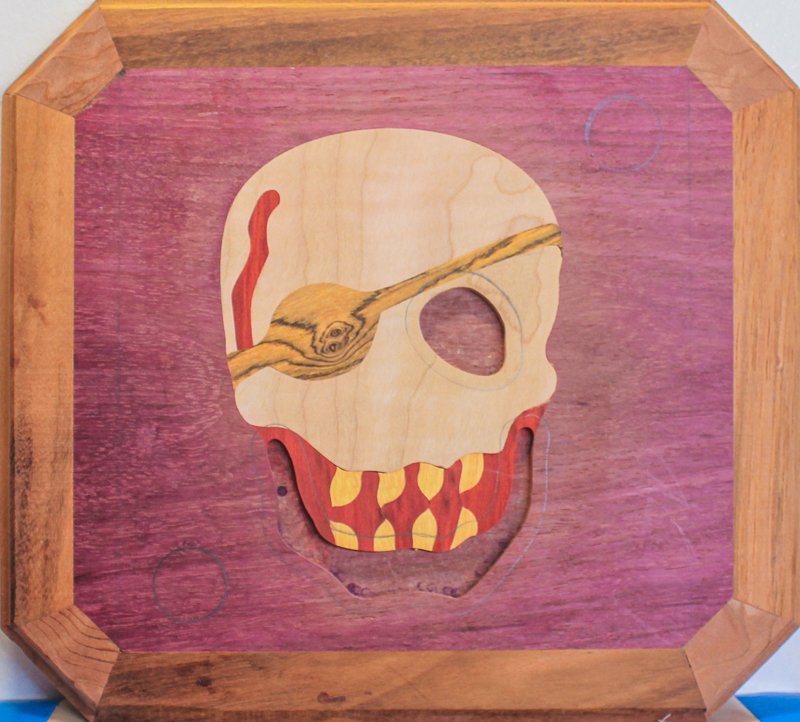
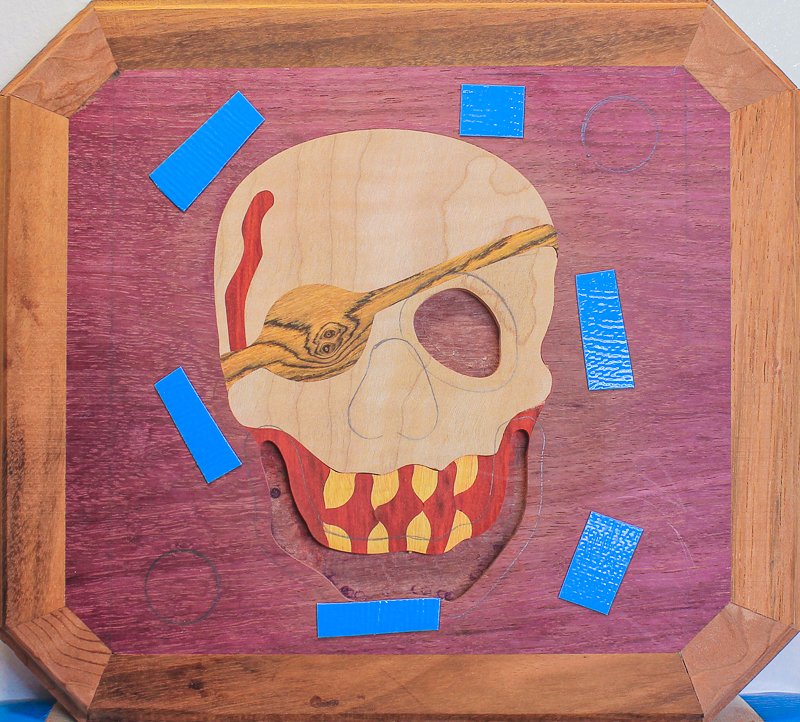
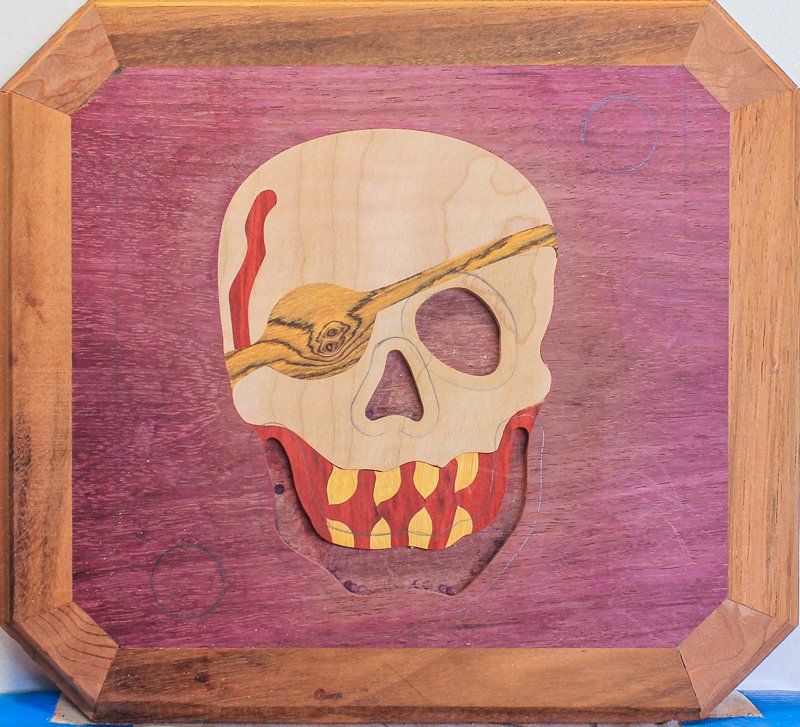
For $75 you'll receive the decorative inlay kit DevilEyes, which consists of 7 templates. Each template builds another layer of the skull. It takes about five hours to create this frighteningly decorative inlay. :)
By following simple and repetitive router based inlay techniques you're guaranteed to build an inlay that looks so amazing you'll be proud to say, "Yeah, I made that!"
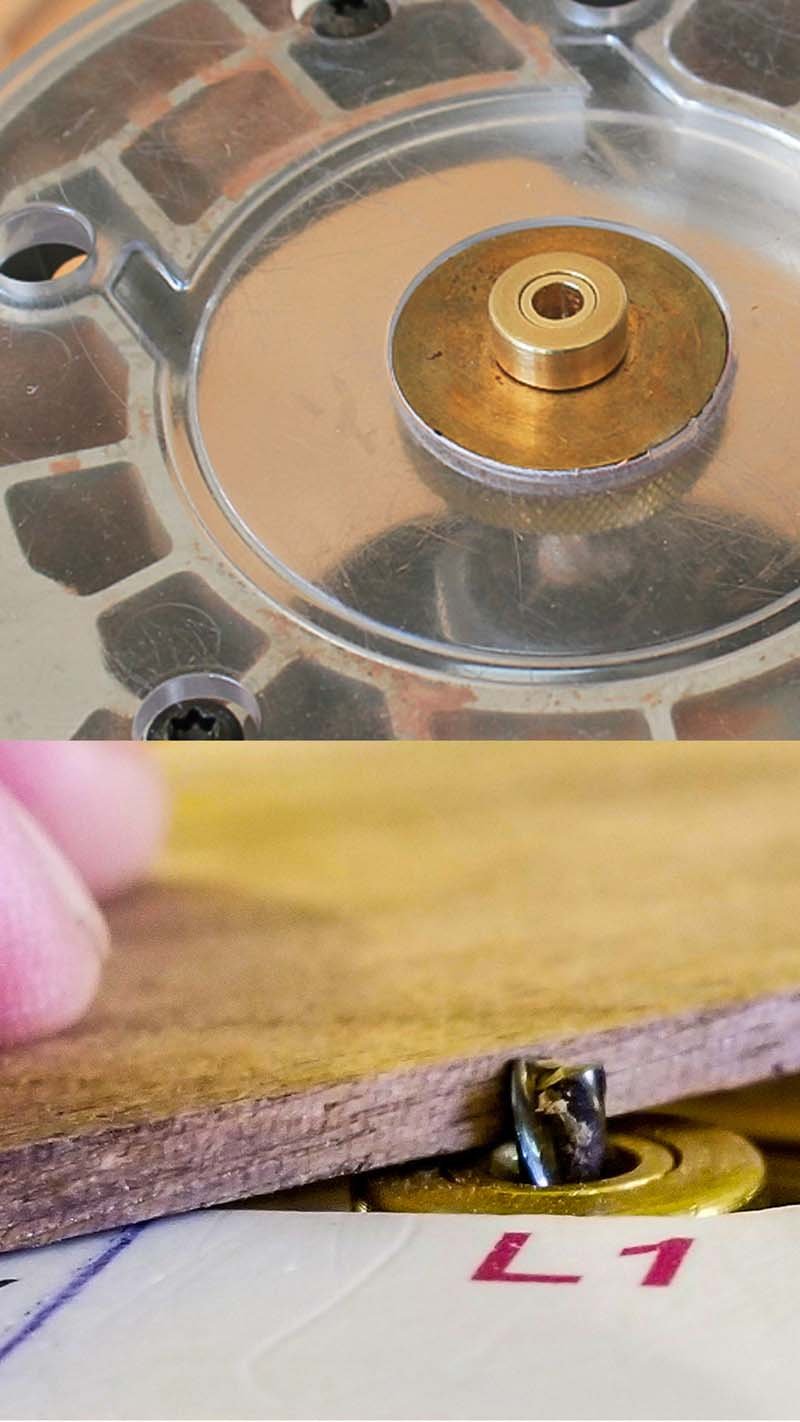
Best of all you don't need to be a master crafts-person to build this inlay. All you need is some wood and a few basic tools. Click here review the Router Based Inlay Tool List.
Never built an inlay before? Click here to Learn How To Build Any Wood Inlay.